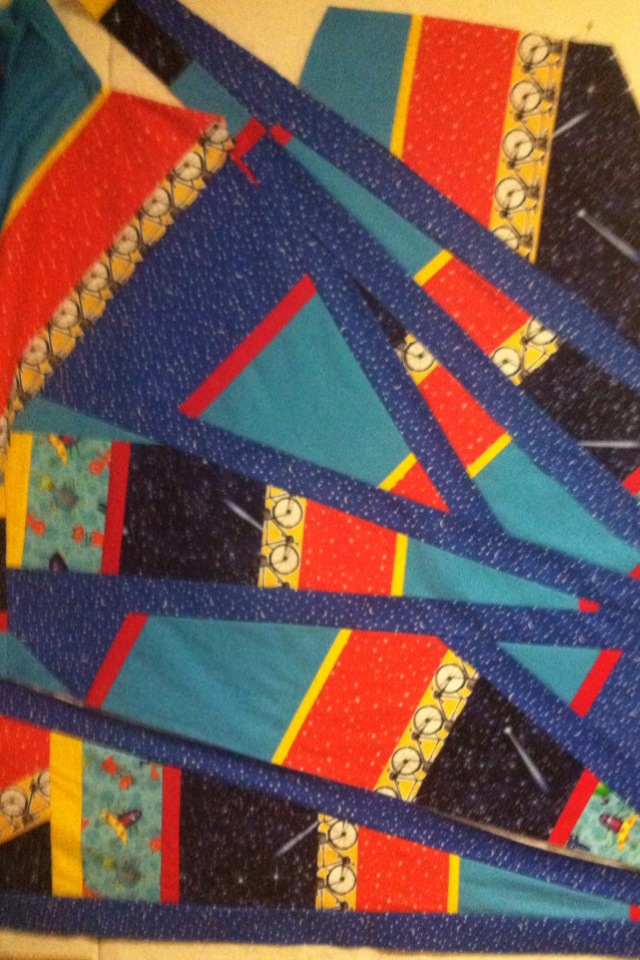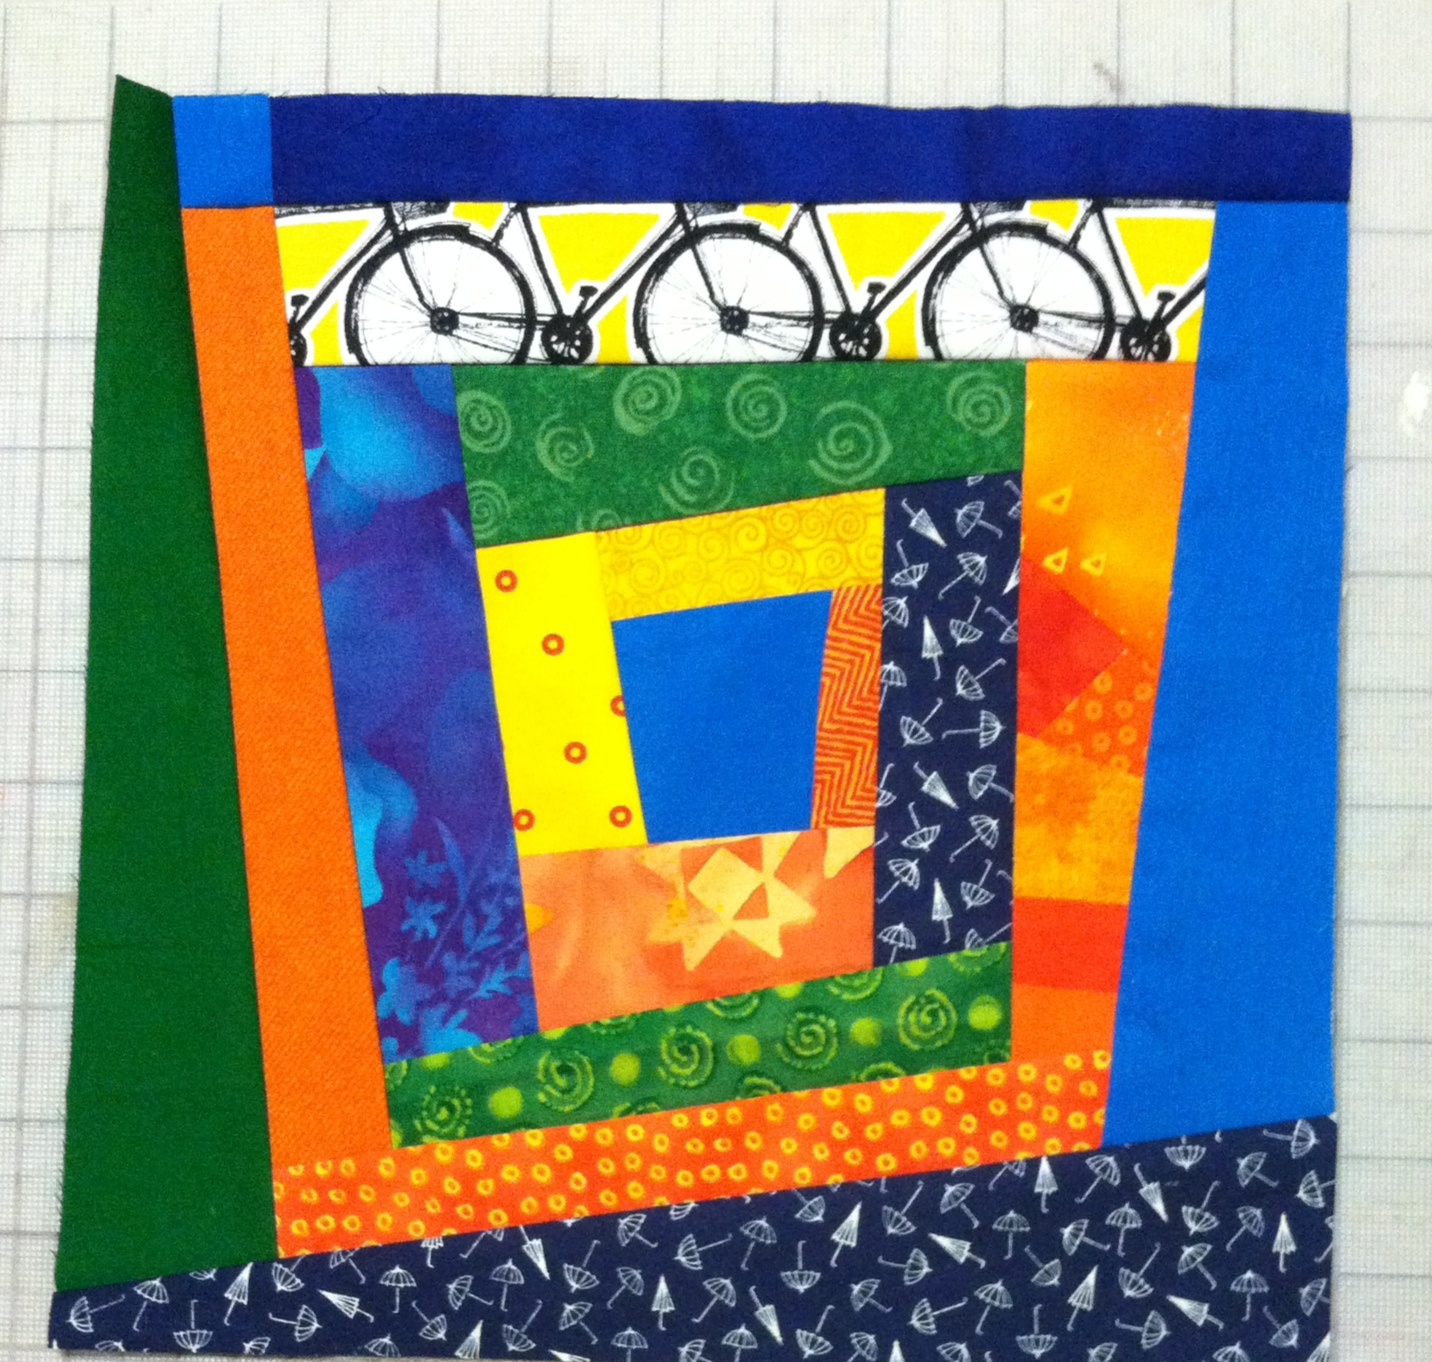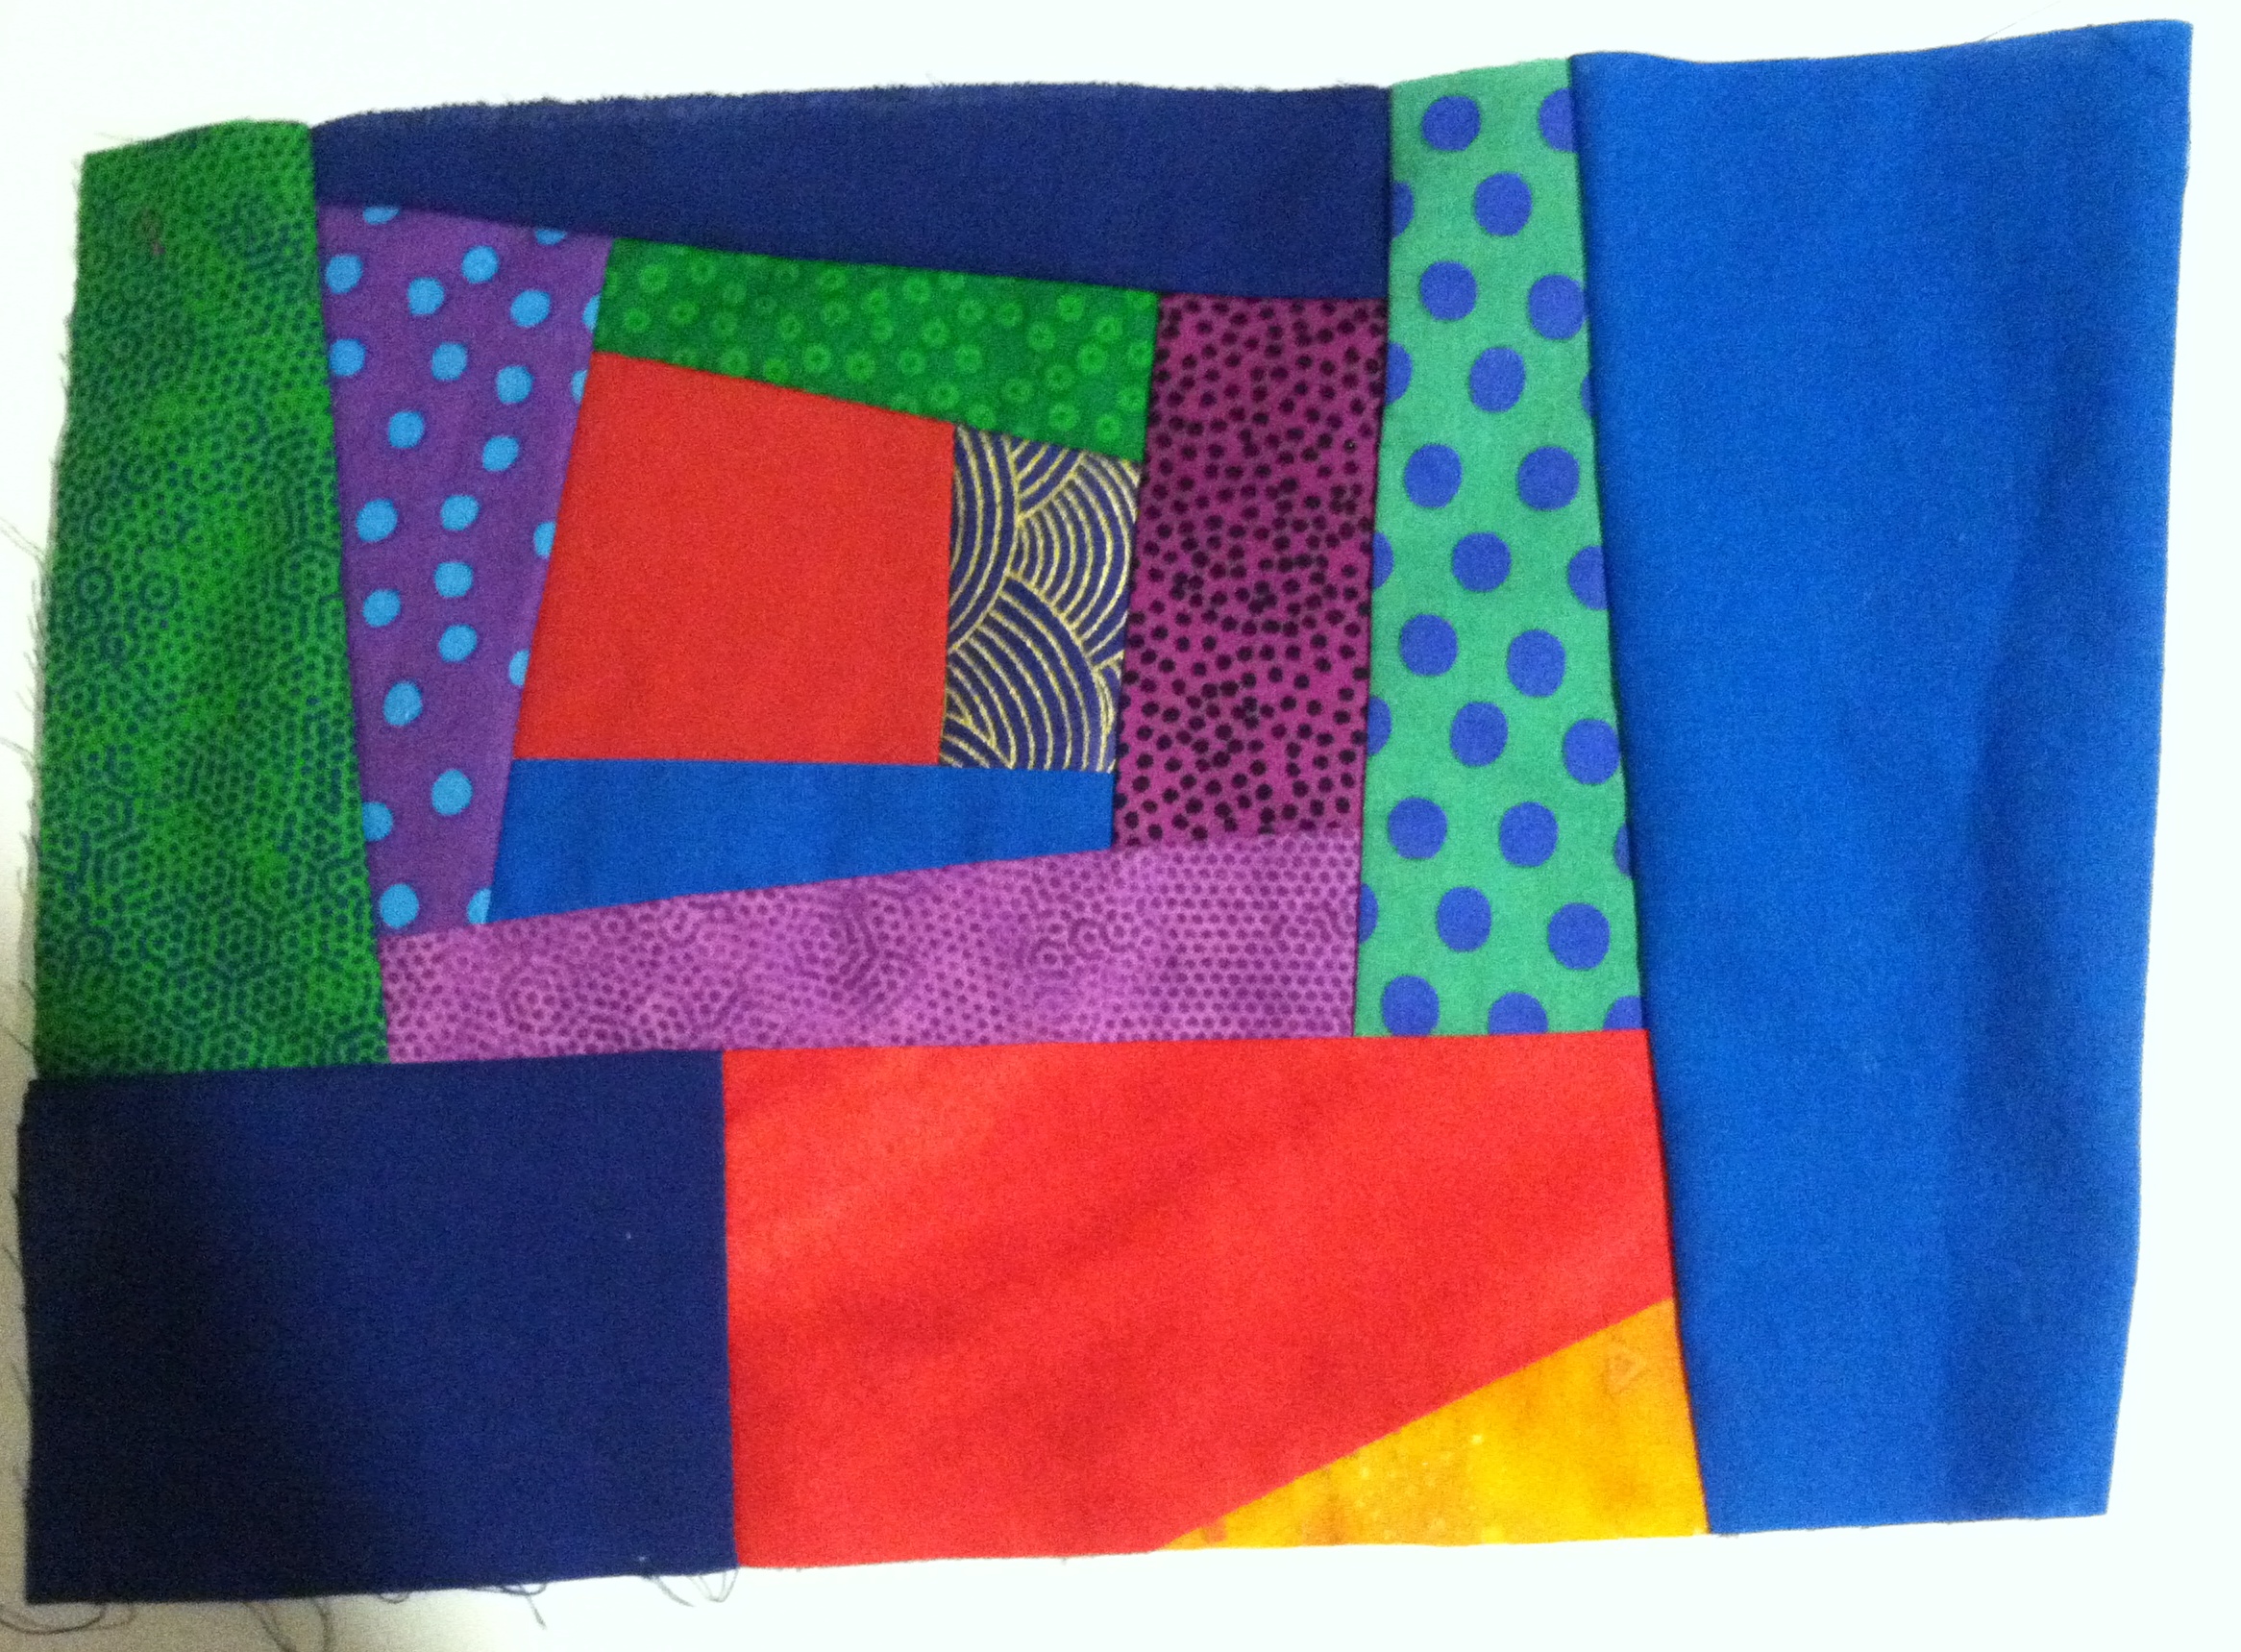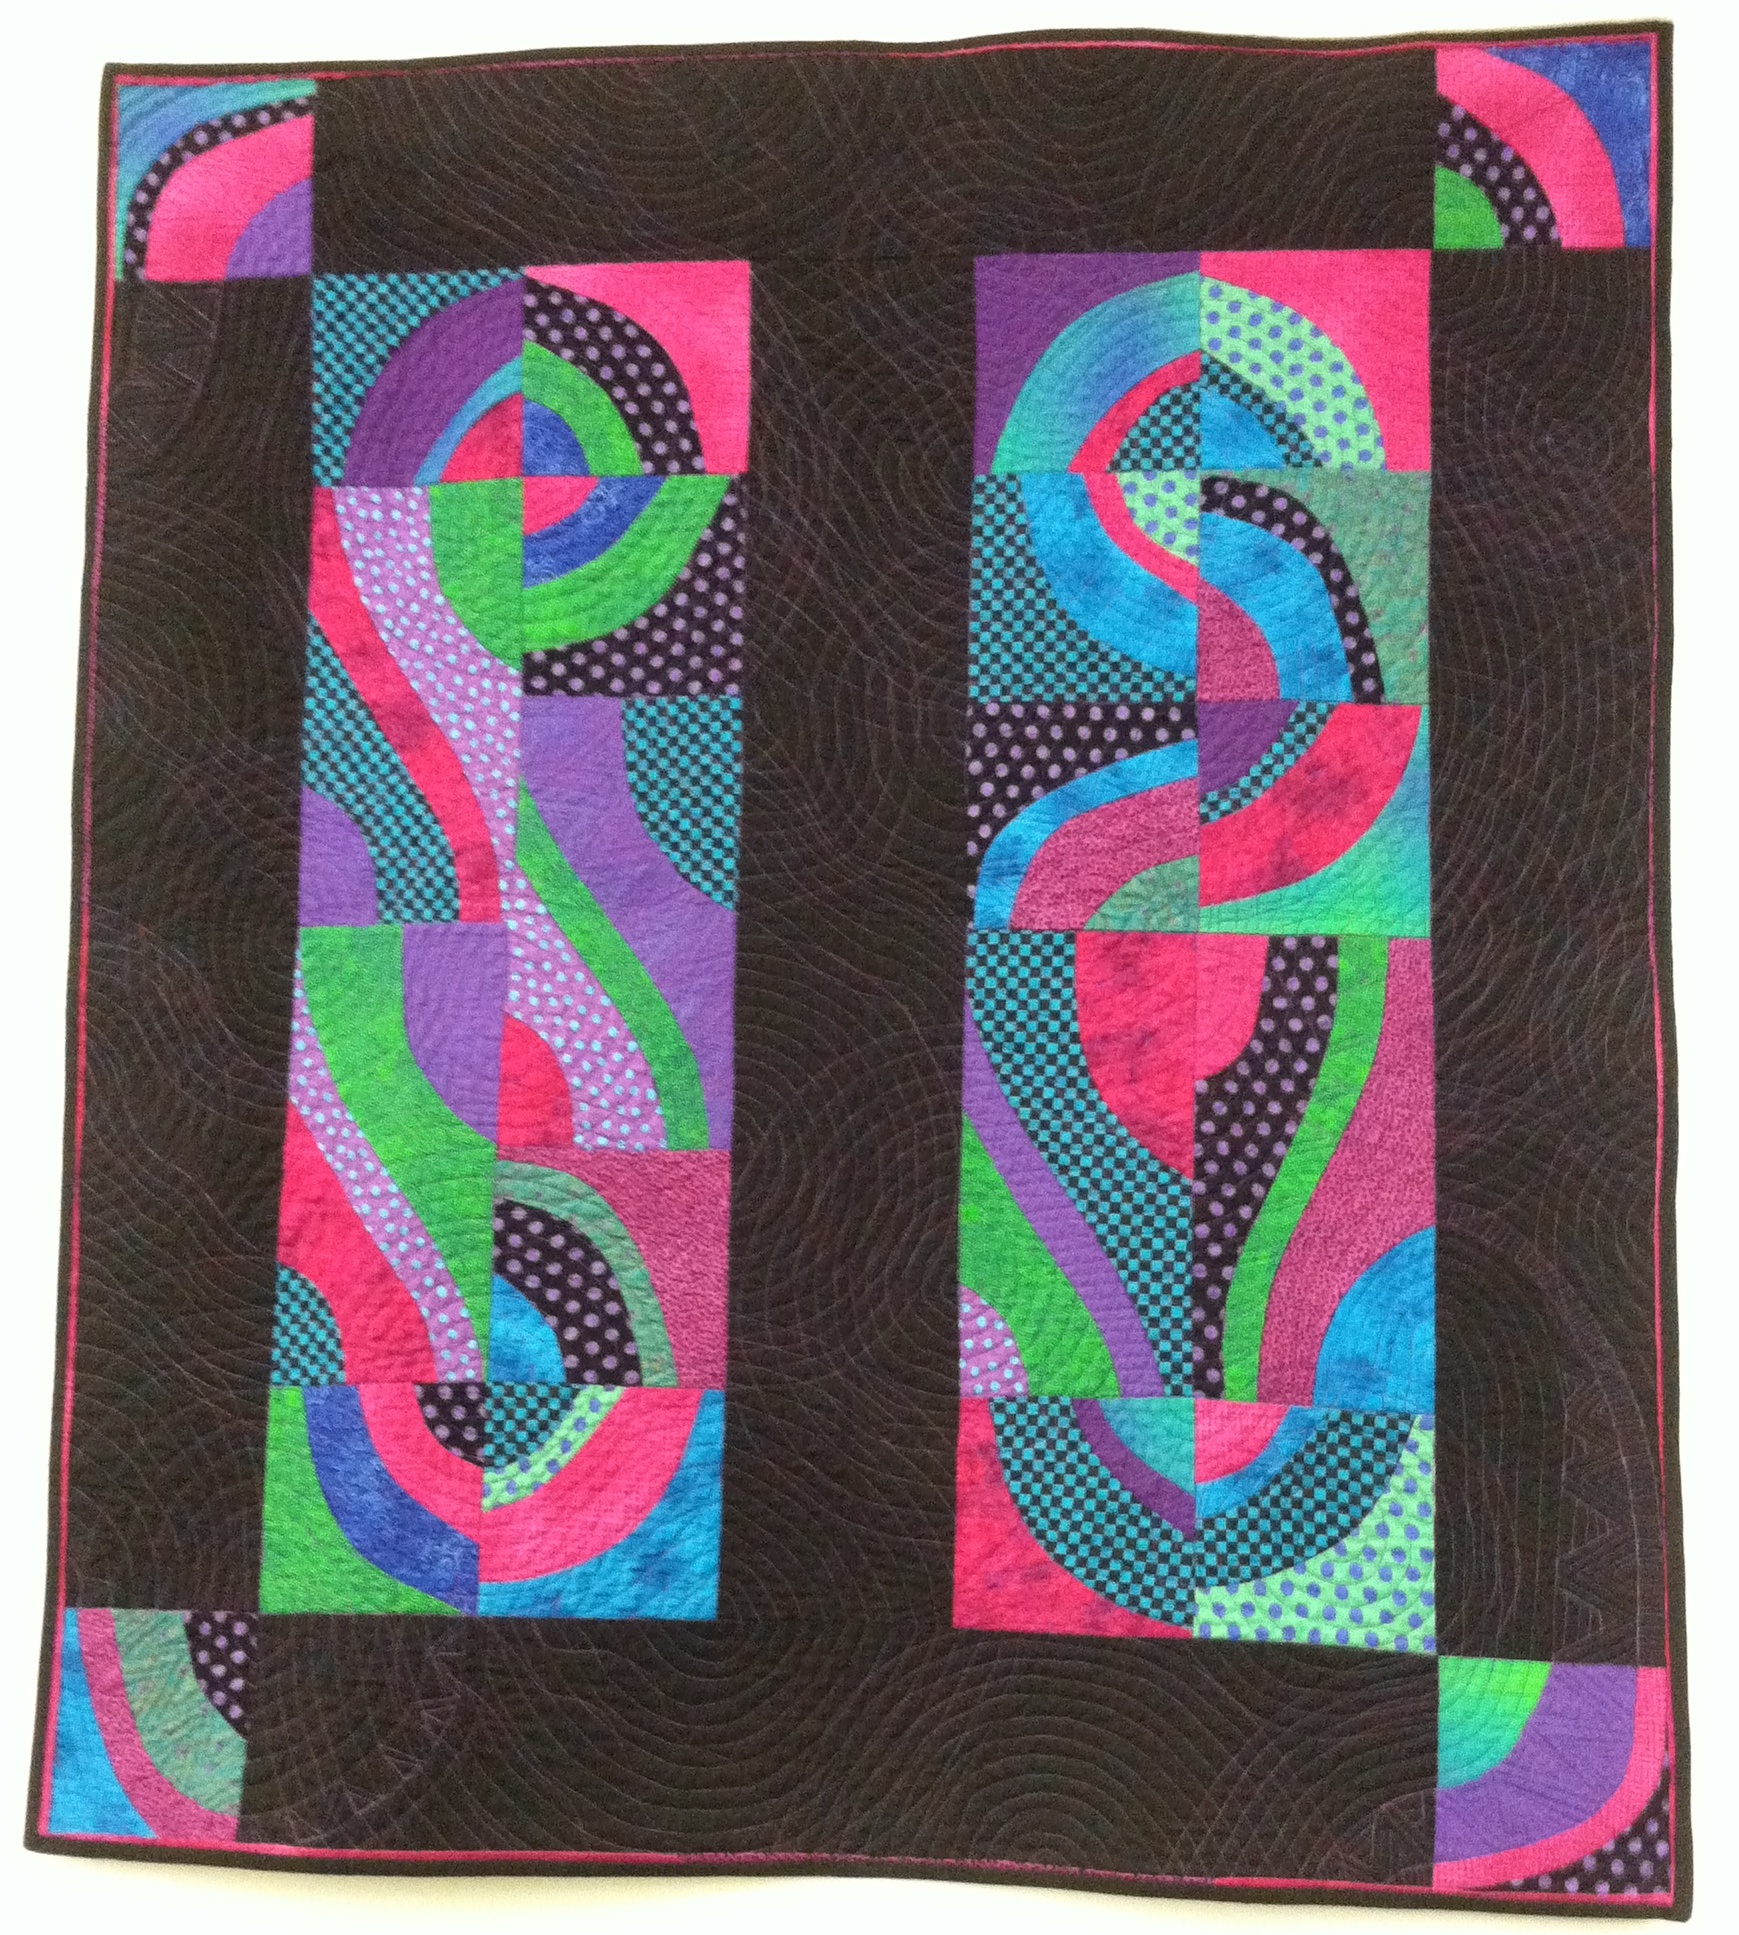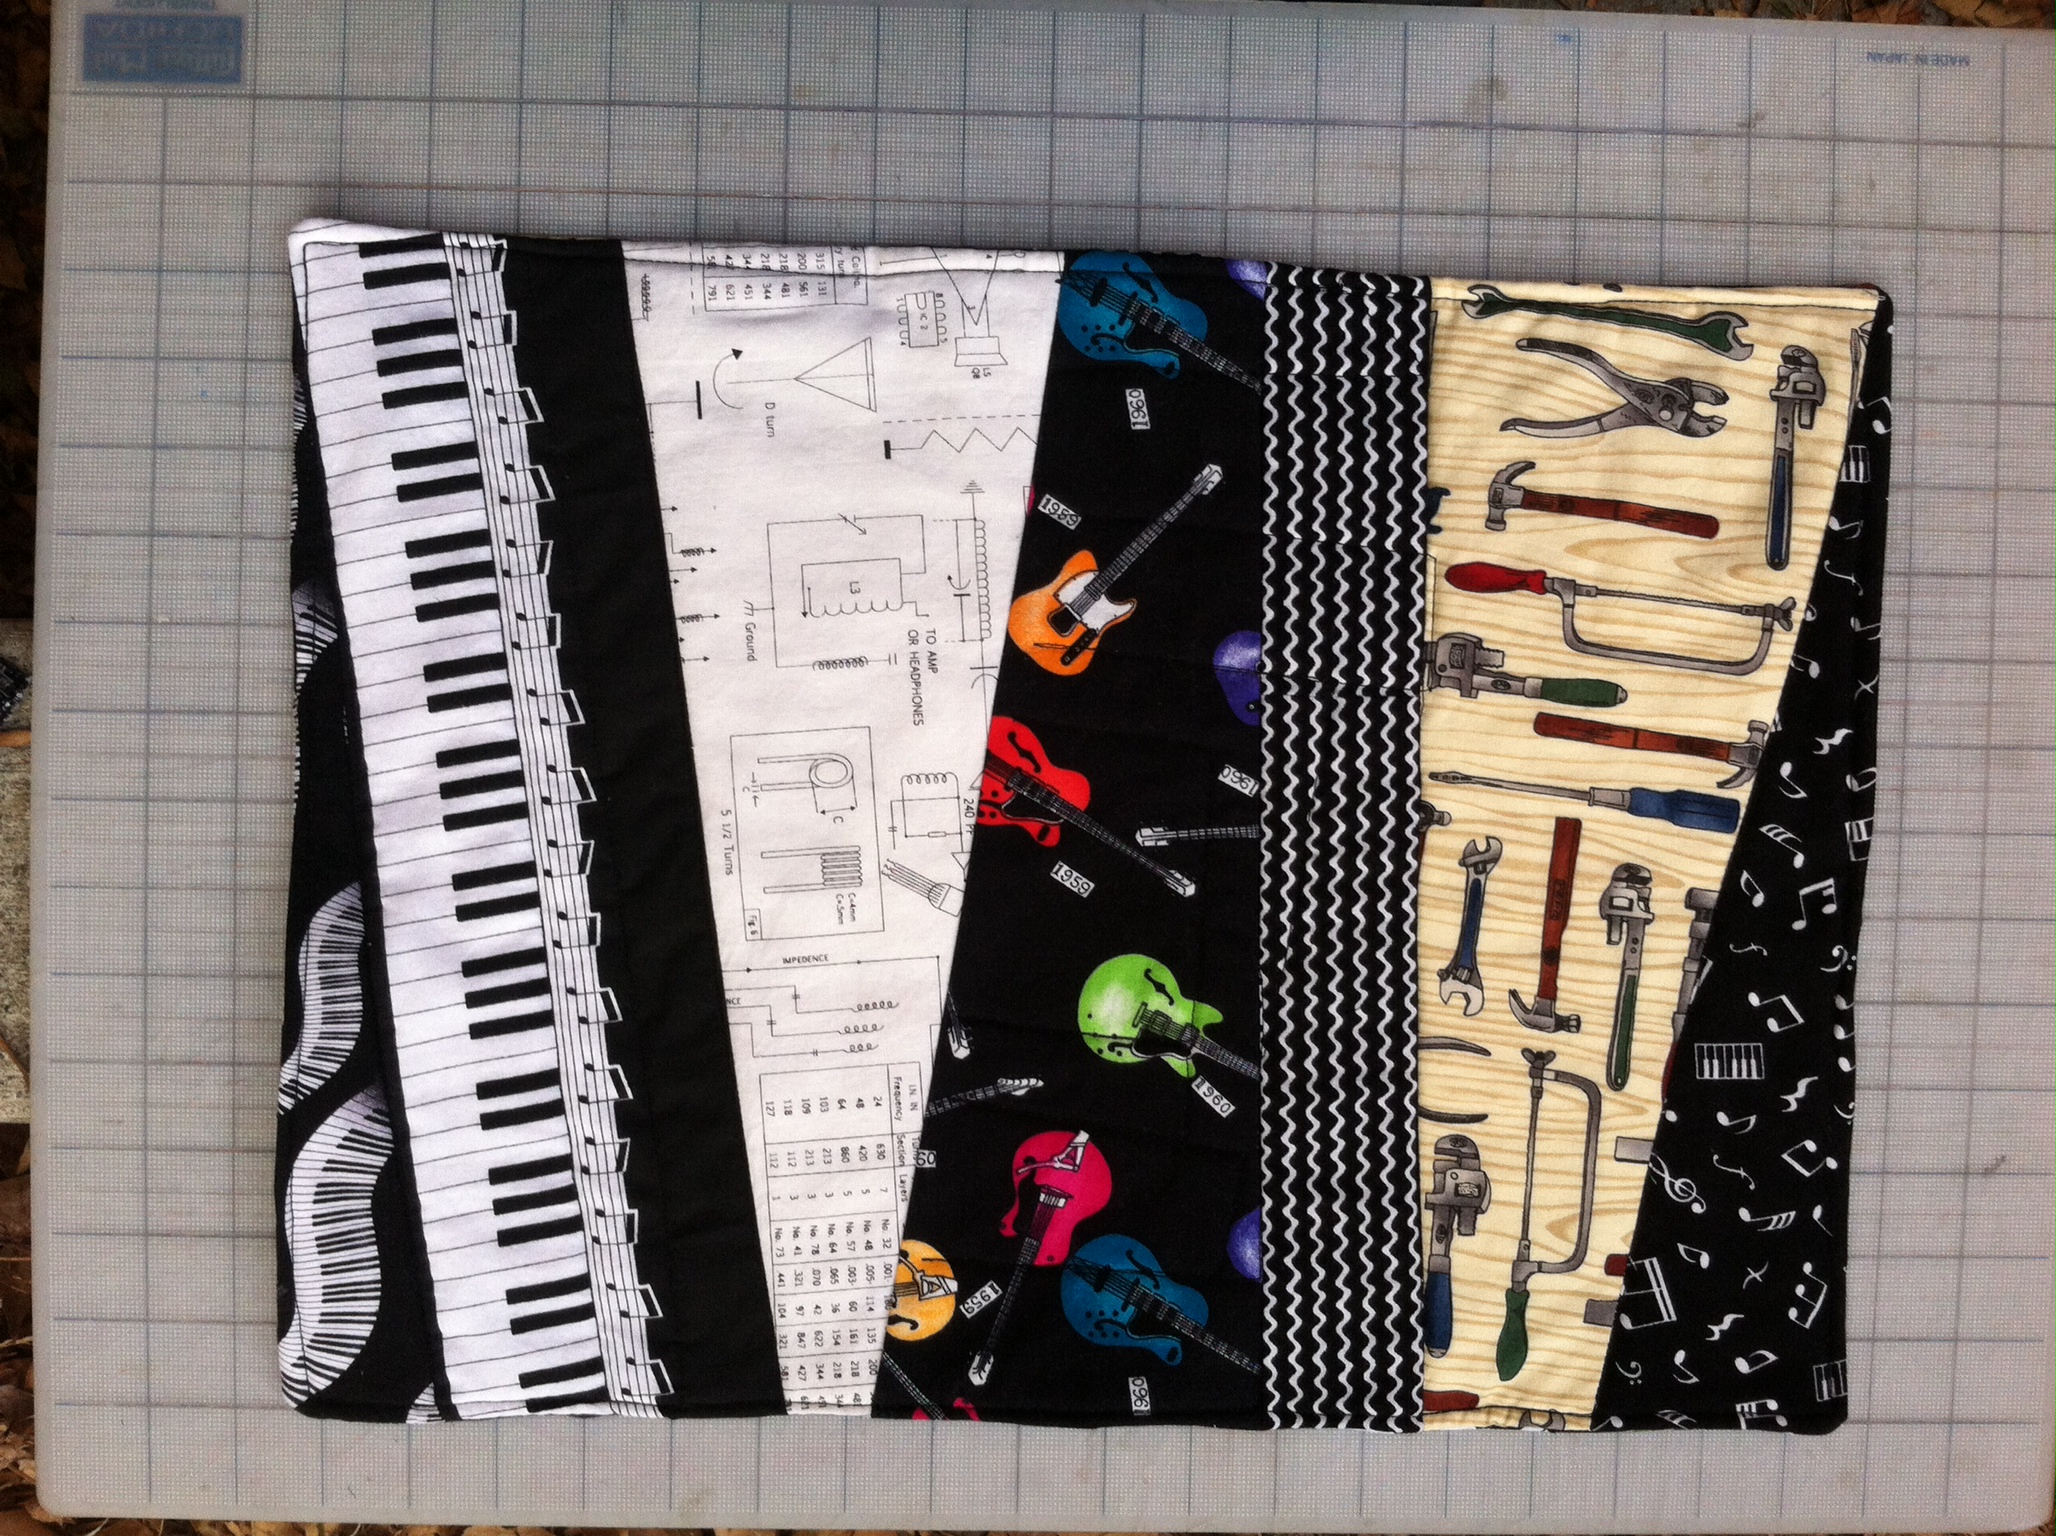
This was the hot mess on my design wall, a few weeks ago. My artist friend Lila Wahrhaftig looked through the photos on my phone. She liked the one with negative space, which was just slices separated by an inch or two on the cutting board. That gave me the idea to add a strip of slashing between each slice.

Here it is with the sashing:

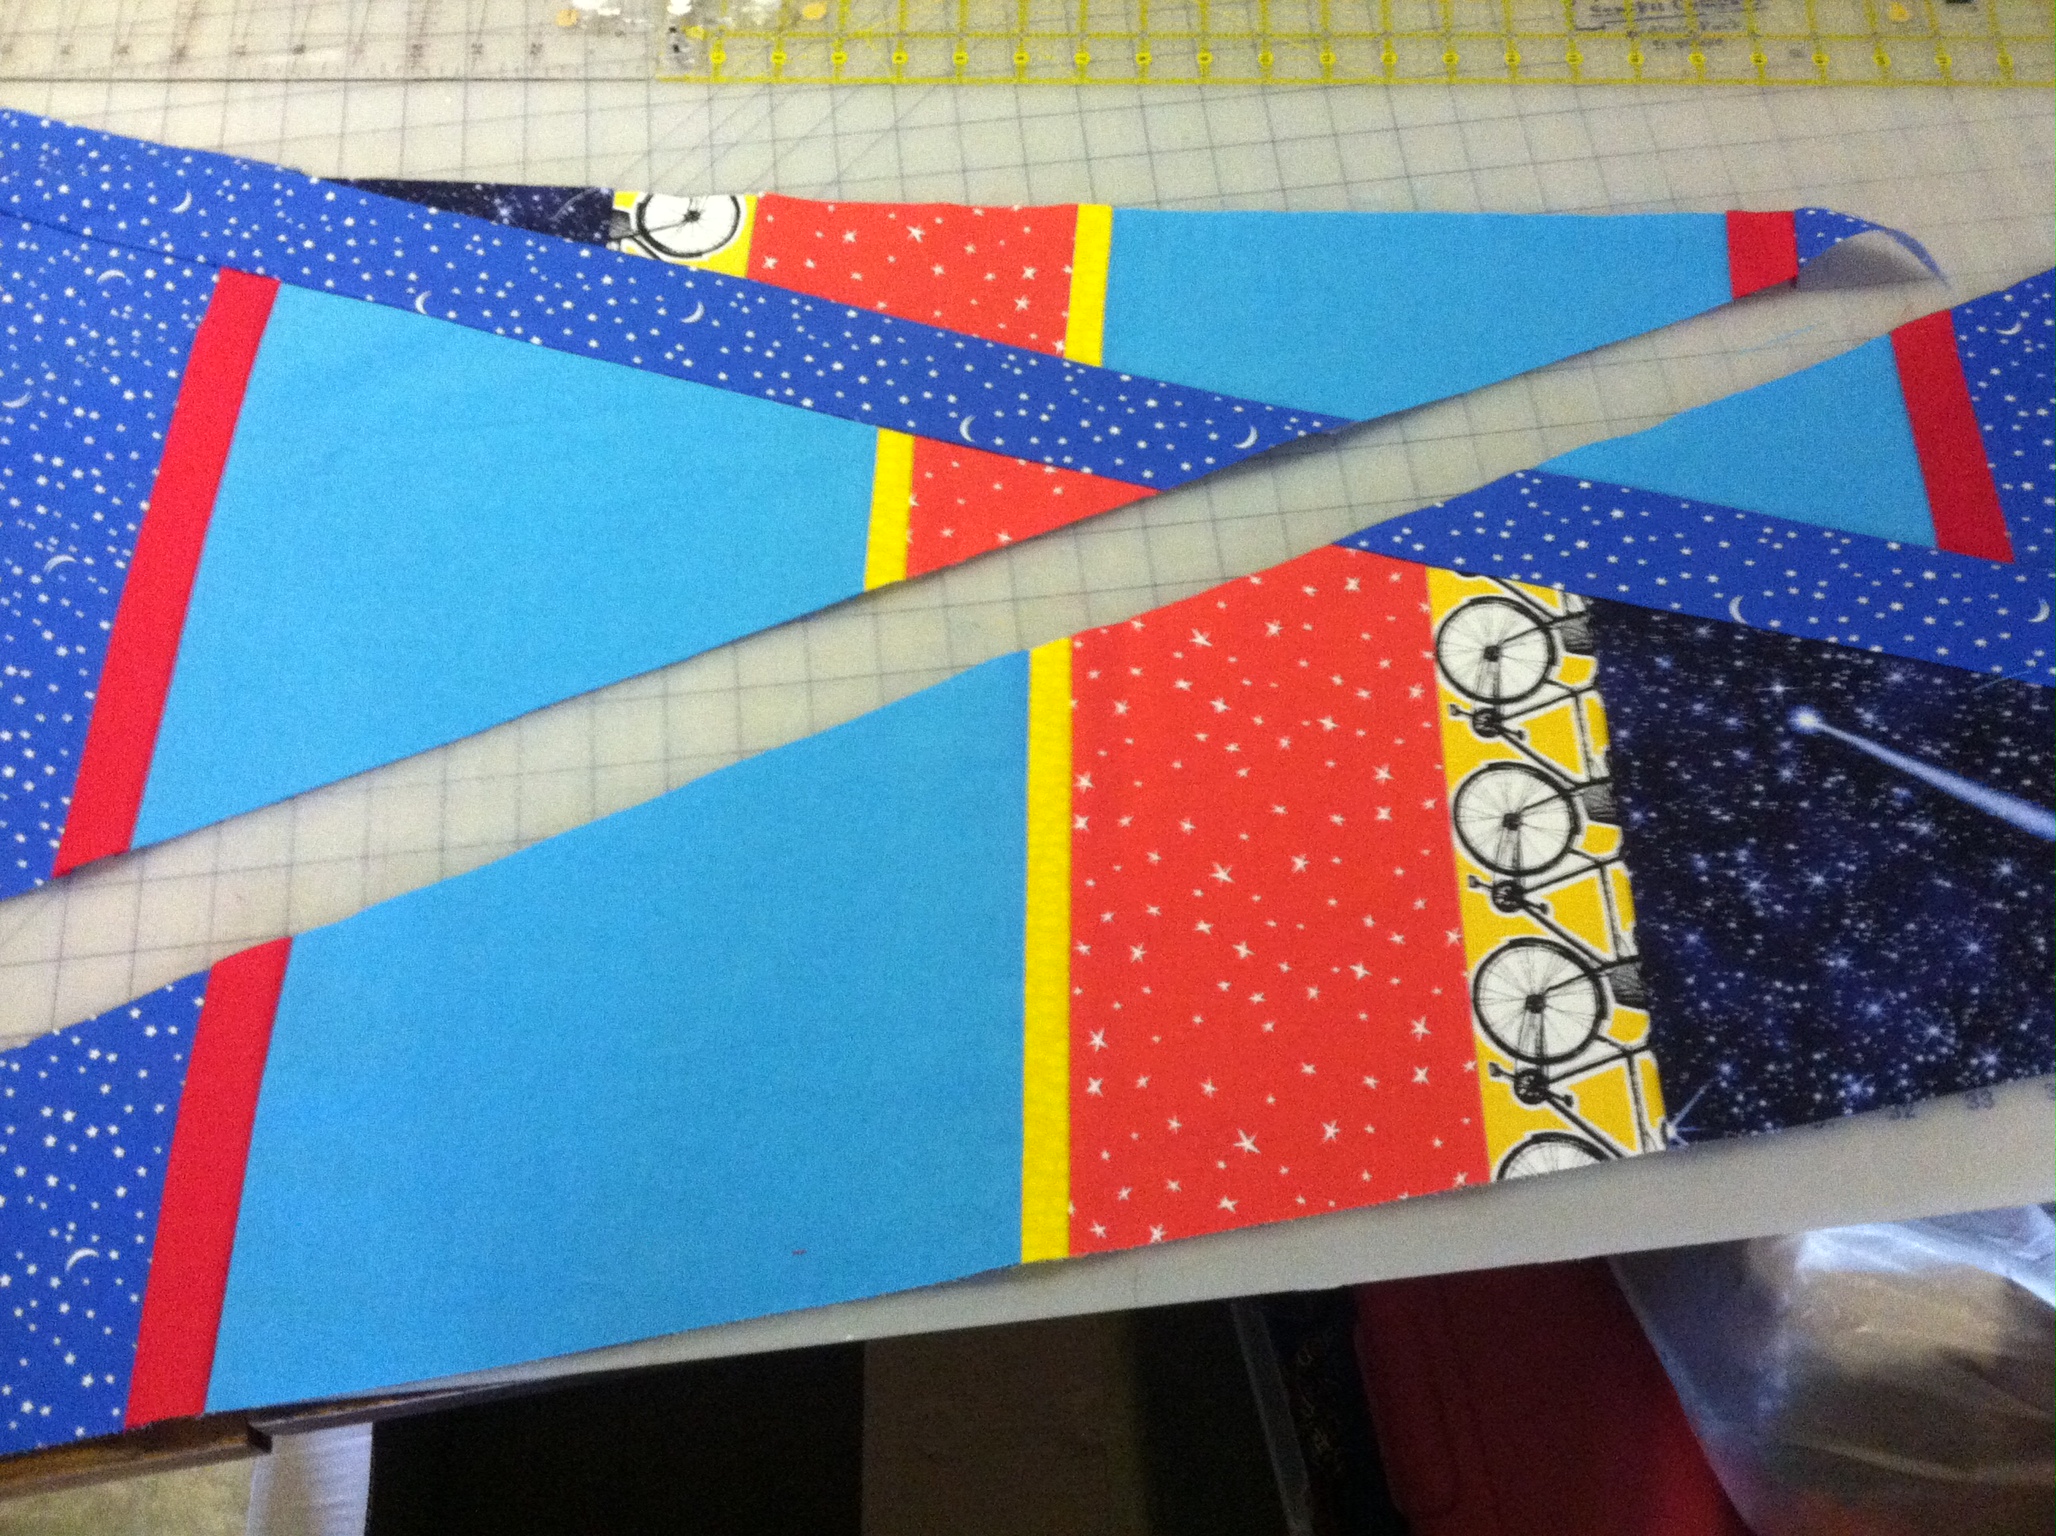
But there was too much light blue fabric for the composition. (It stuck out like a sore thumb). I cut it diagonally where the ruler is.
I added another blue sashing strip, but I didn’t like the X it made across the quilt. So I sewed a different slice above the sashing.
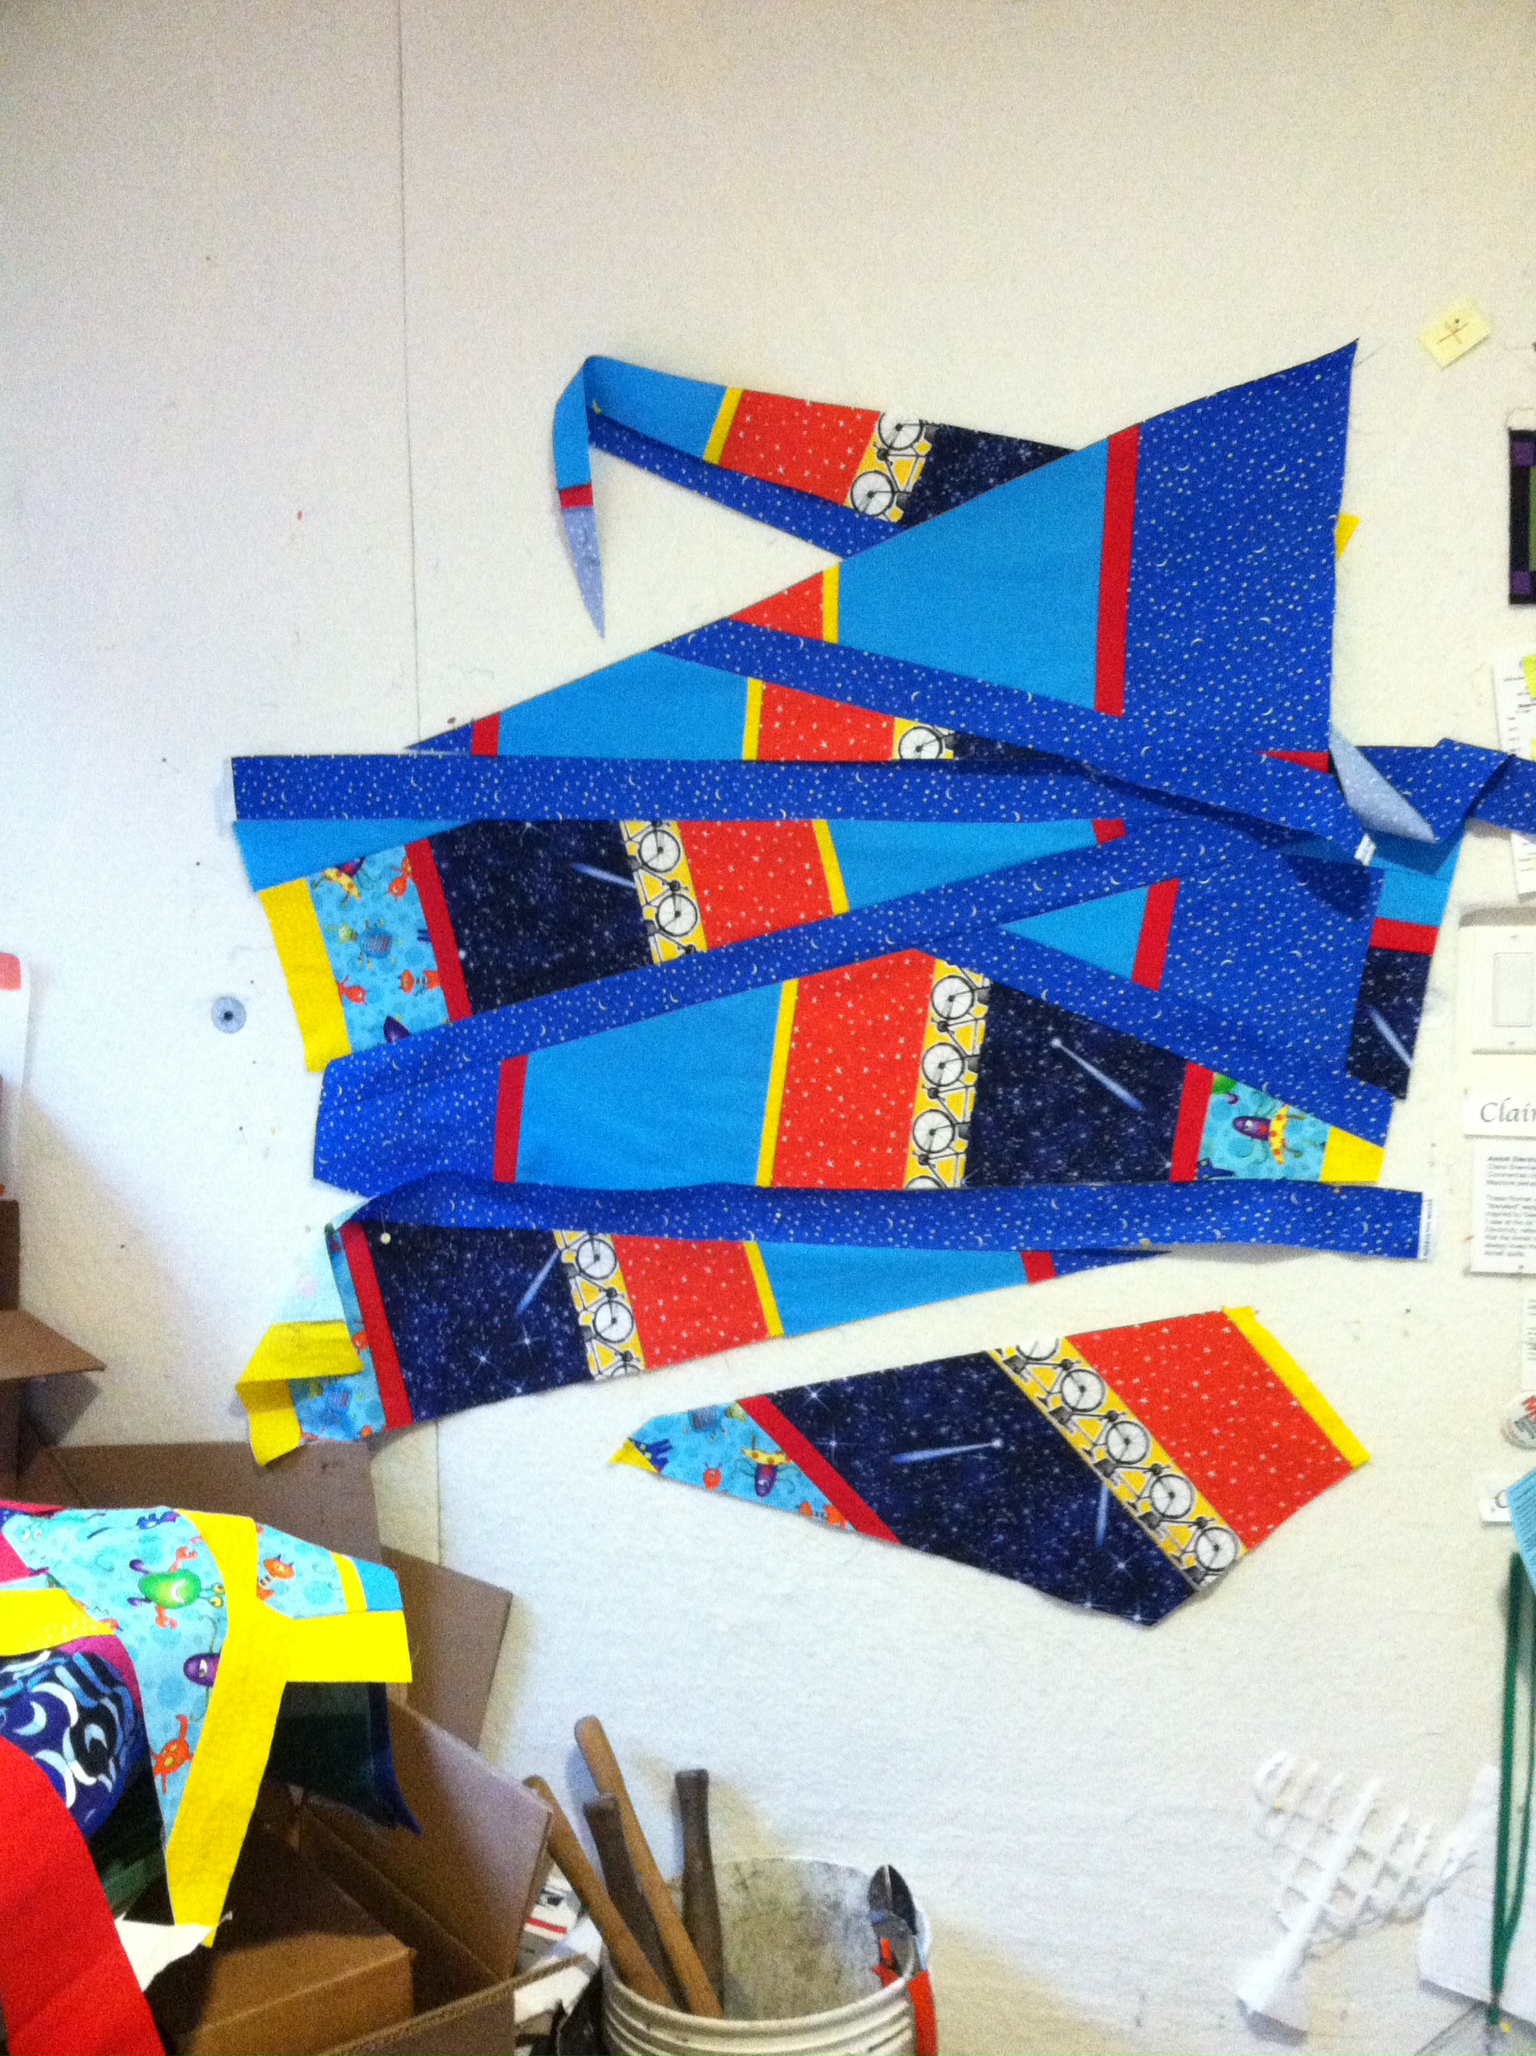
It’s late at night, so the color isn’t accurate, but this is what it looks like now.