
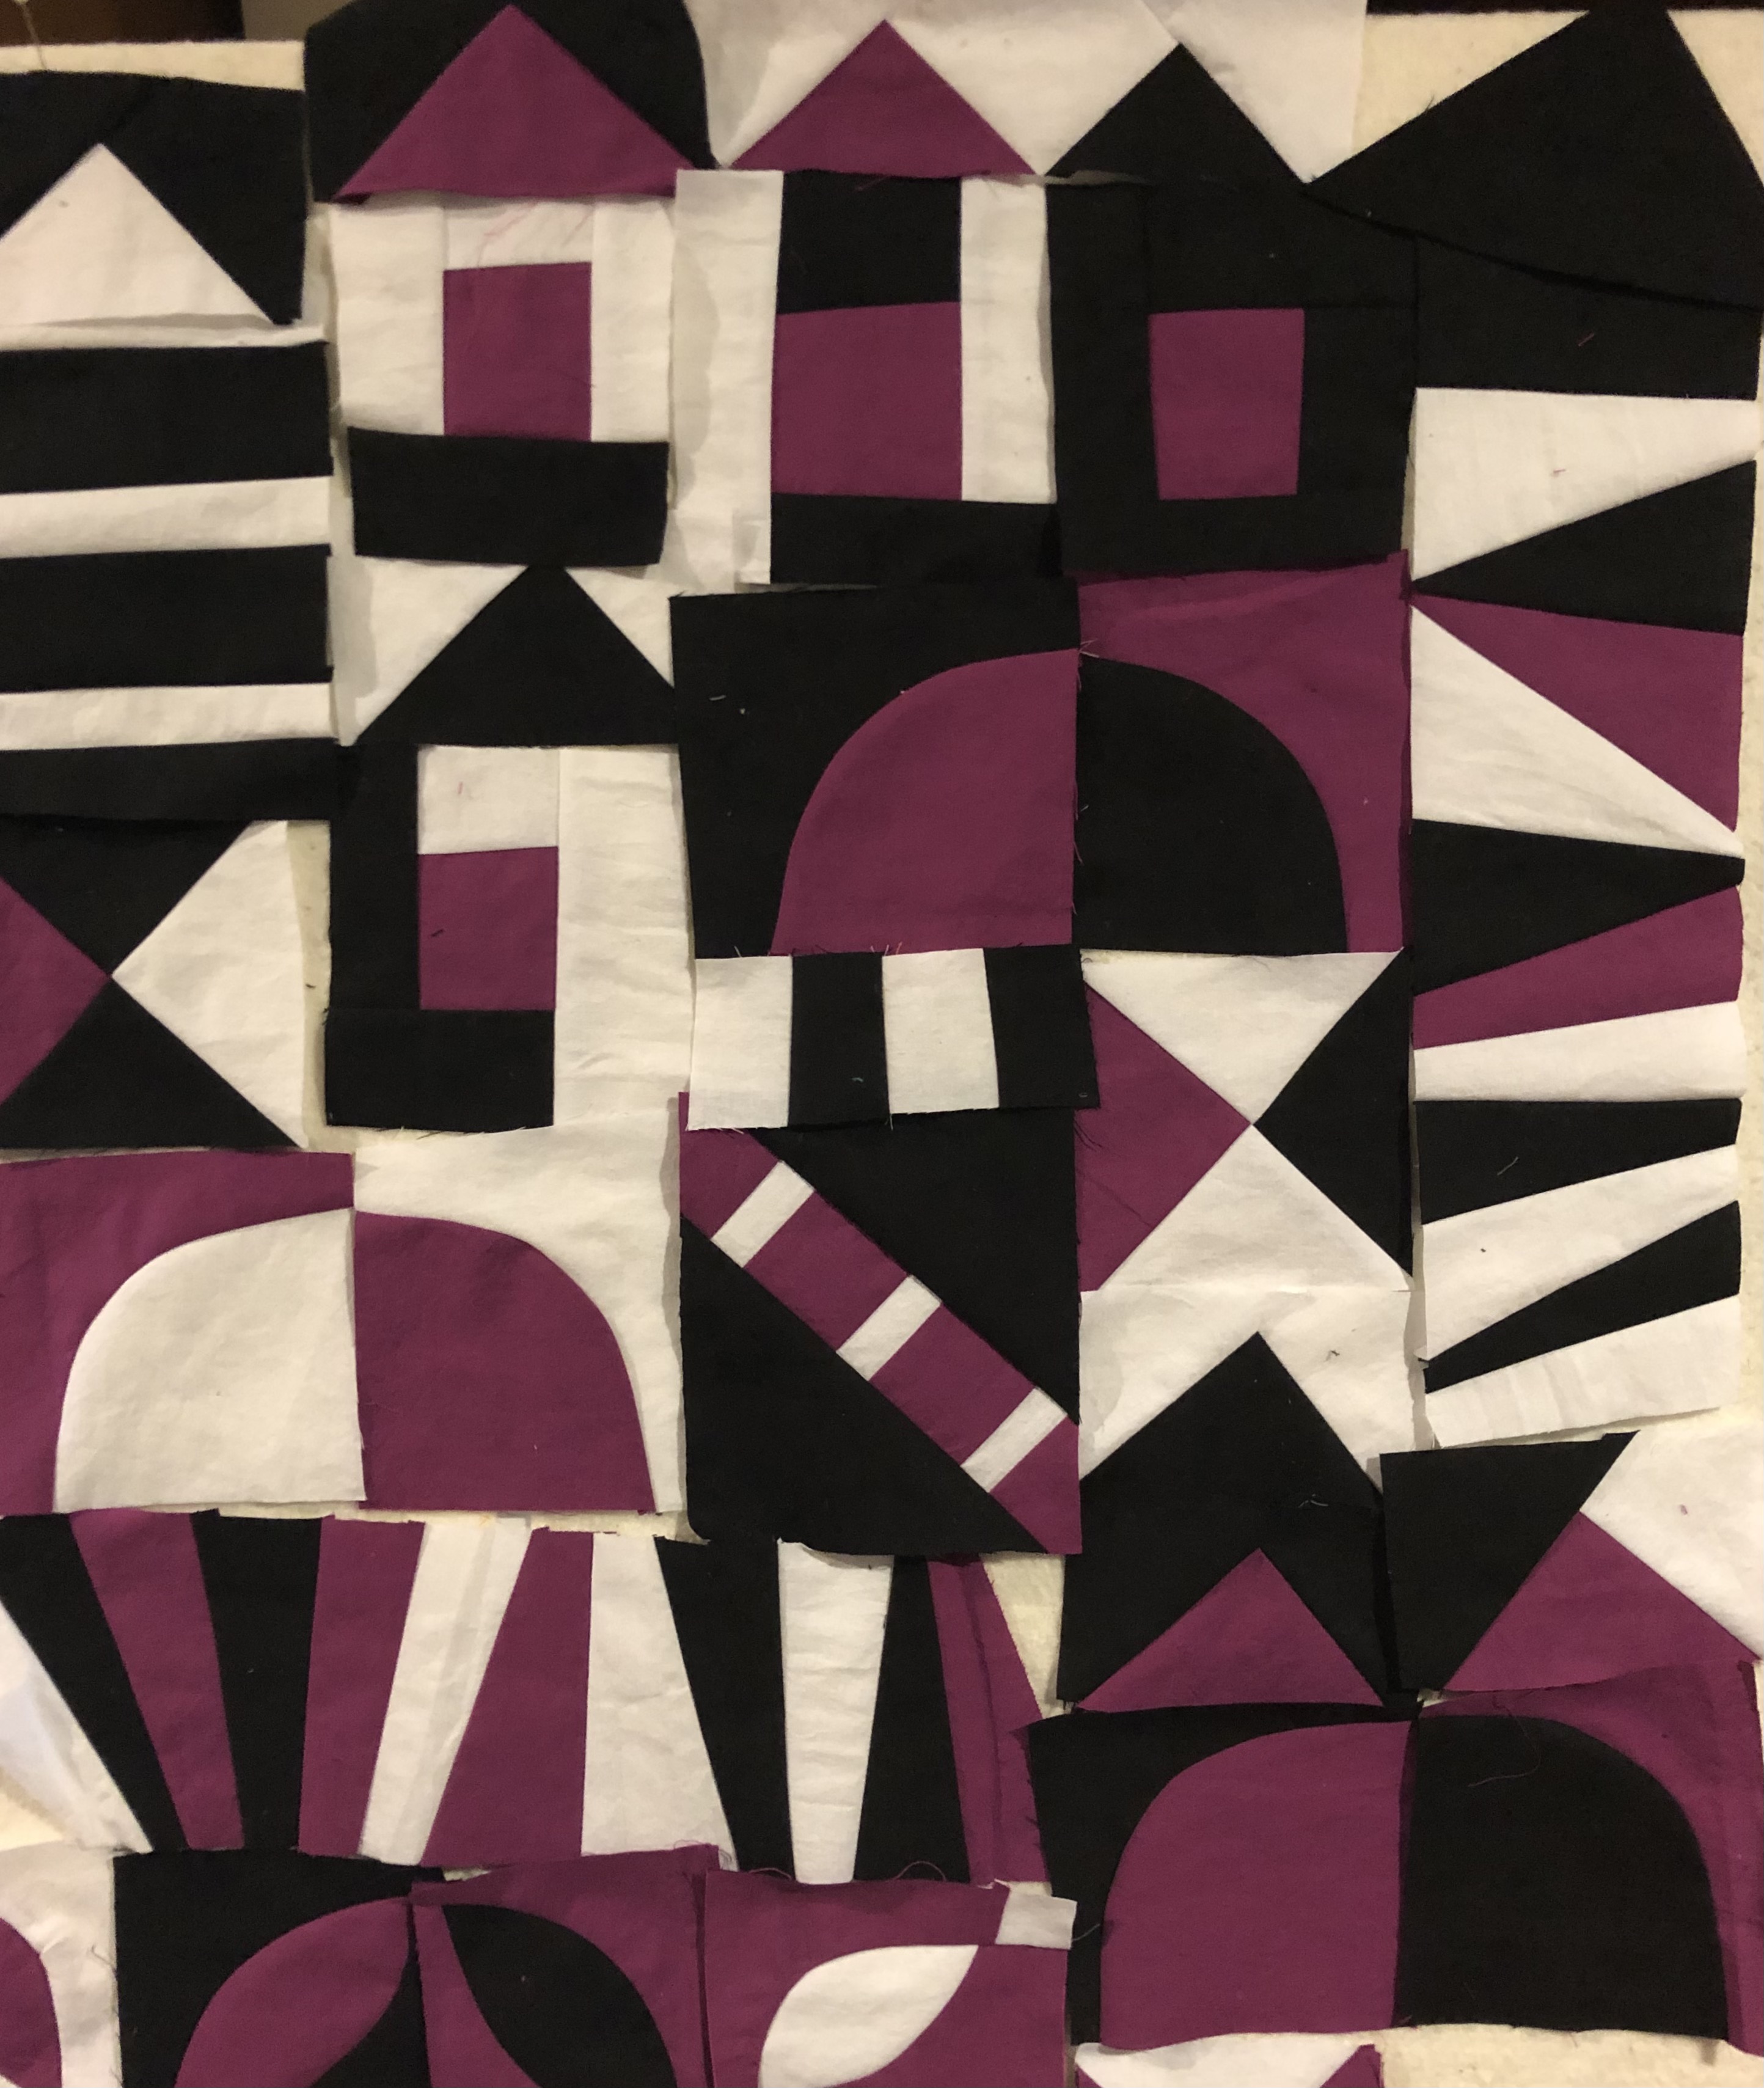
I took two EBHQ Zoom classes with Krista Hennebury #poppyprints. One was Speed Date with Improv which was totally up my alley! We made a bunch of blocks while learning a bunch of techniques. Everyone used black, white plus one color. I (somewhat randomly) put all the blocks on my design wall. I haven’t decided yet how I will sew them together.
The other class was a Courthouse Steps layout of the log cabin block. All the fabric strips were cut without a ruler and without measuring. I did manage to sew all the blocks together, because I was afraid that if I took it off the wall I’d never get it back together again.
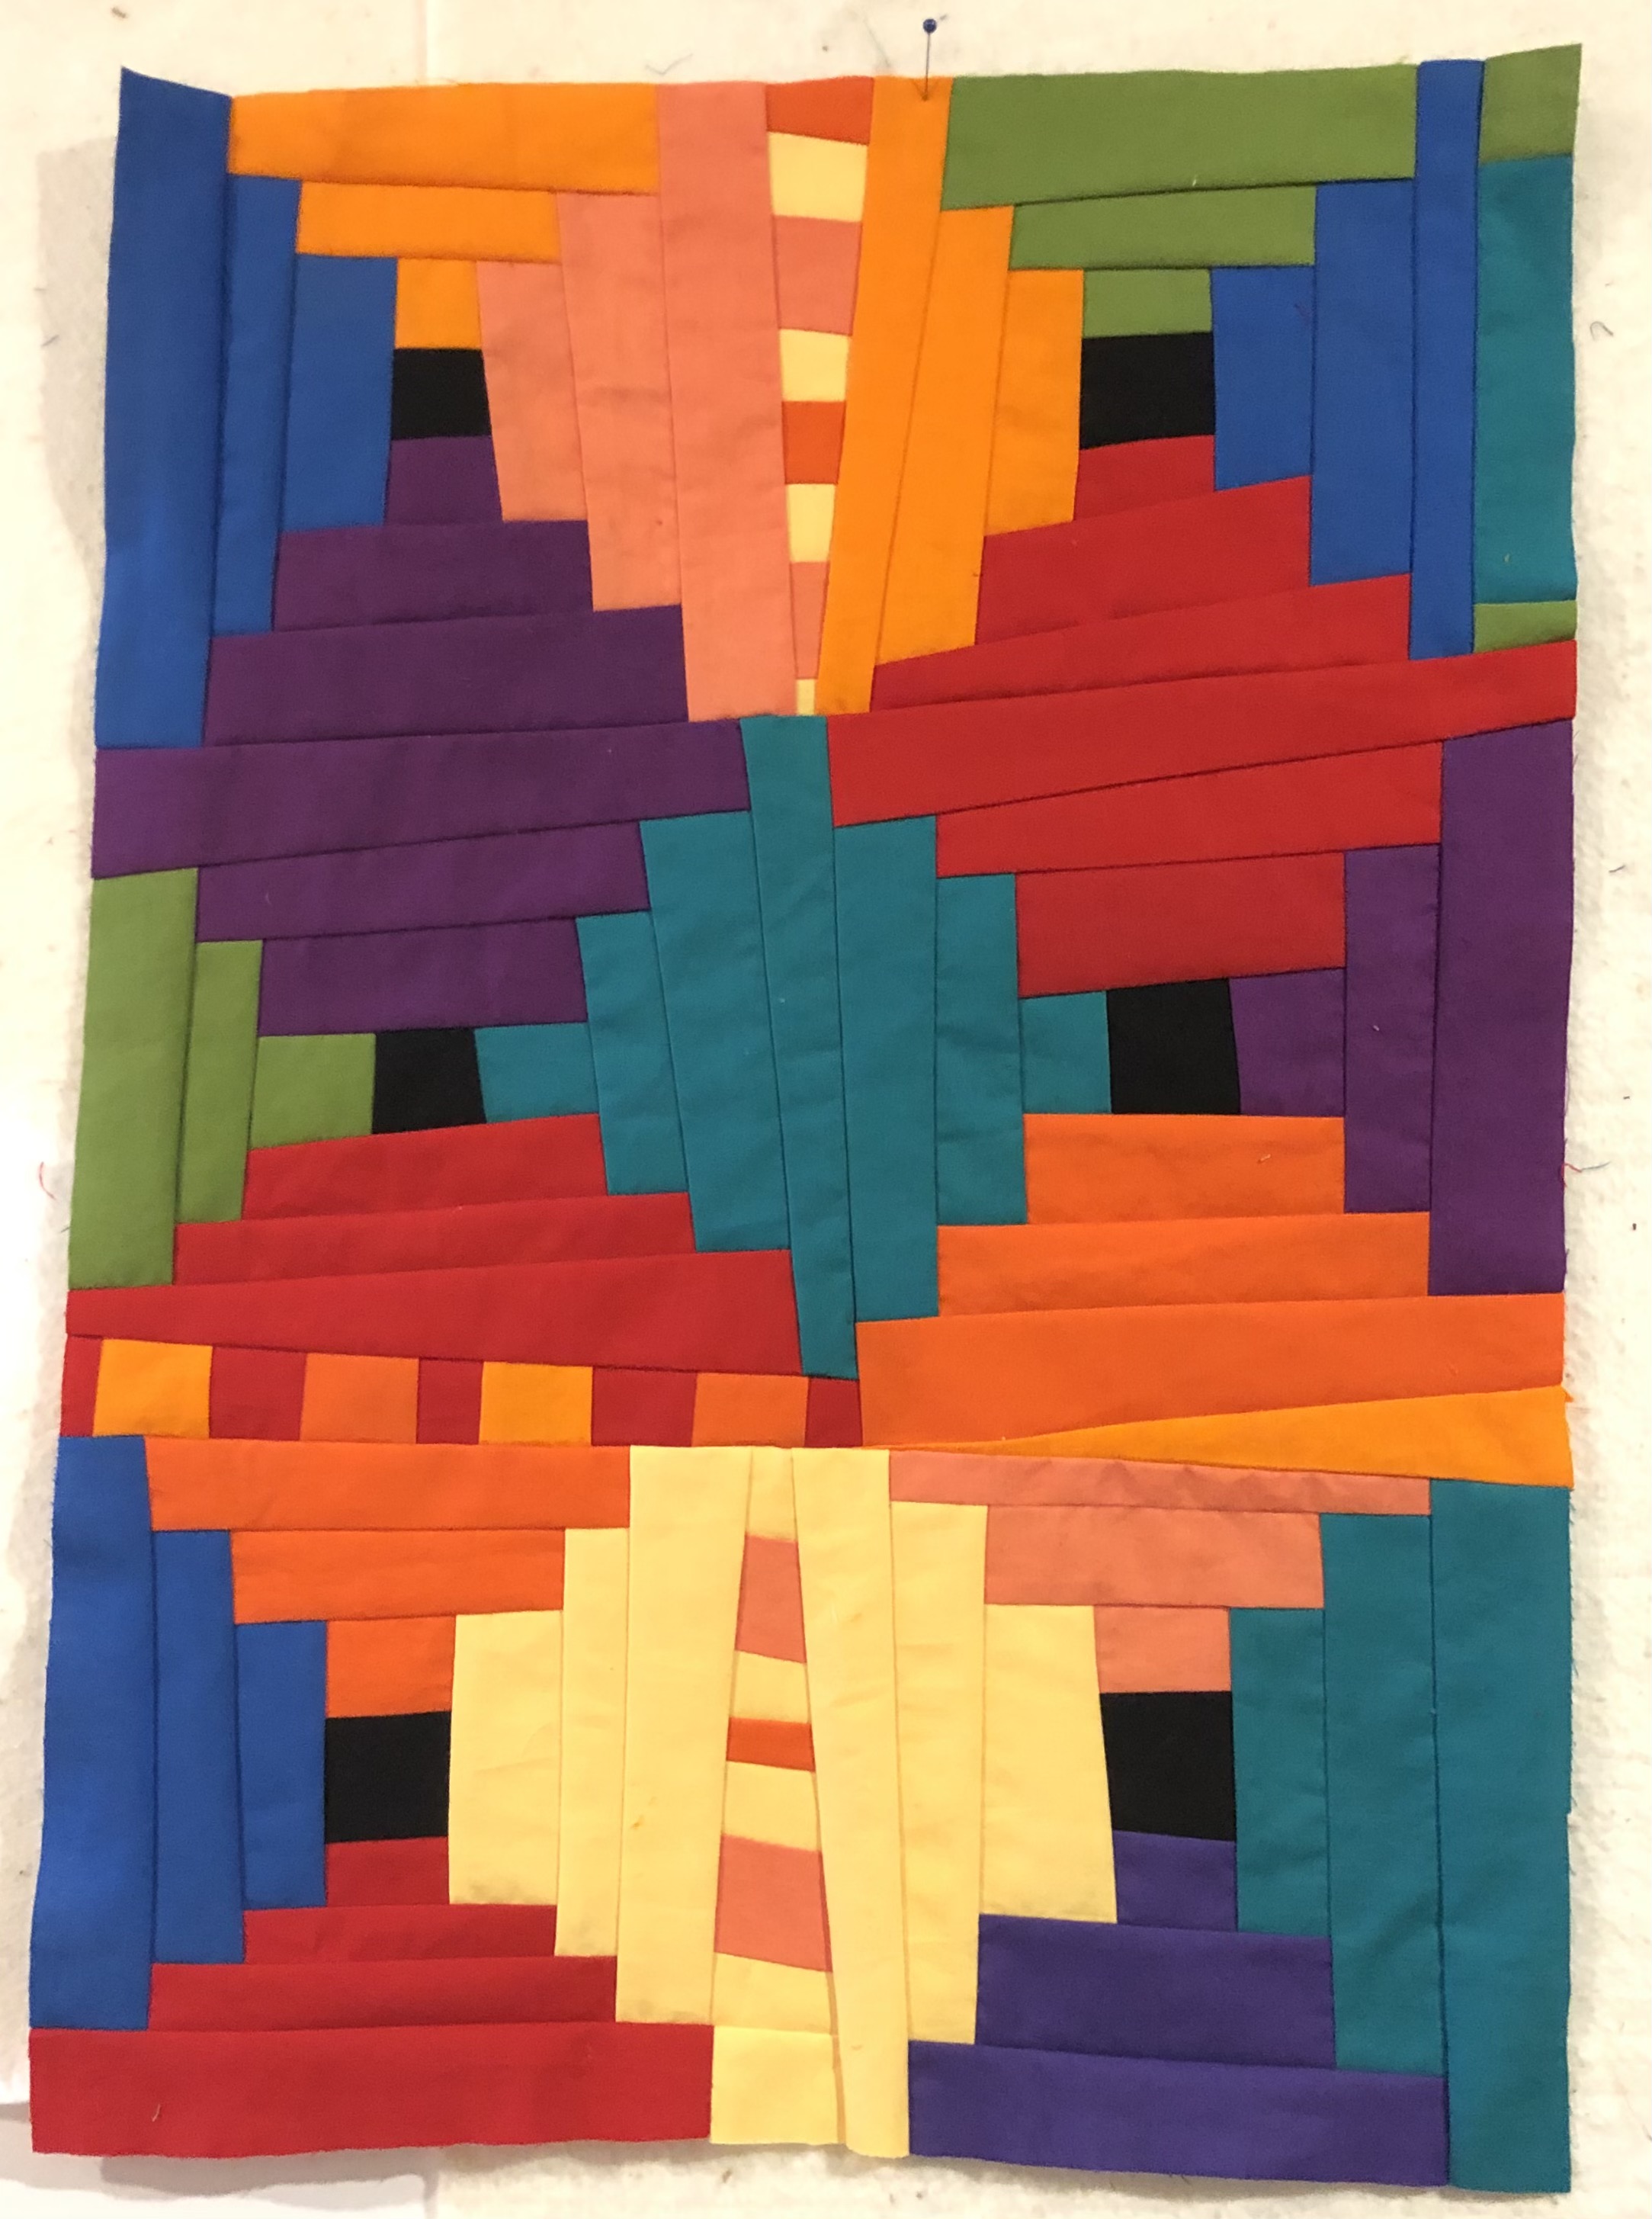
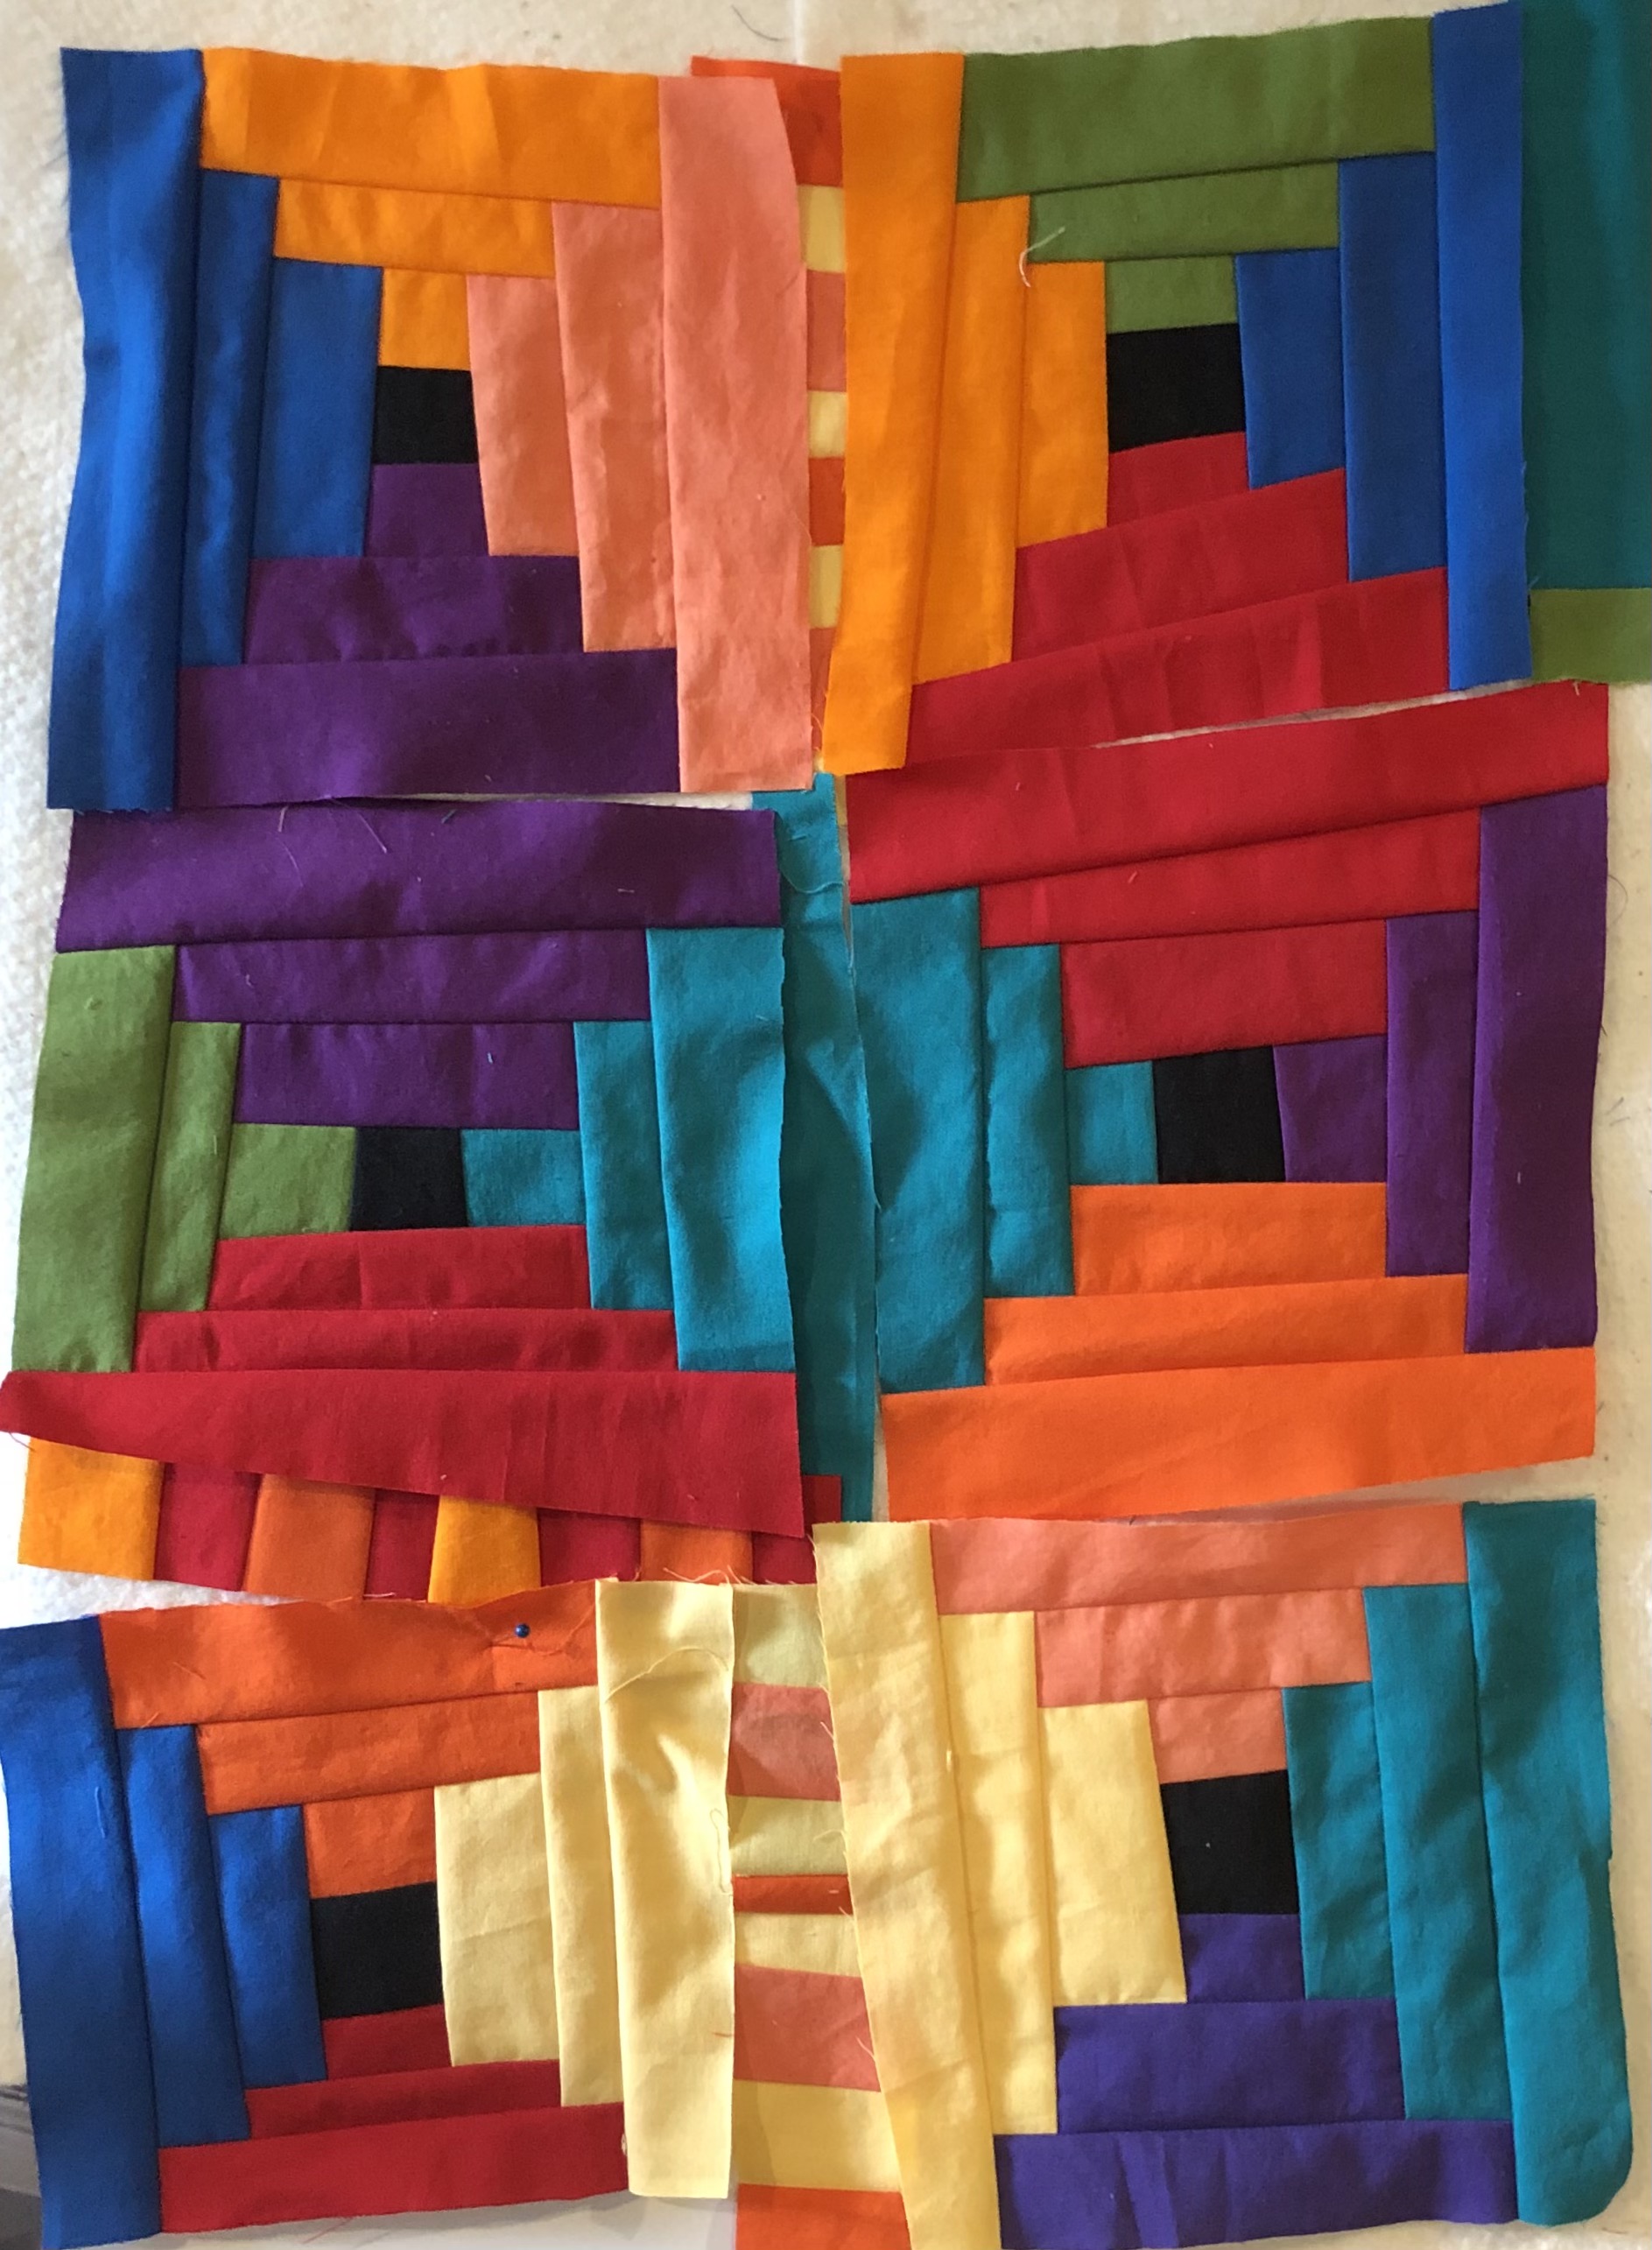
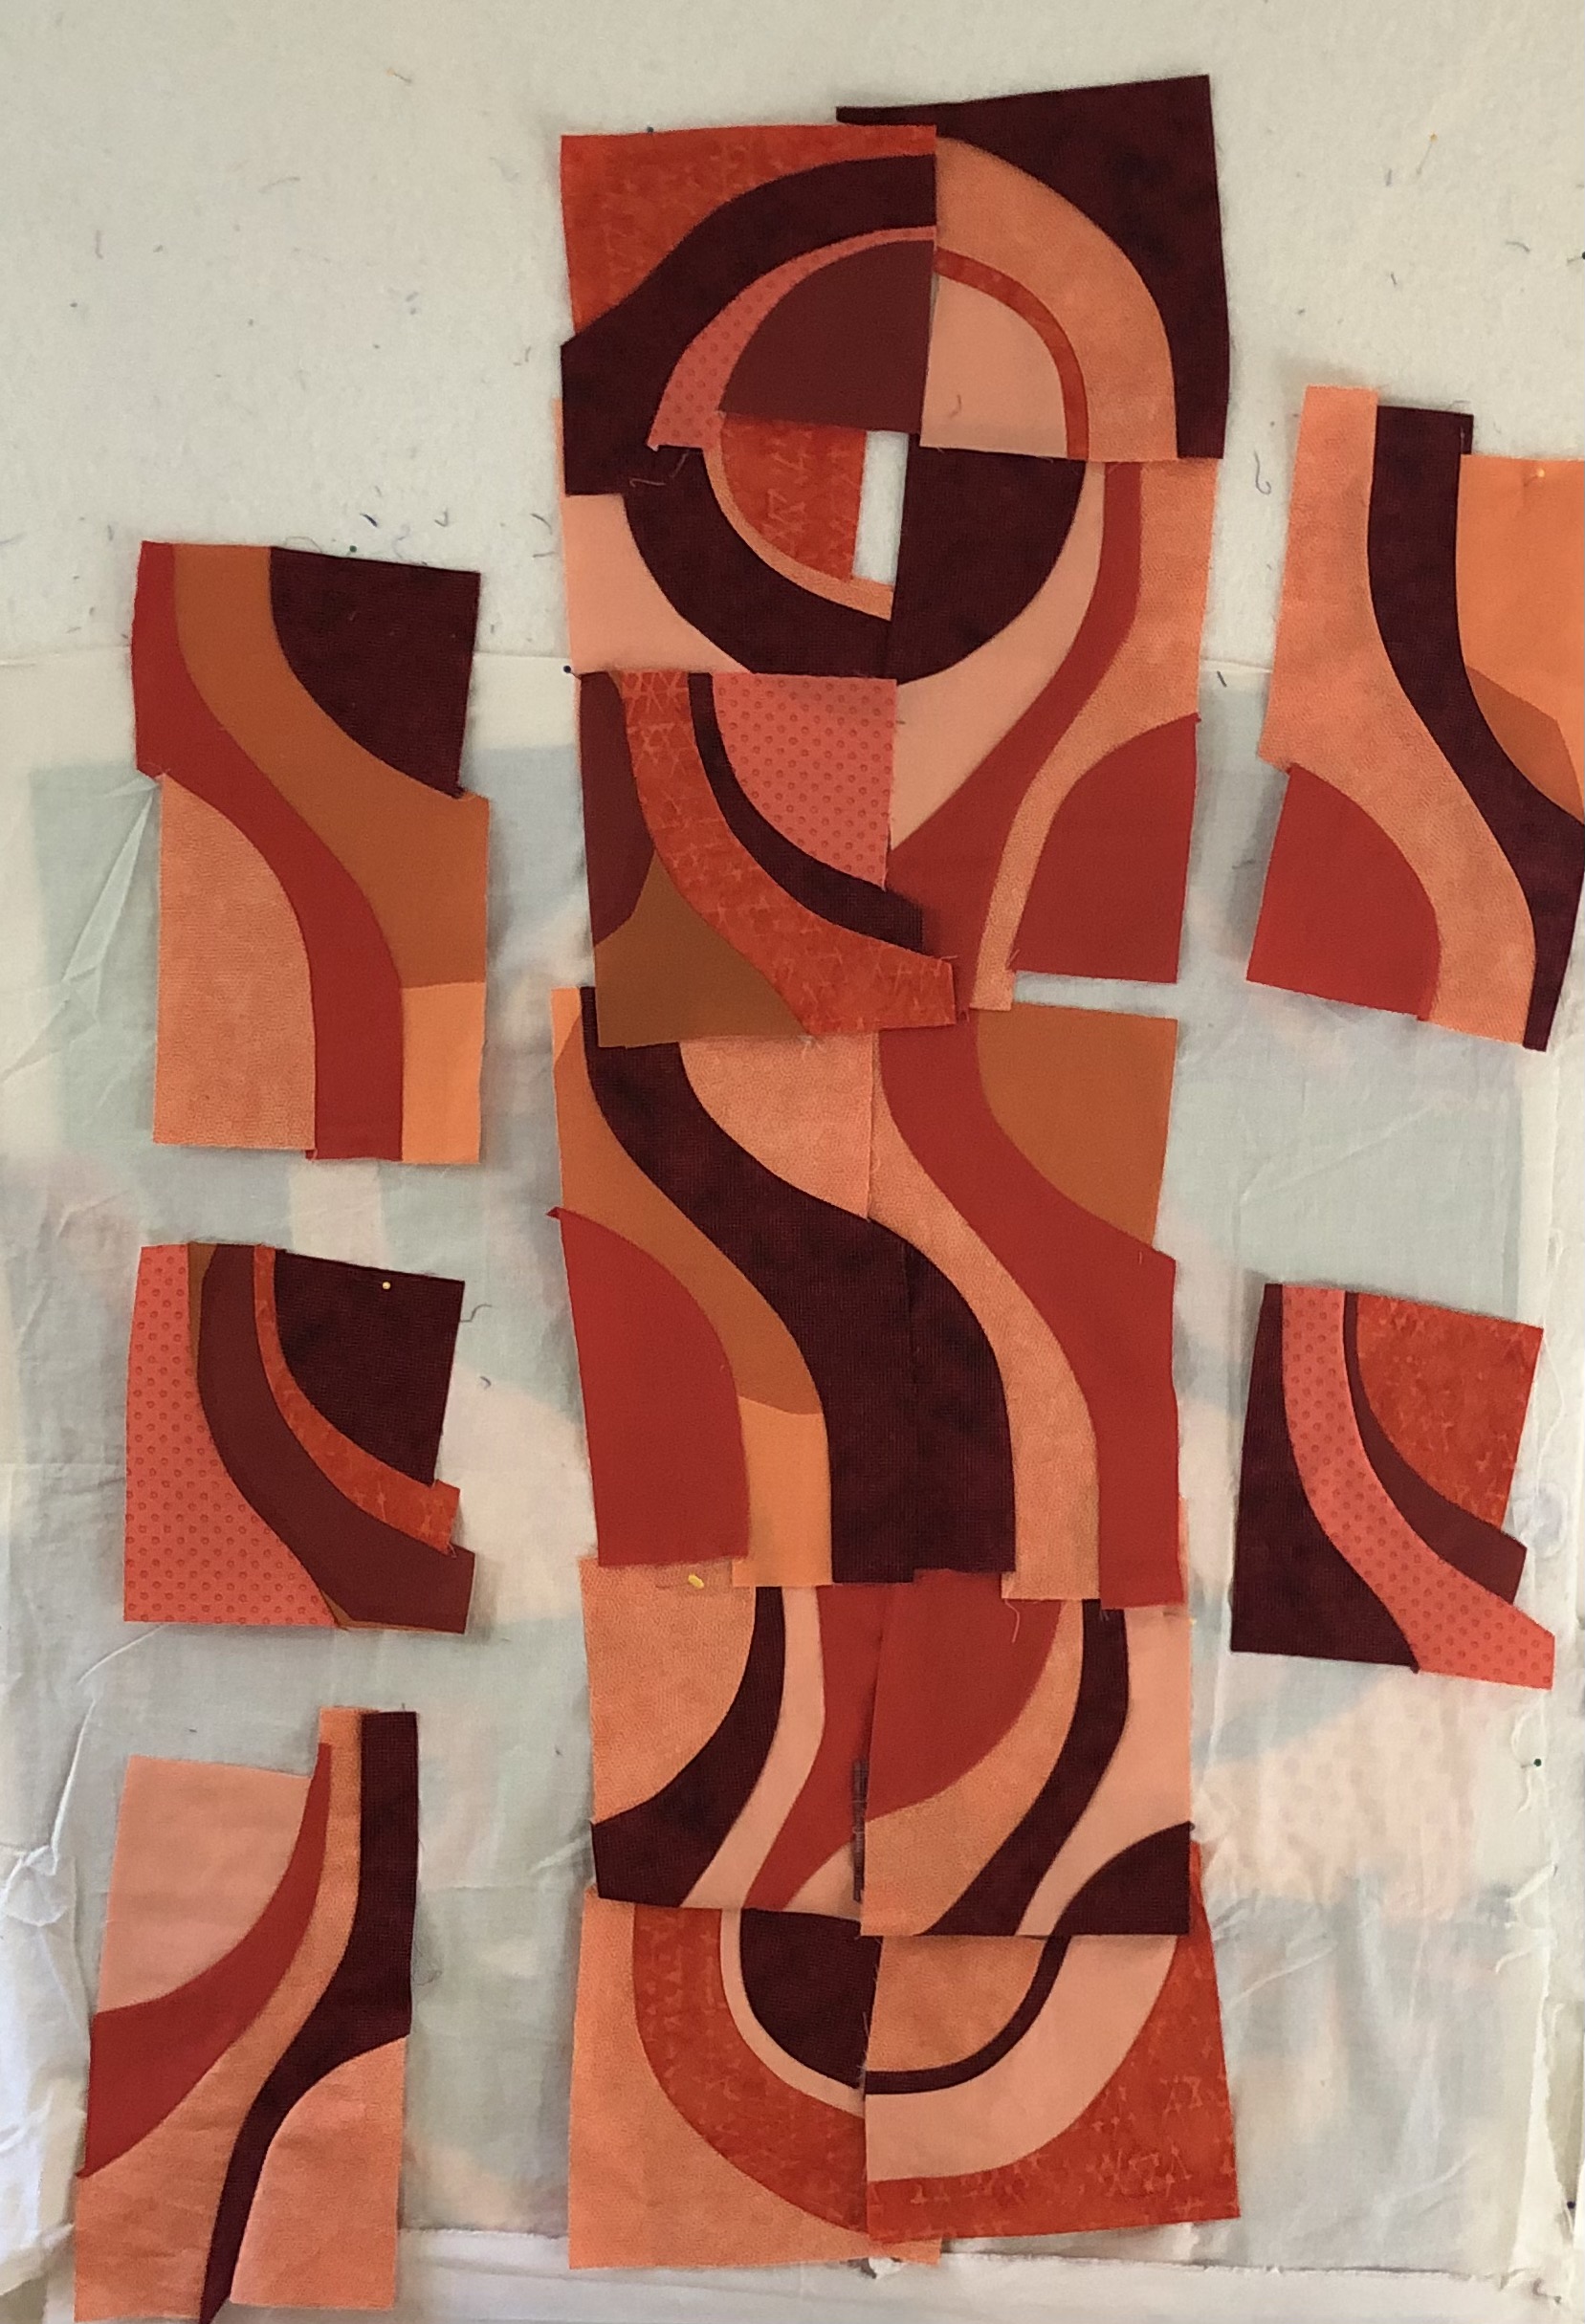
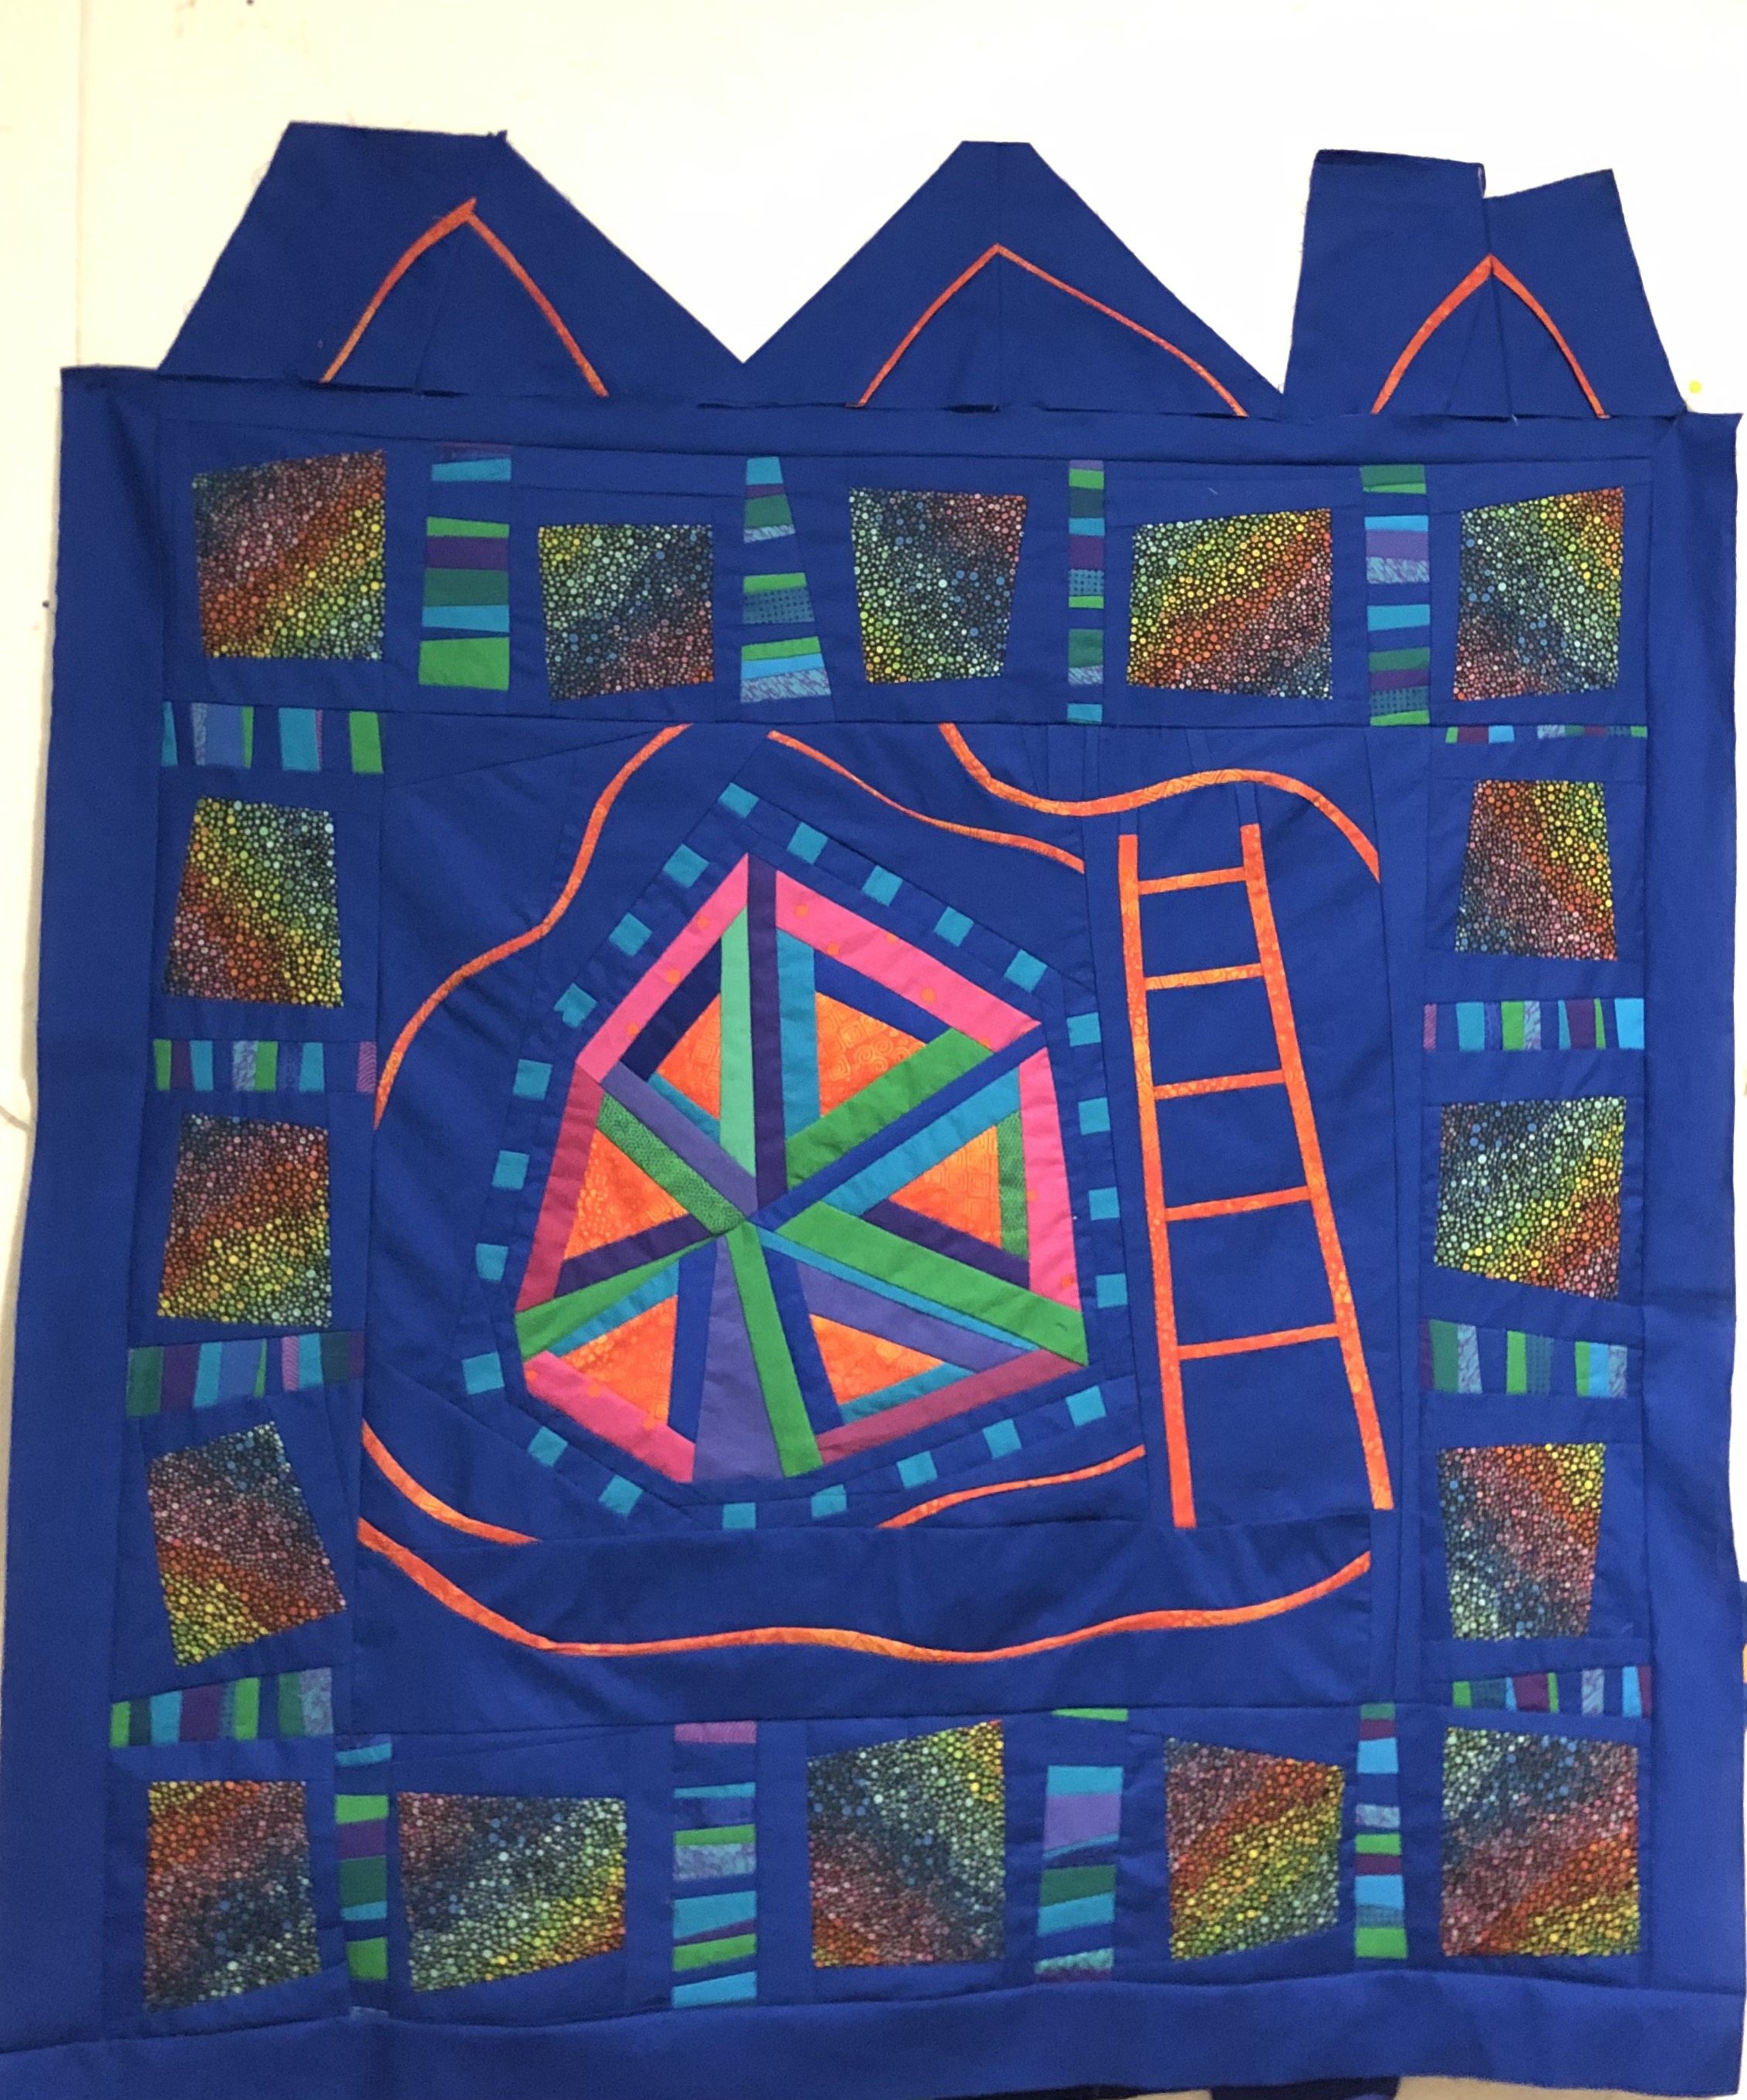
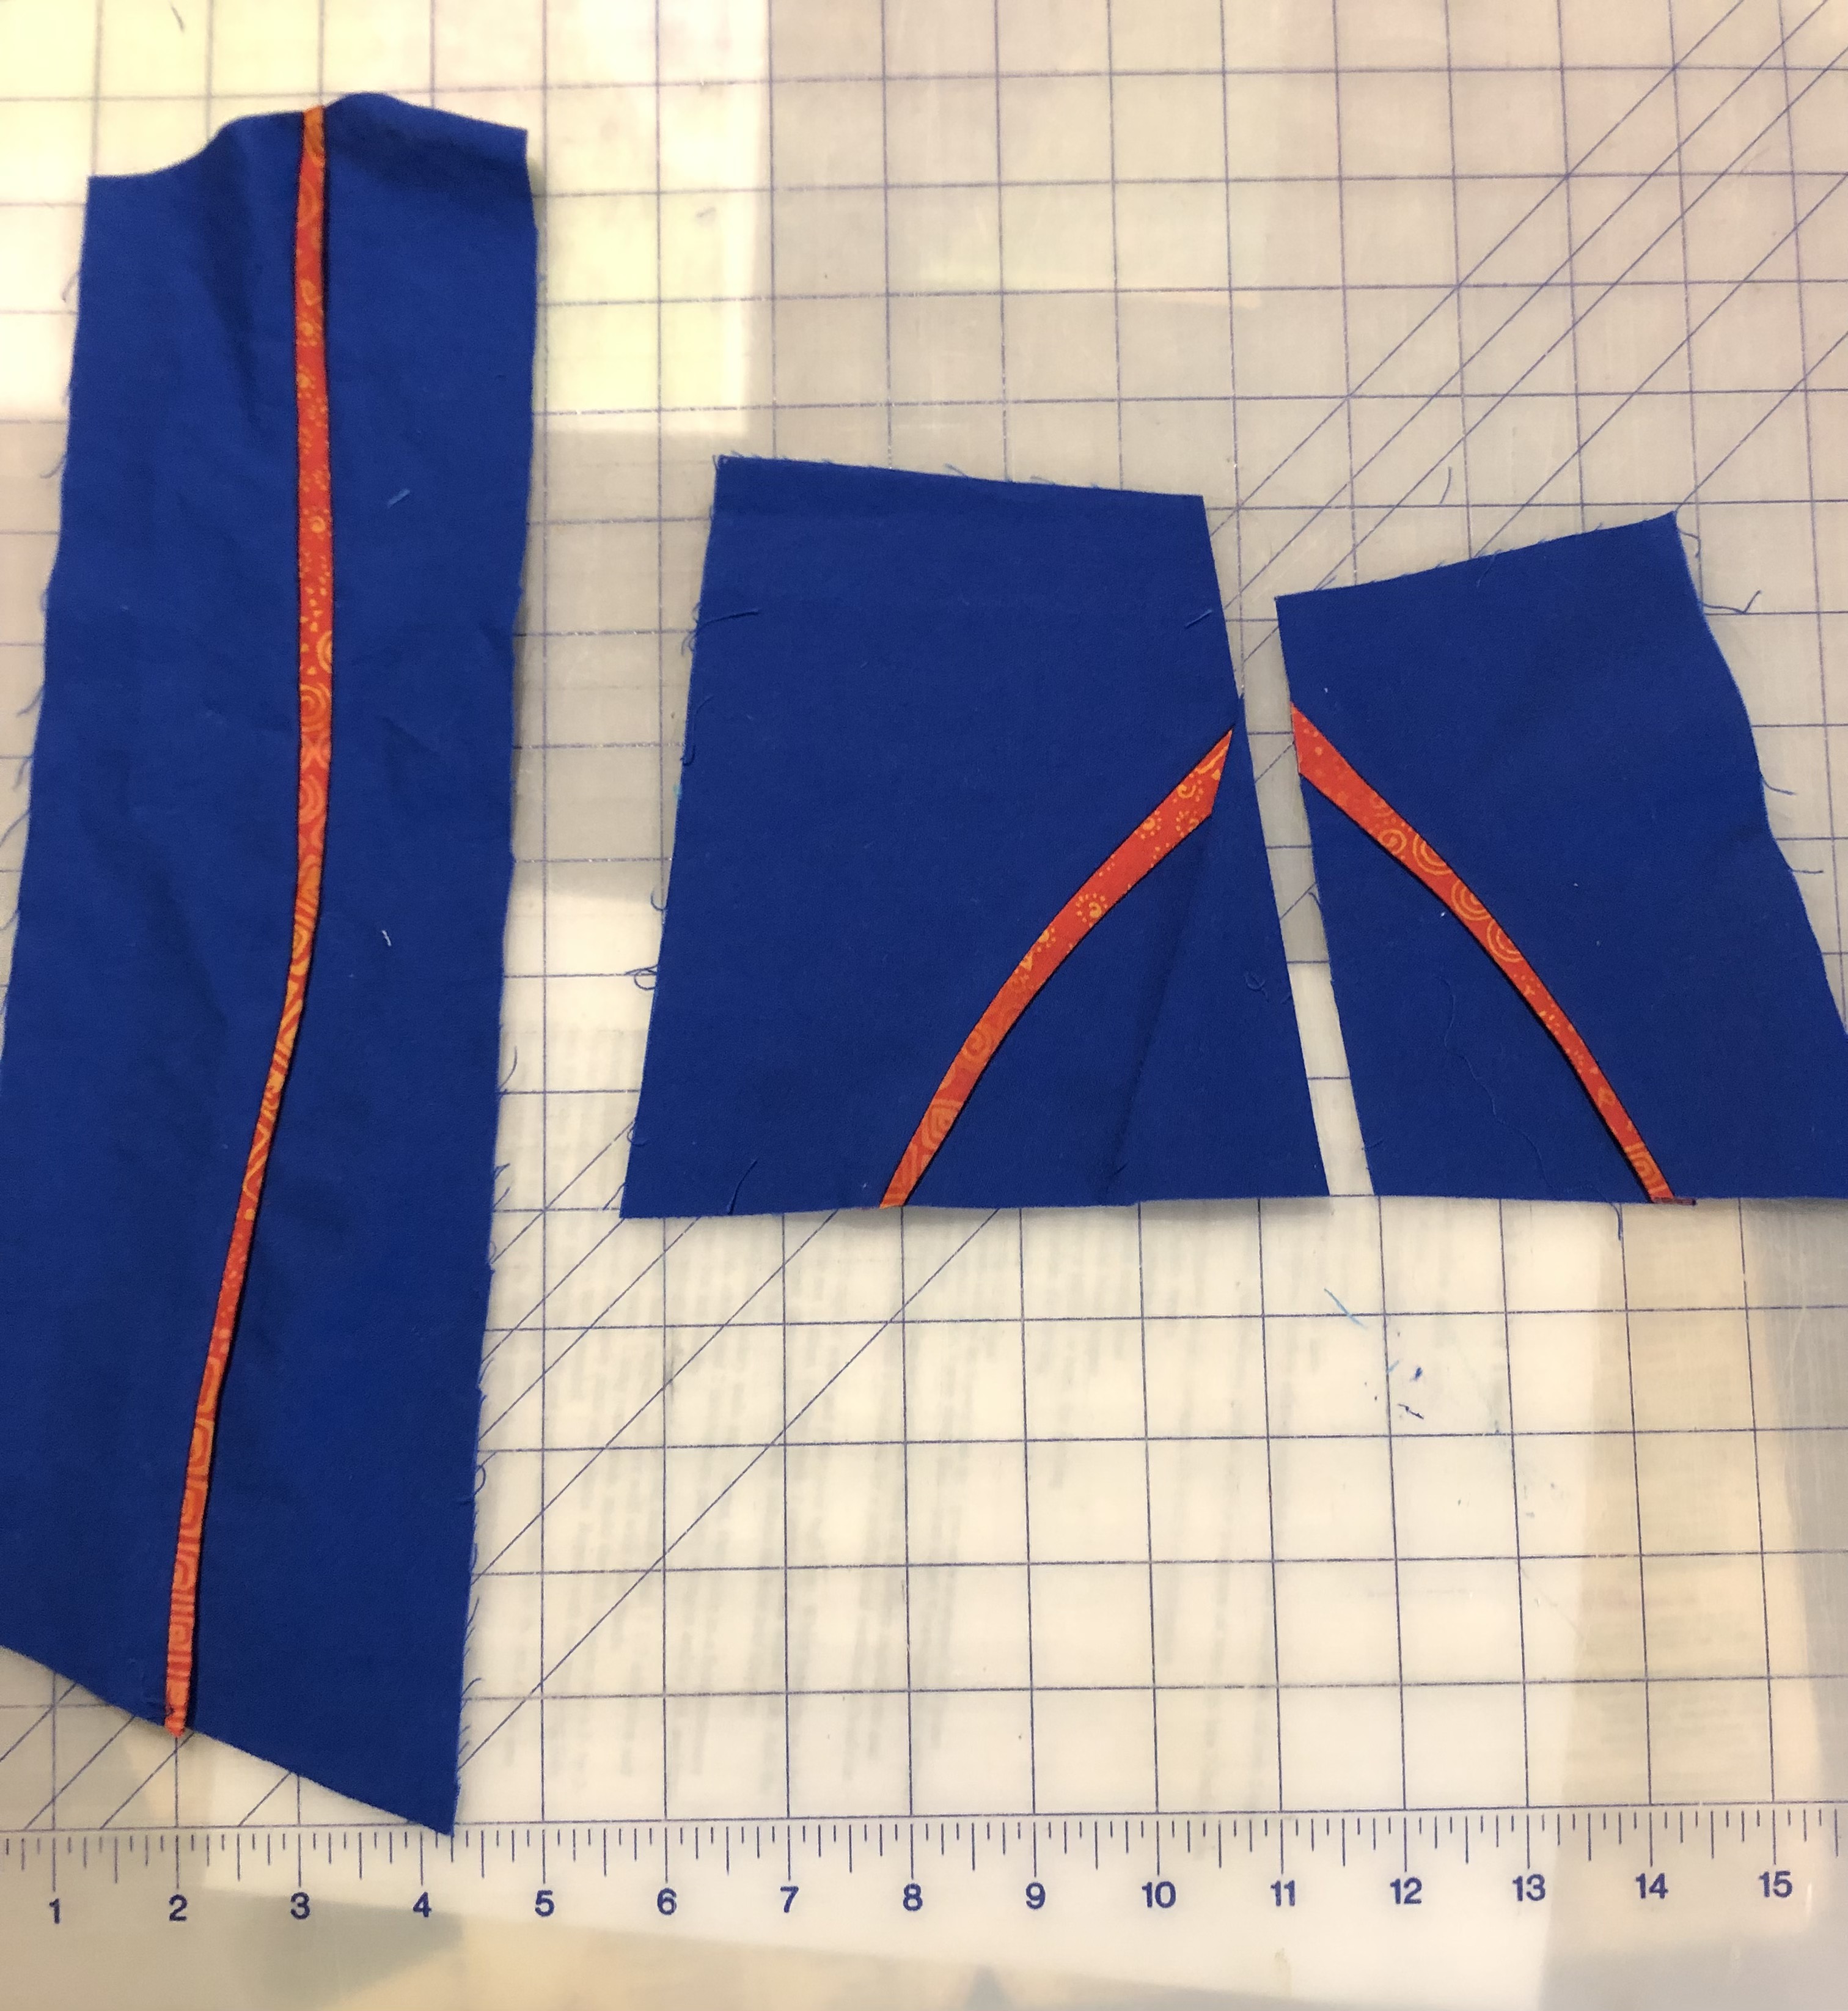
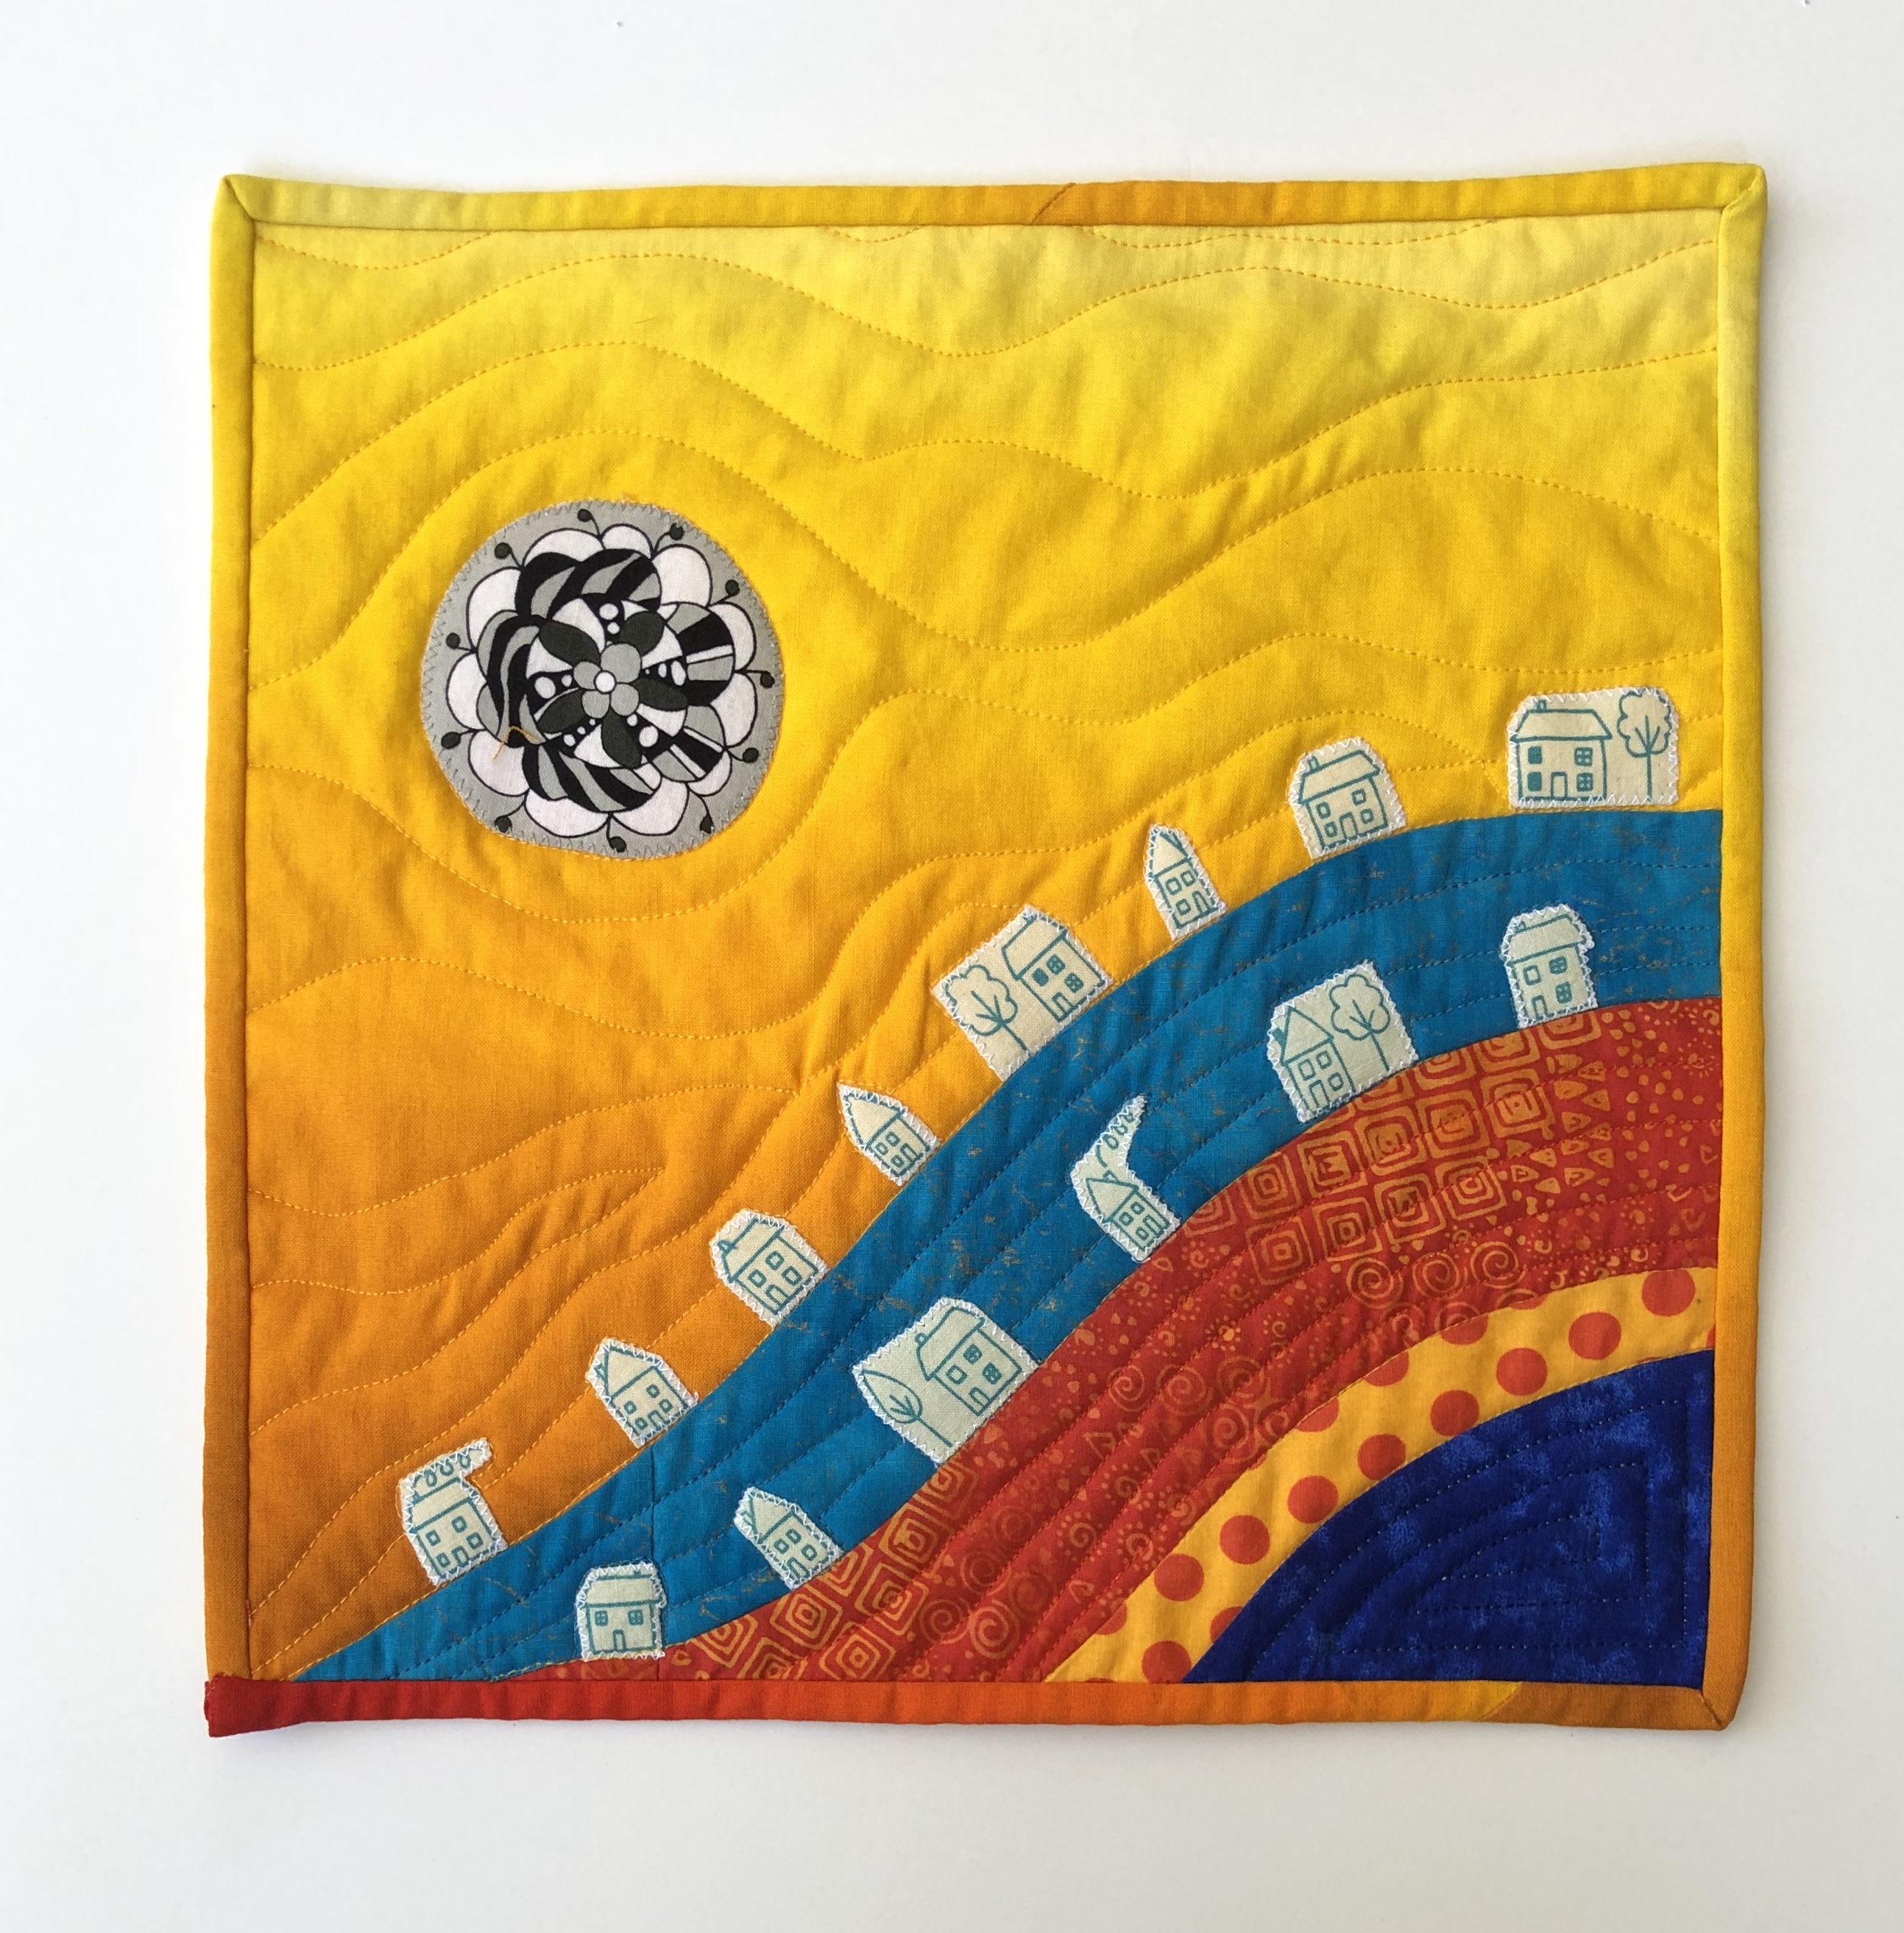
These randomly sized blocks were put together with filler or coping strips. Many of these strips were pieced from the trimming leftovers. Here is mine before I sewed it together.
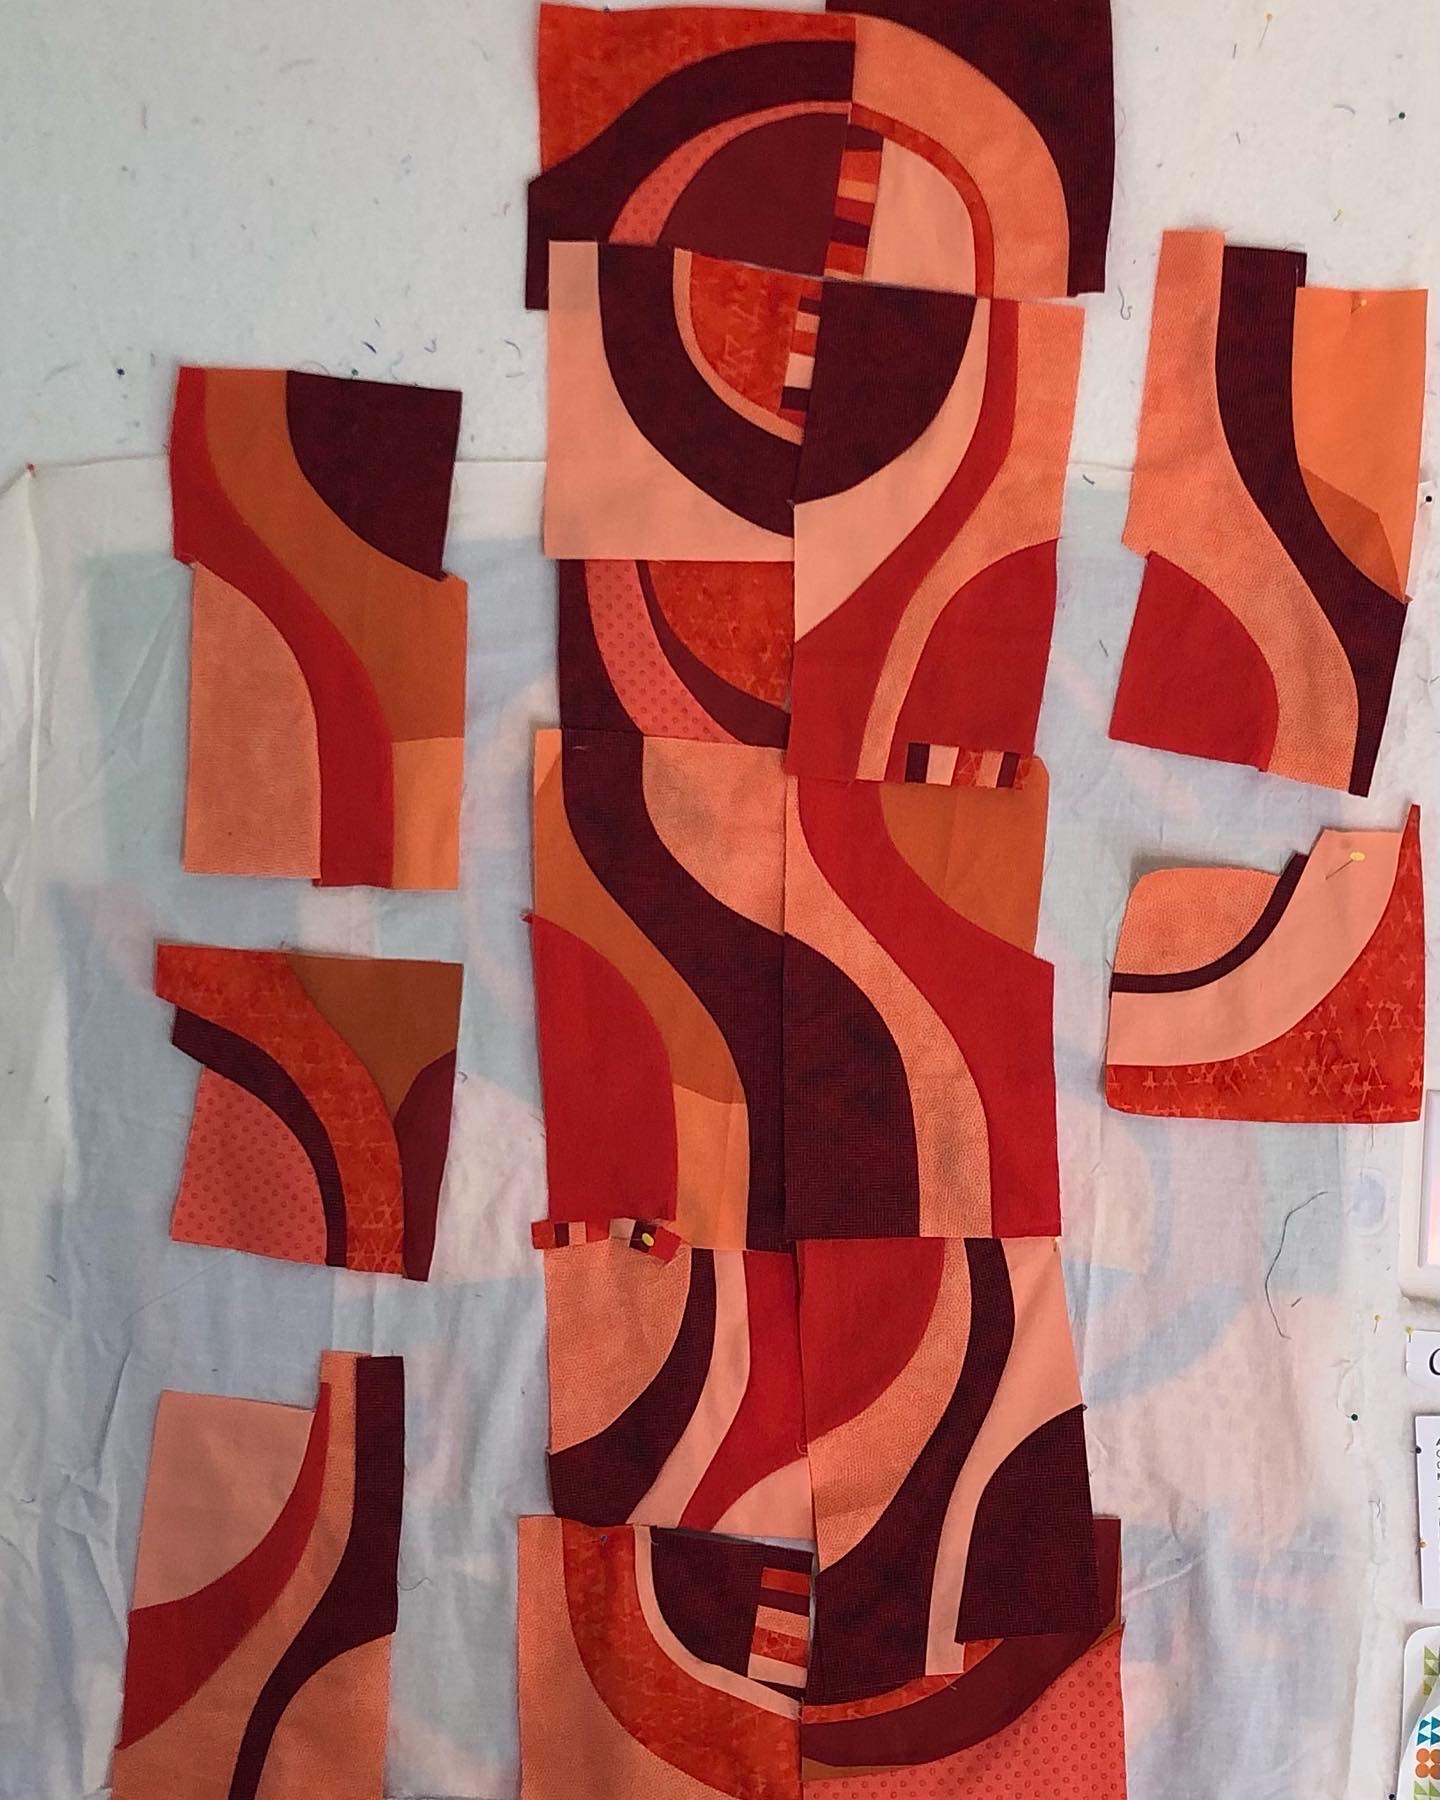
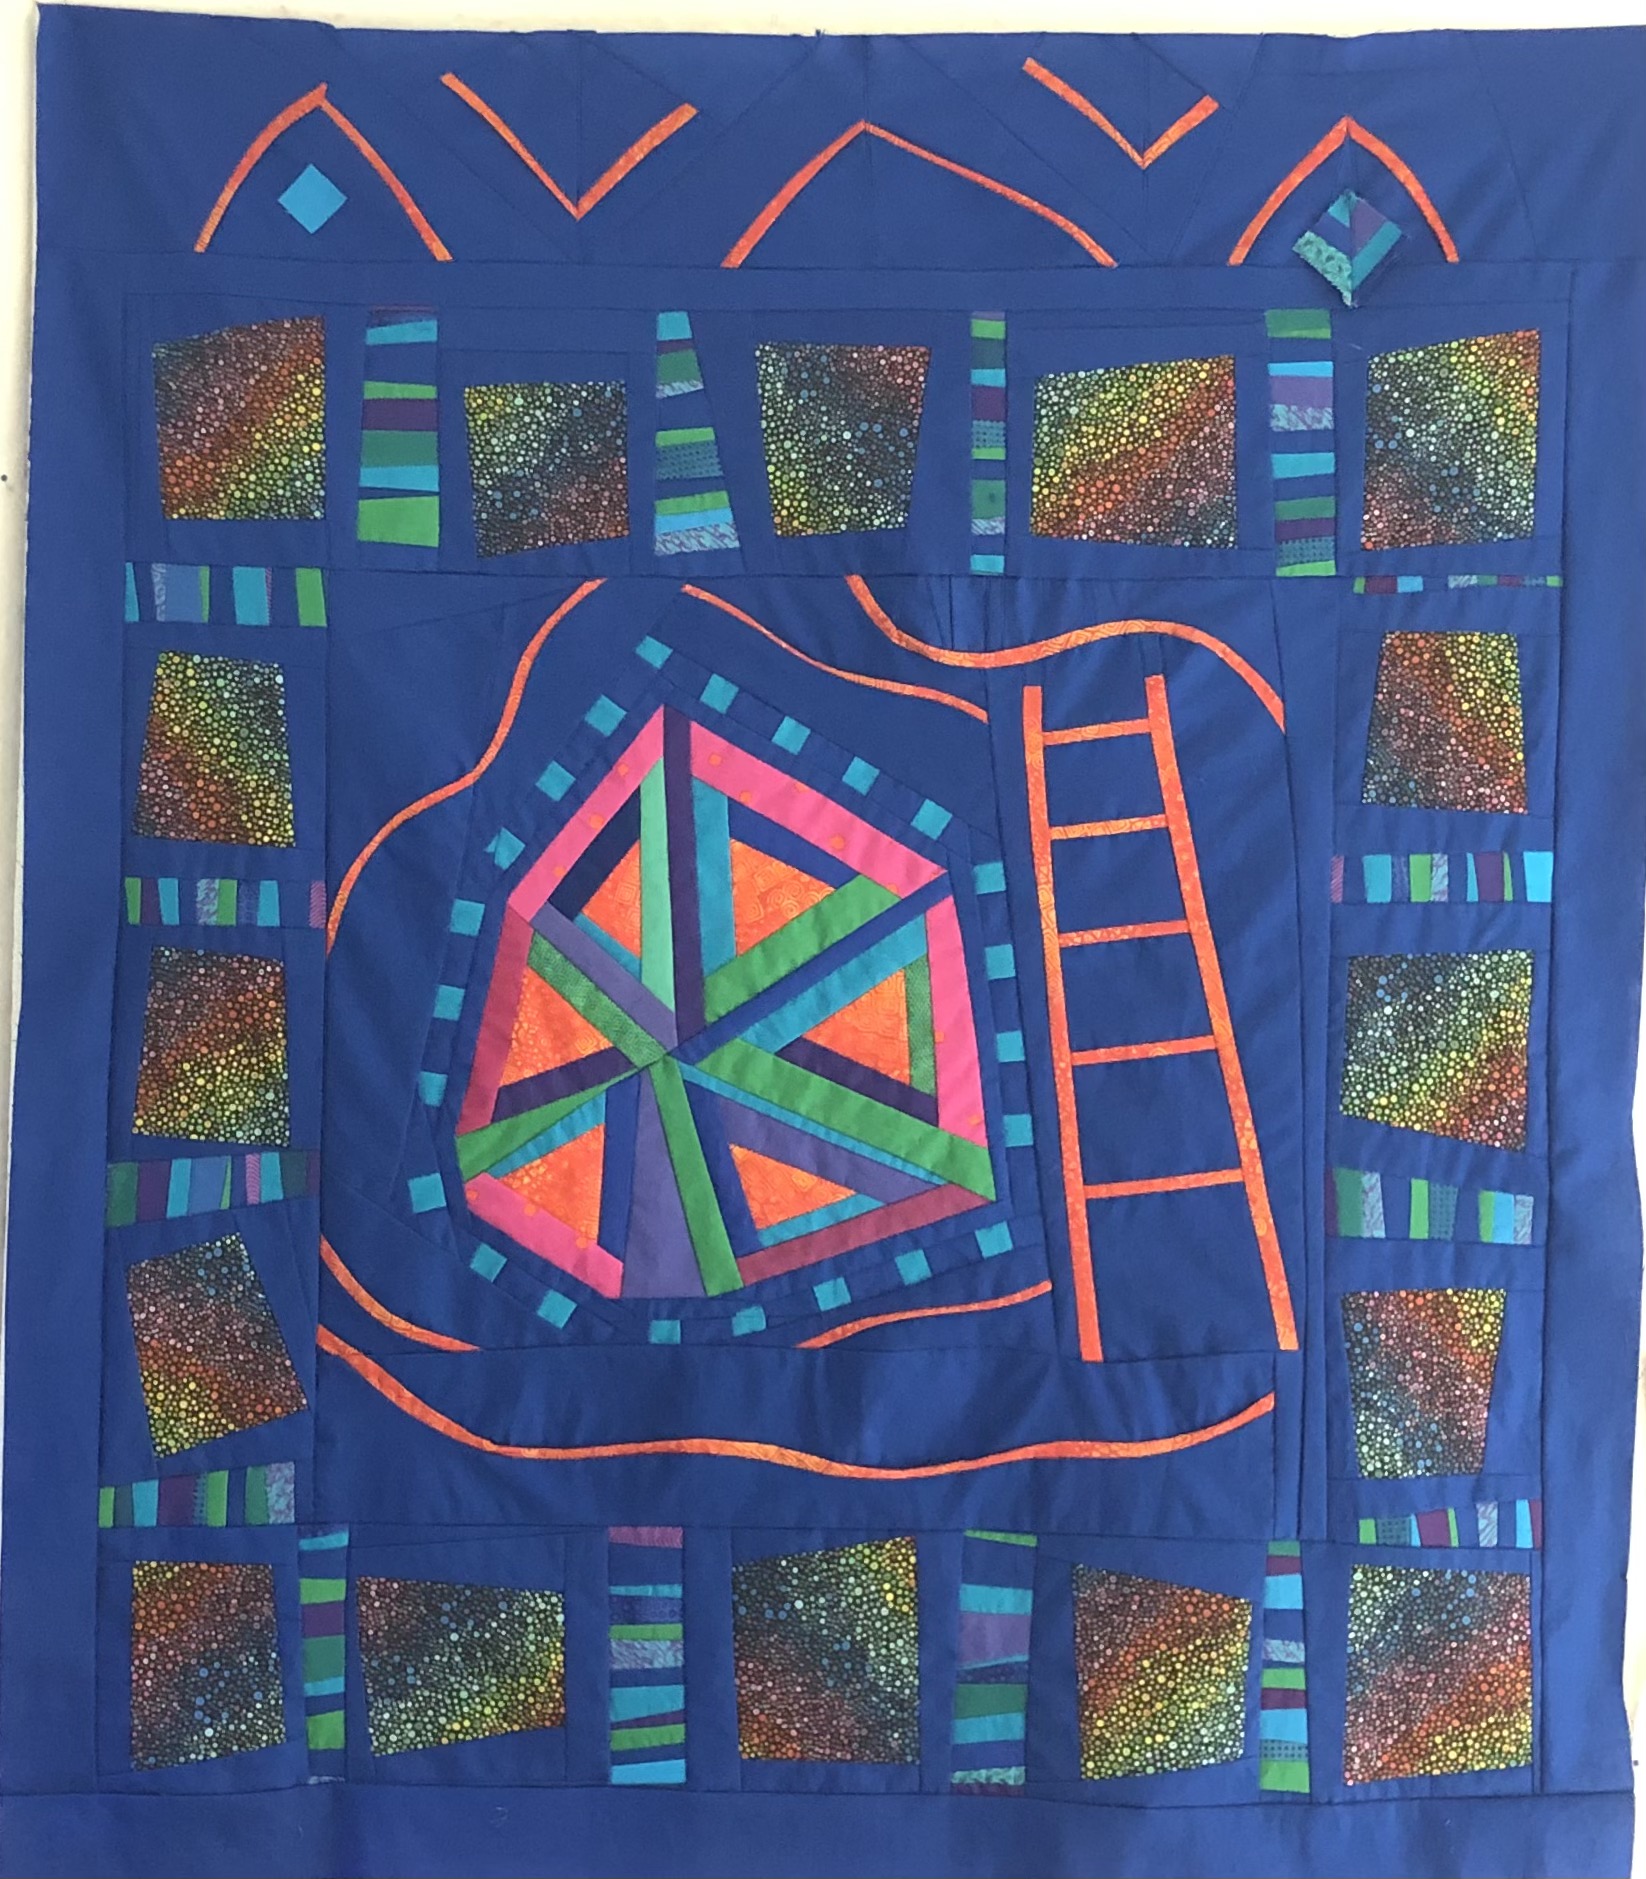
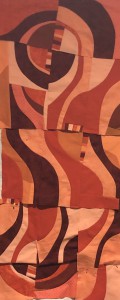 I took this photo, and didn’t like the way the horizontal seam that goes through the top circle seems to run downhill! I repositioned it, and liked it better.
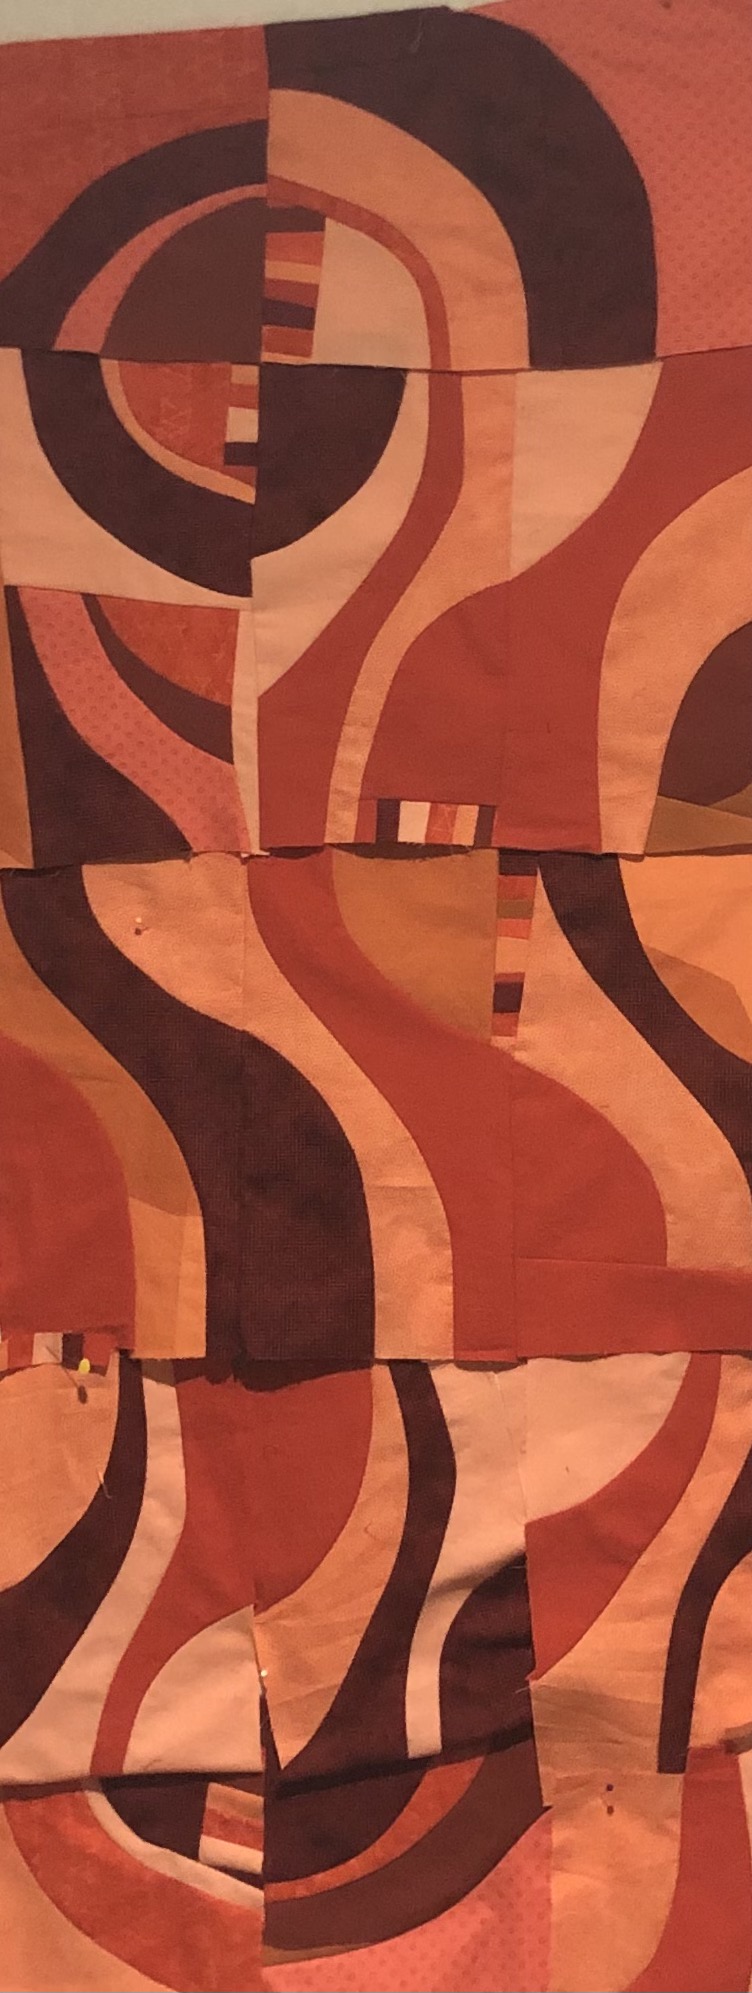
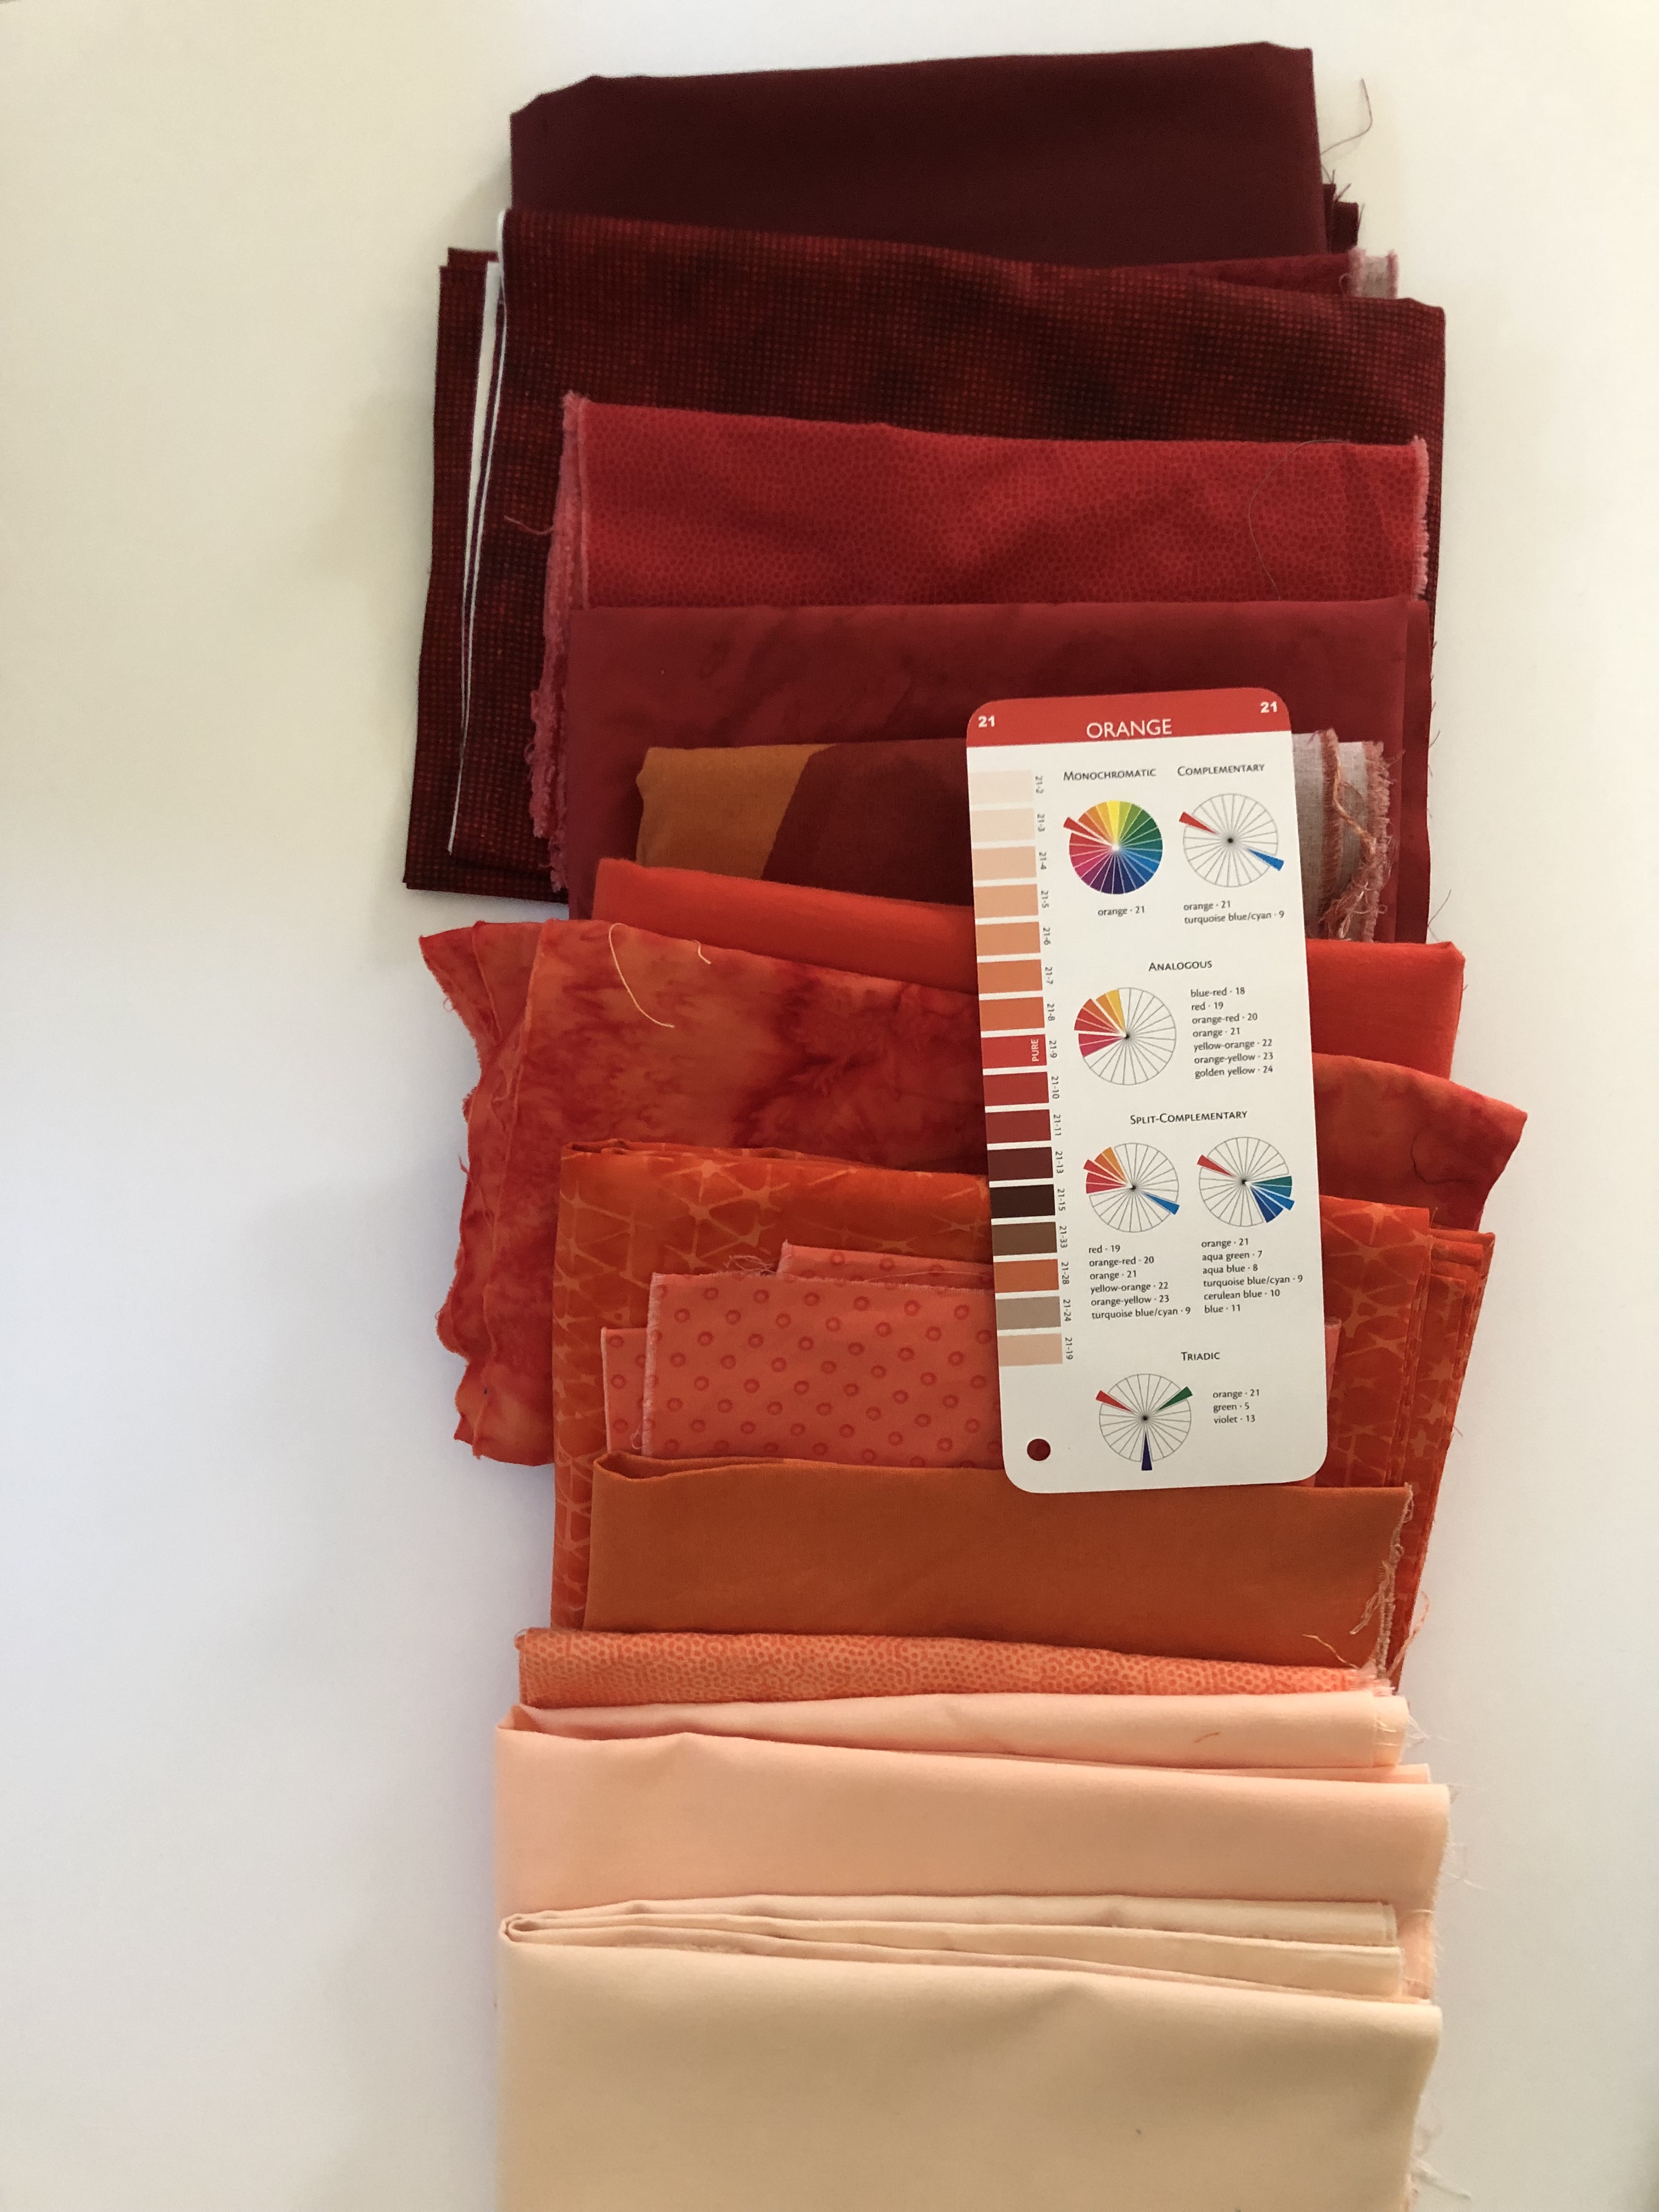
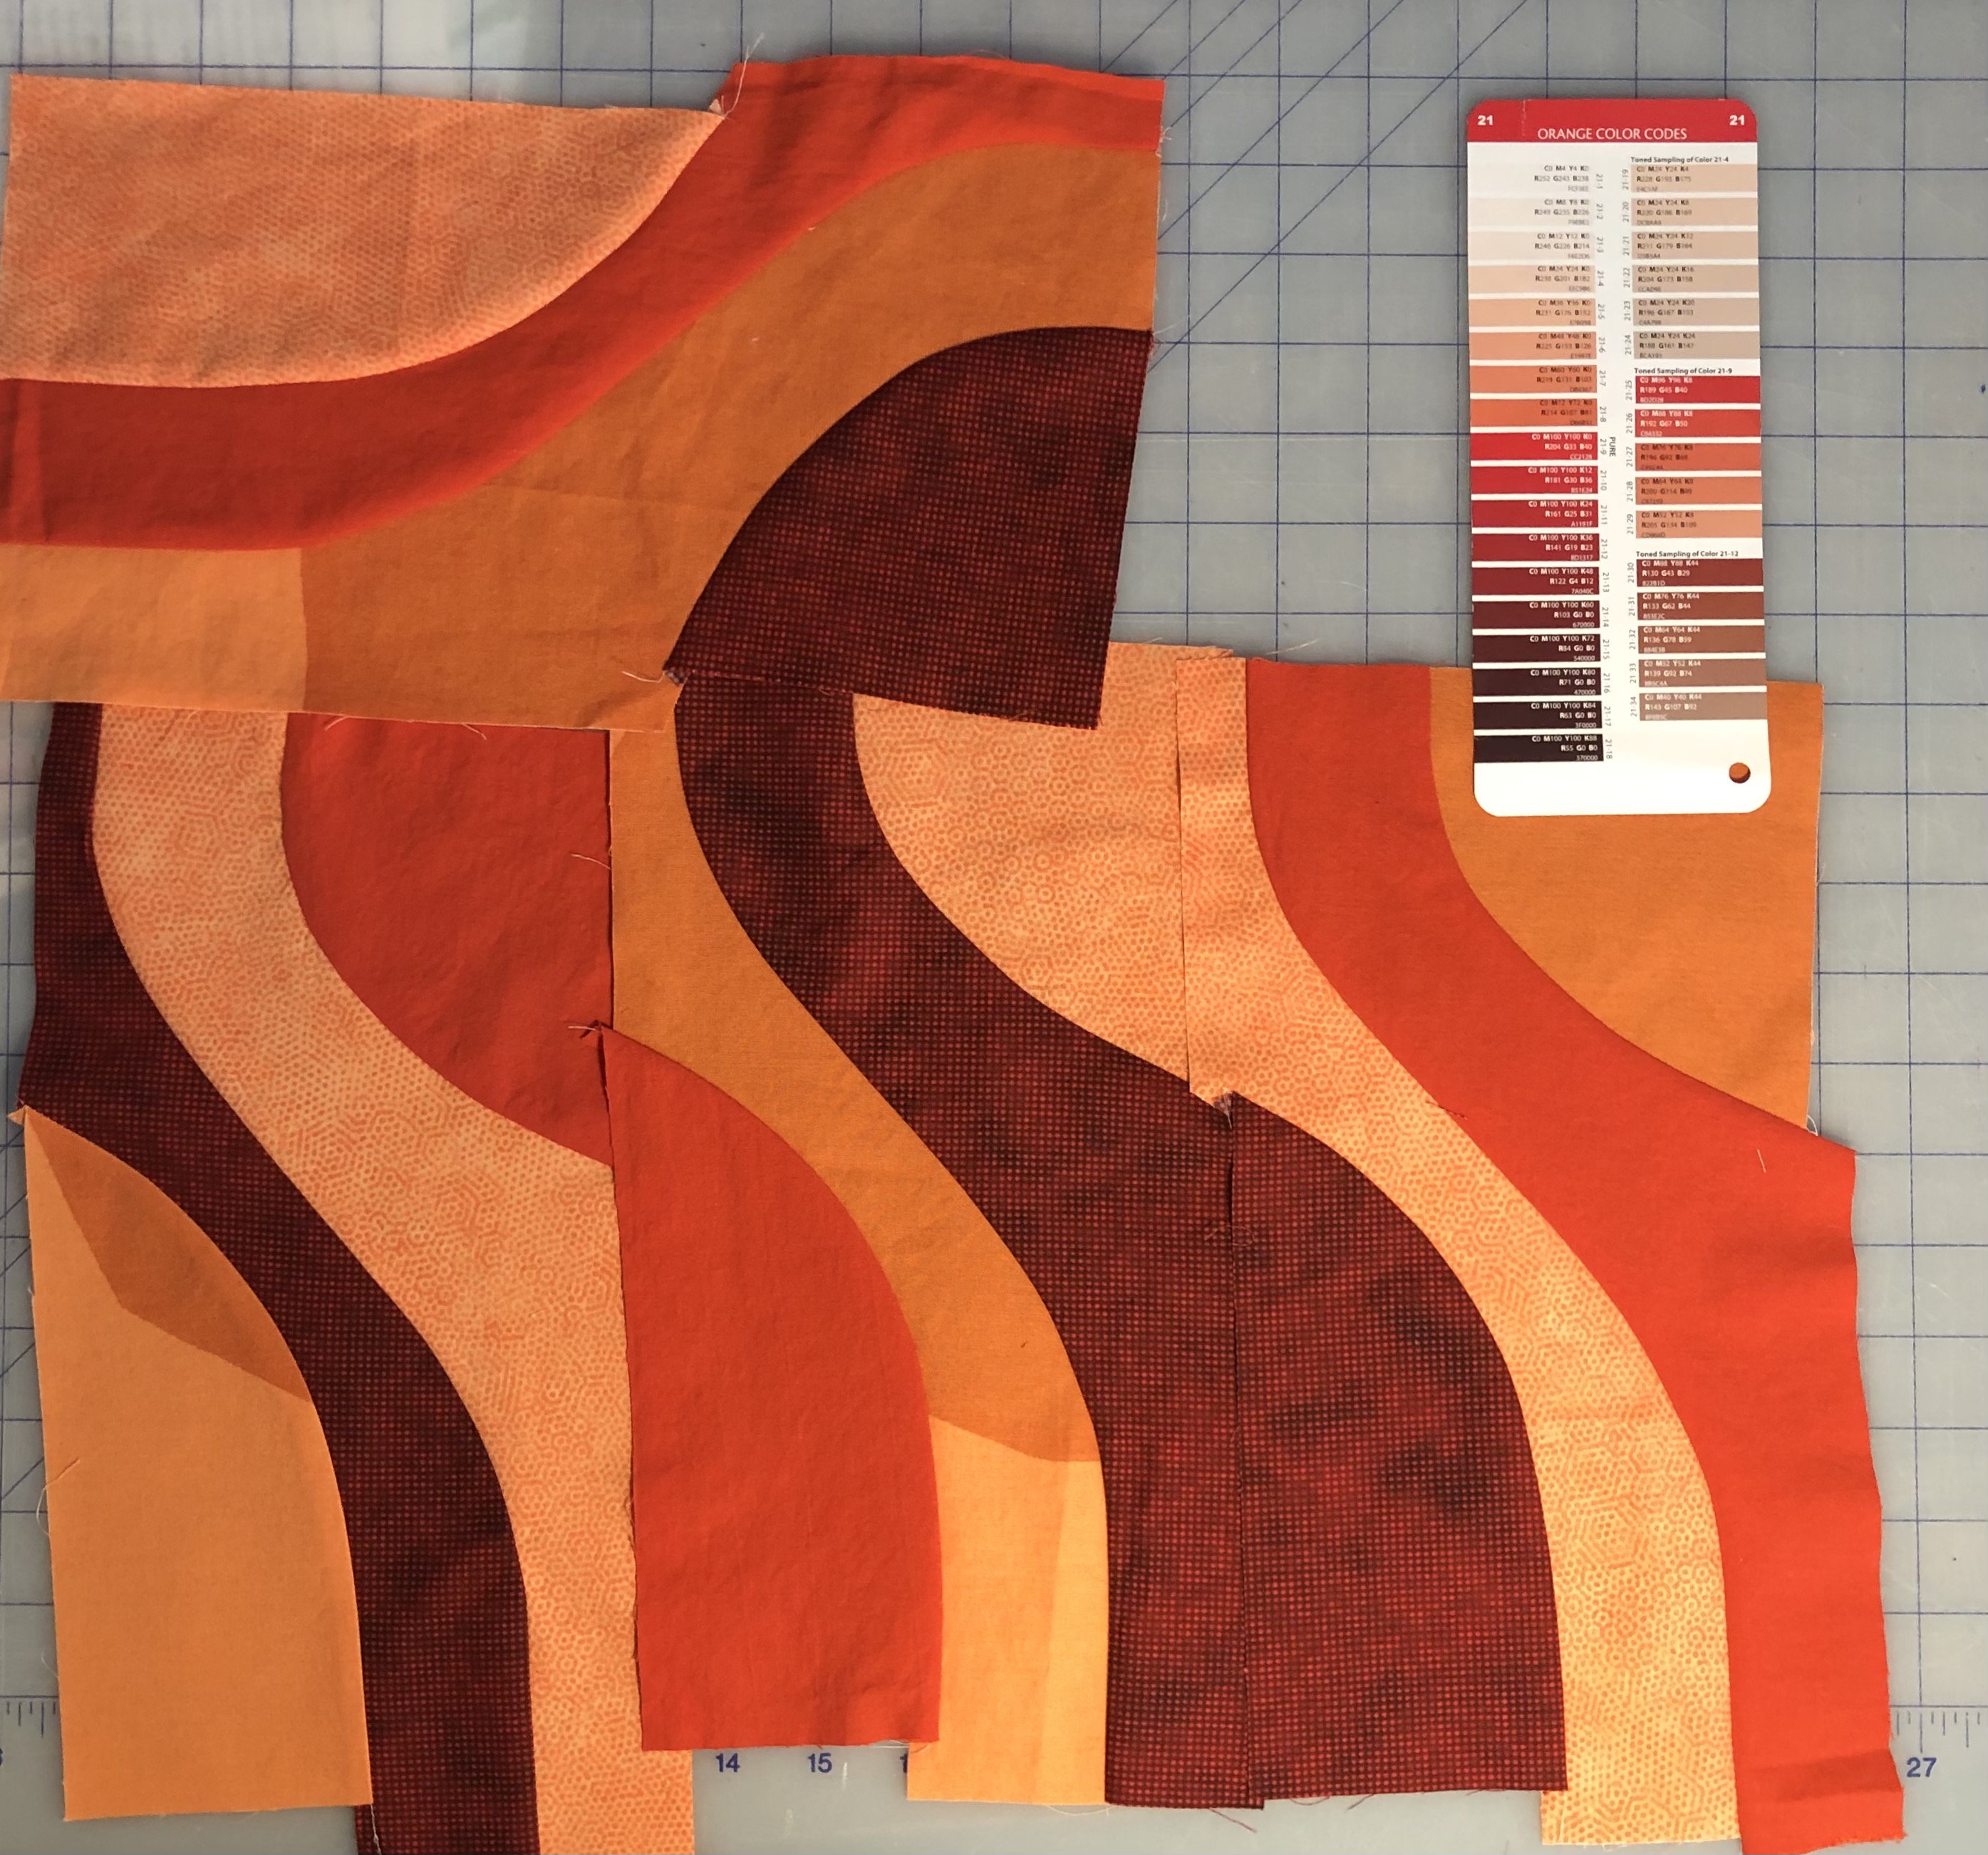
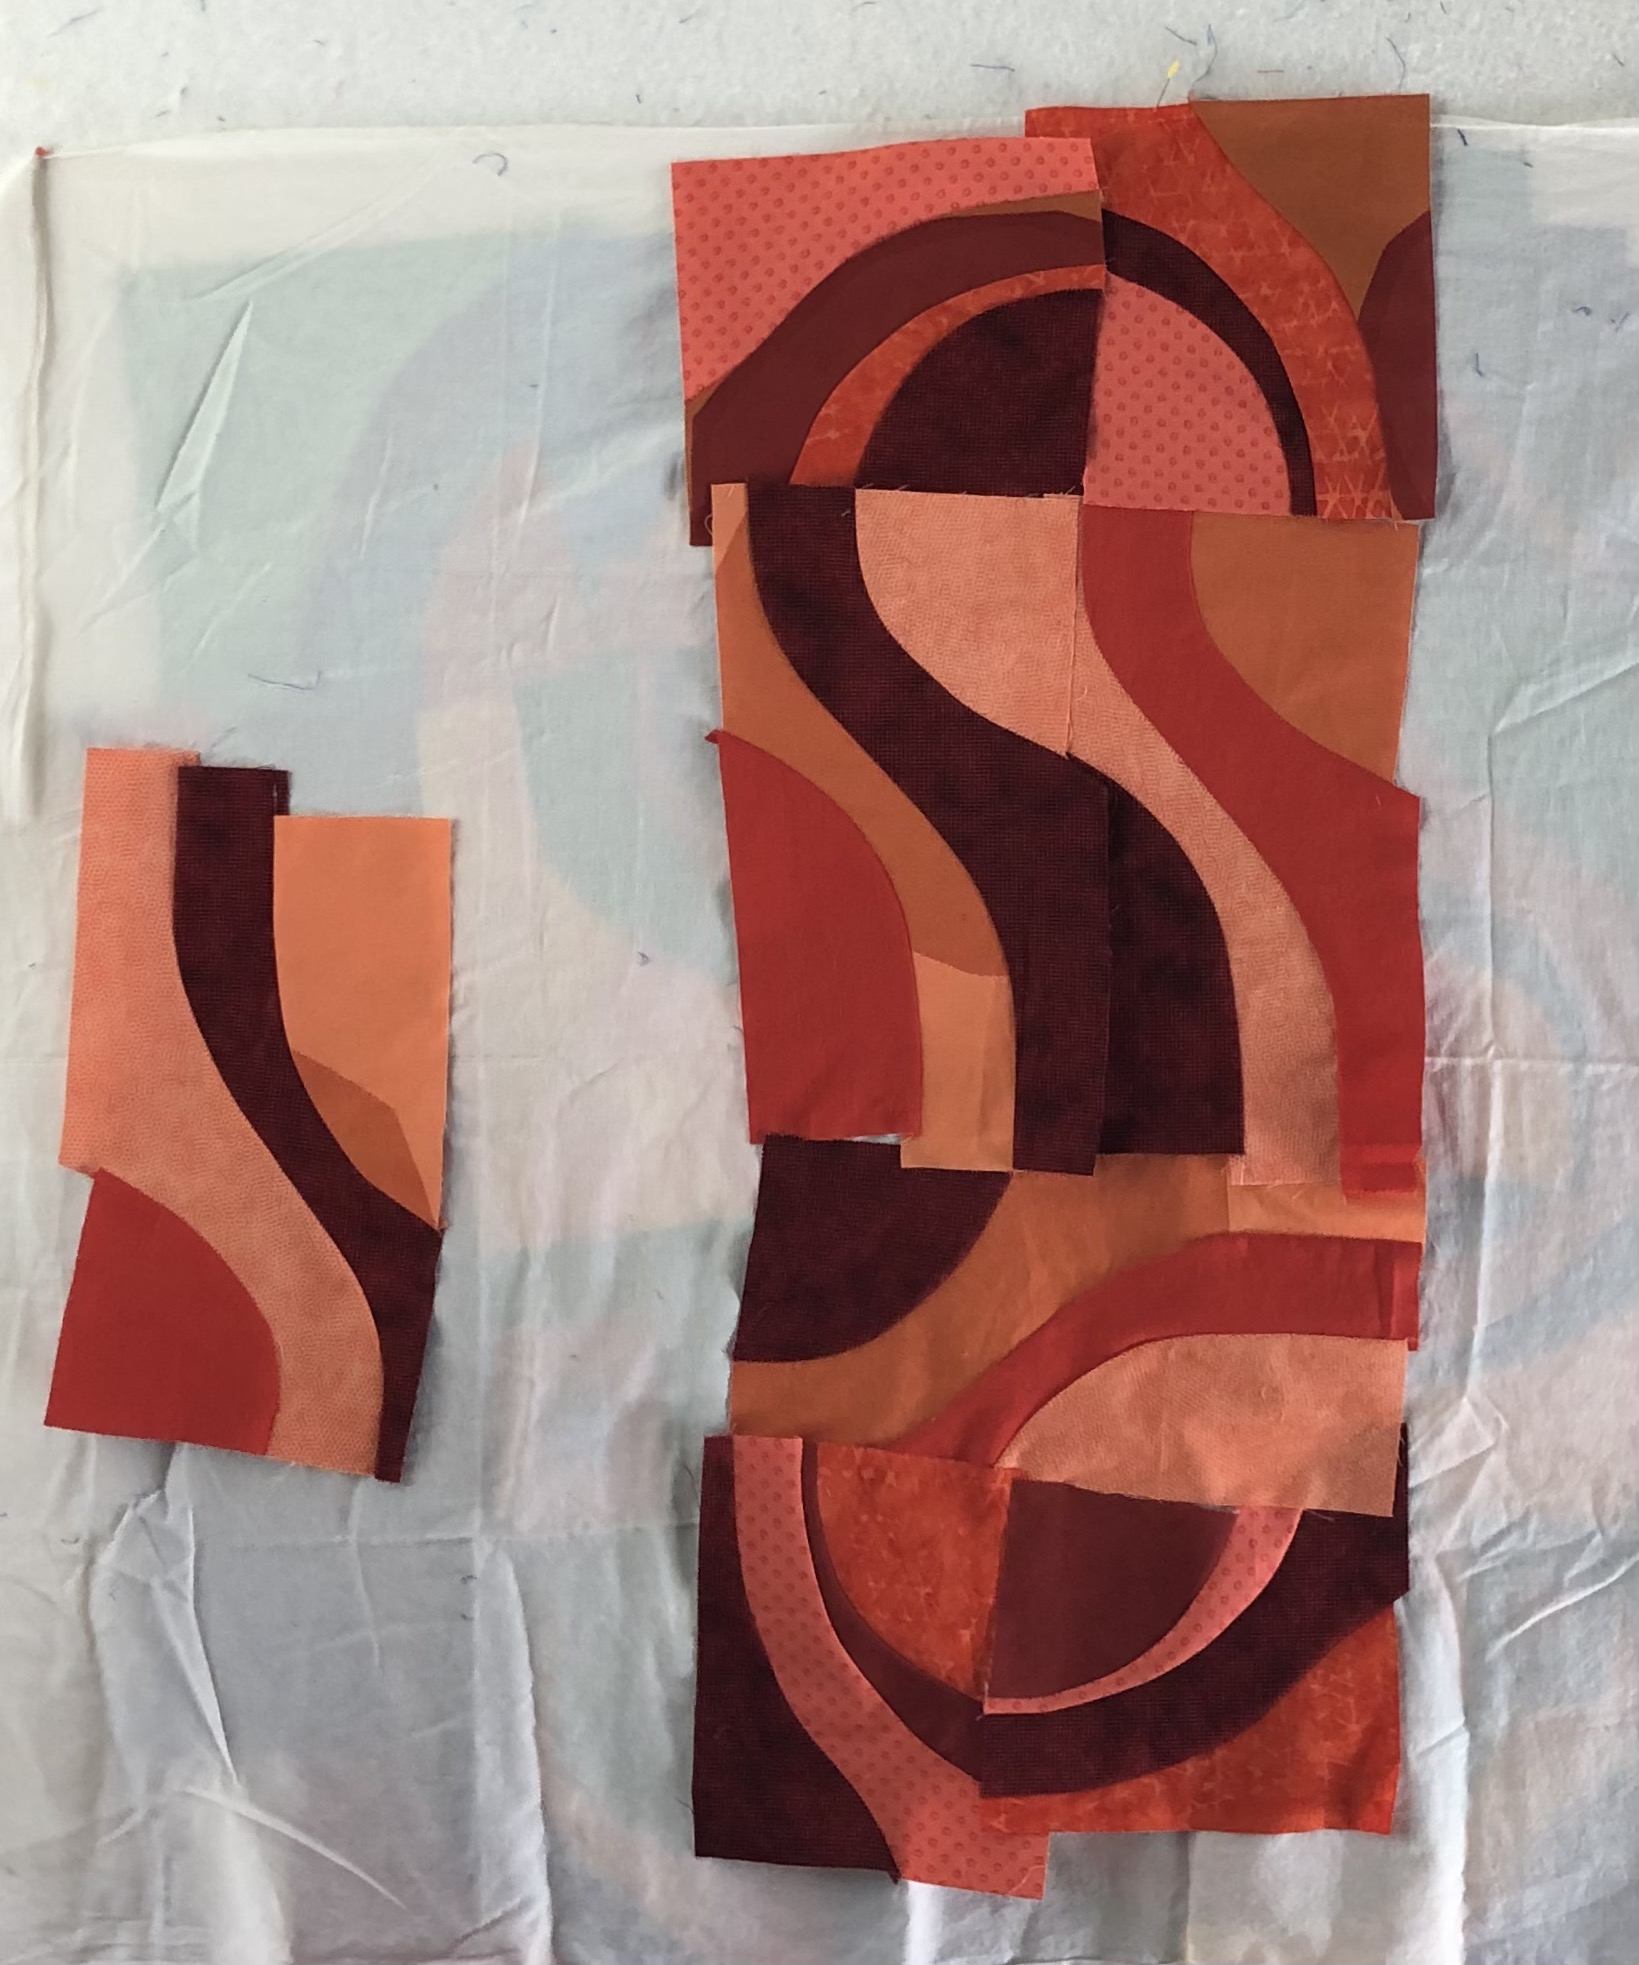
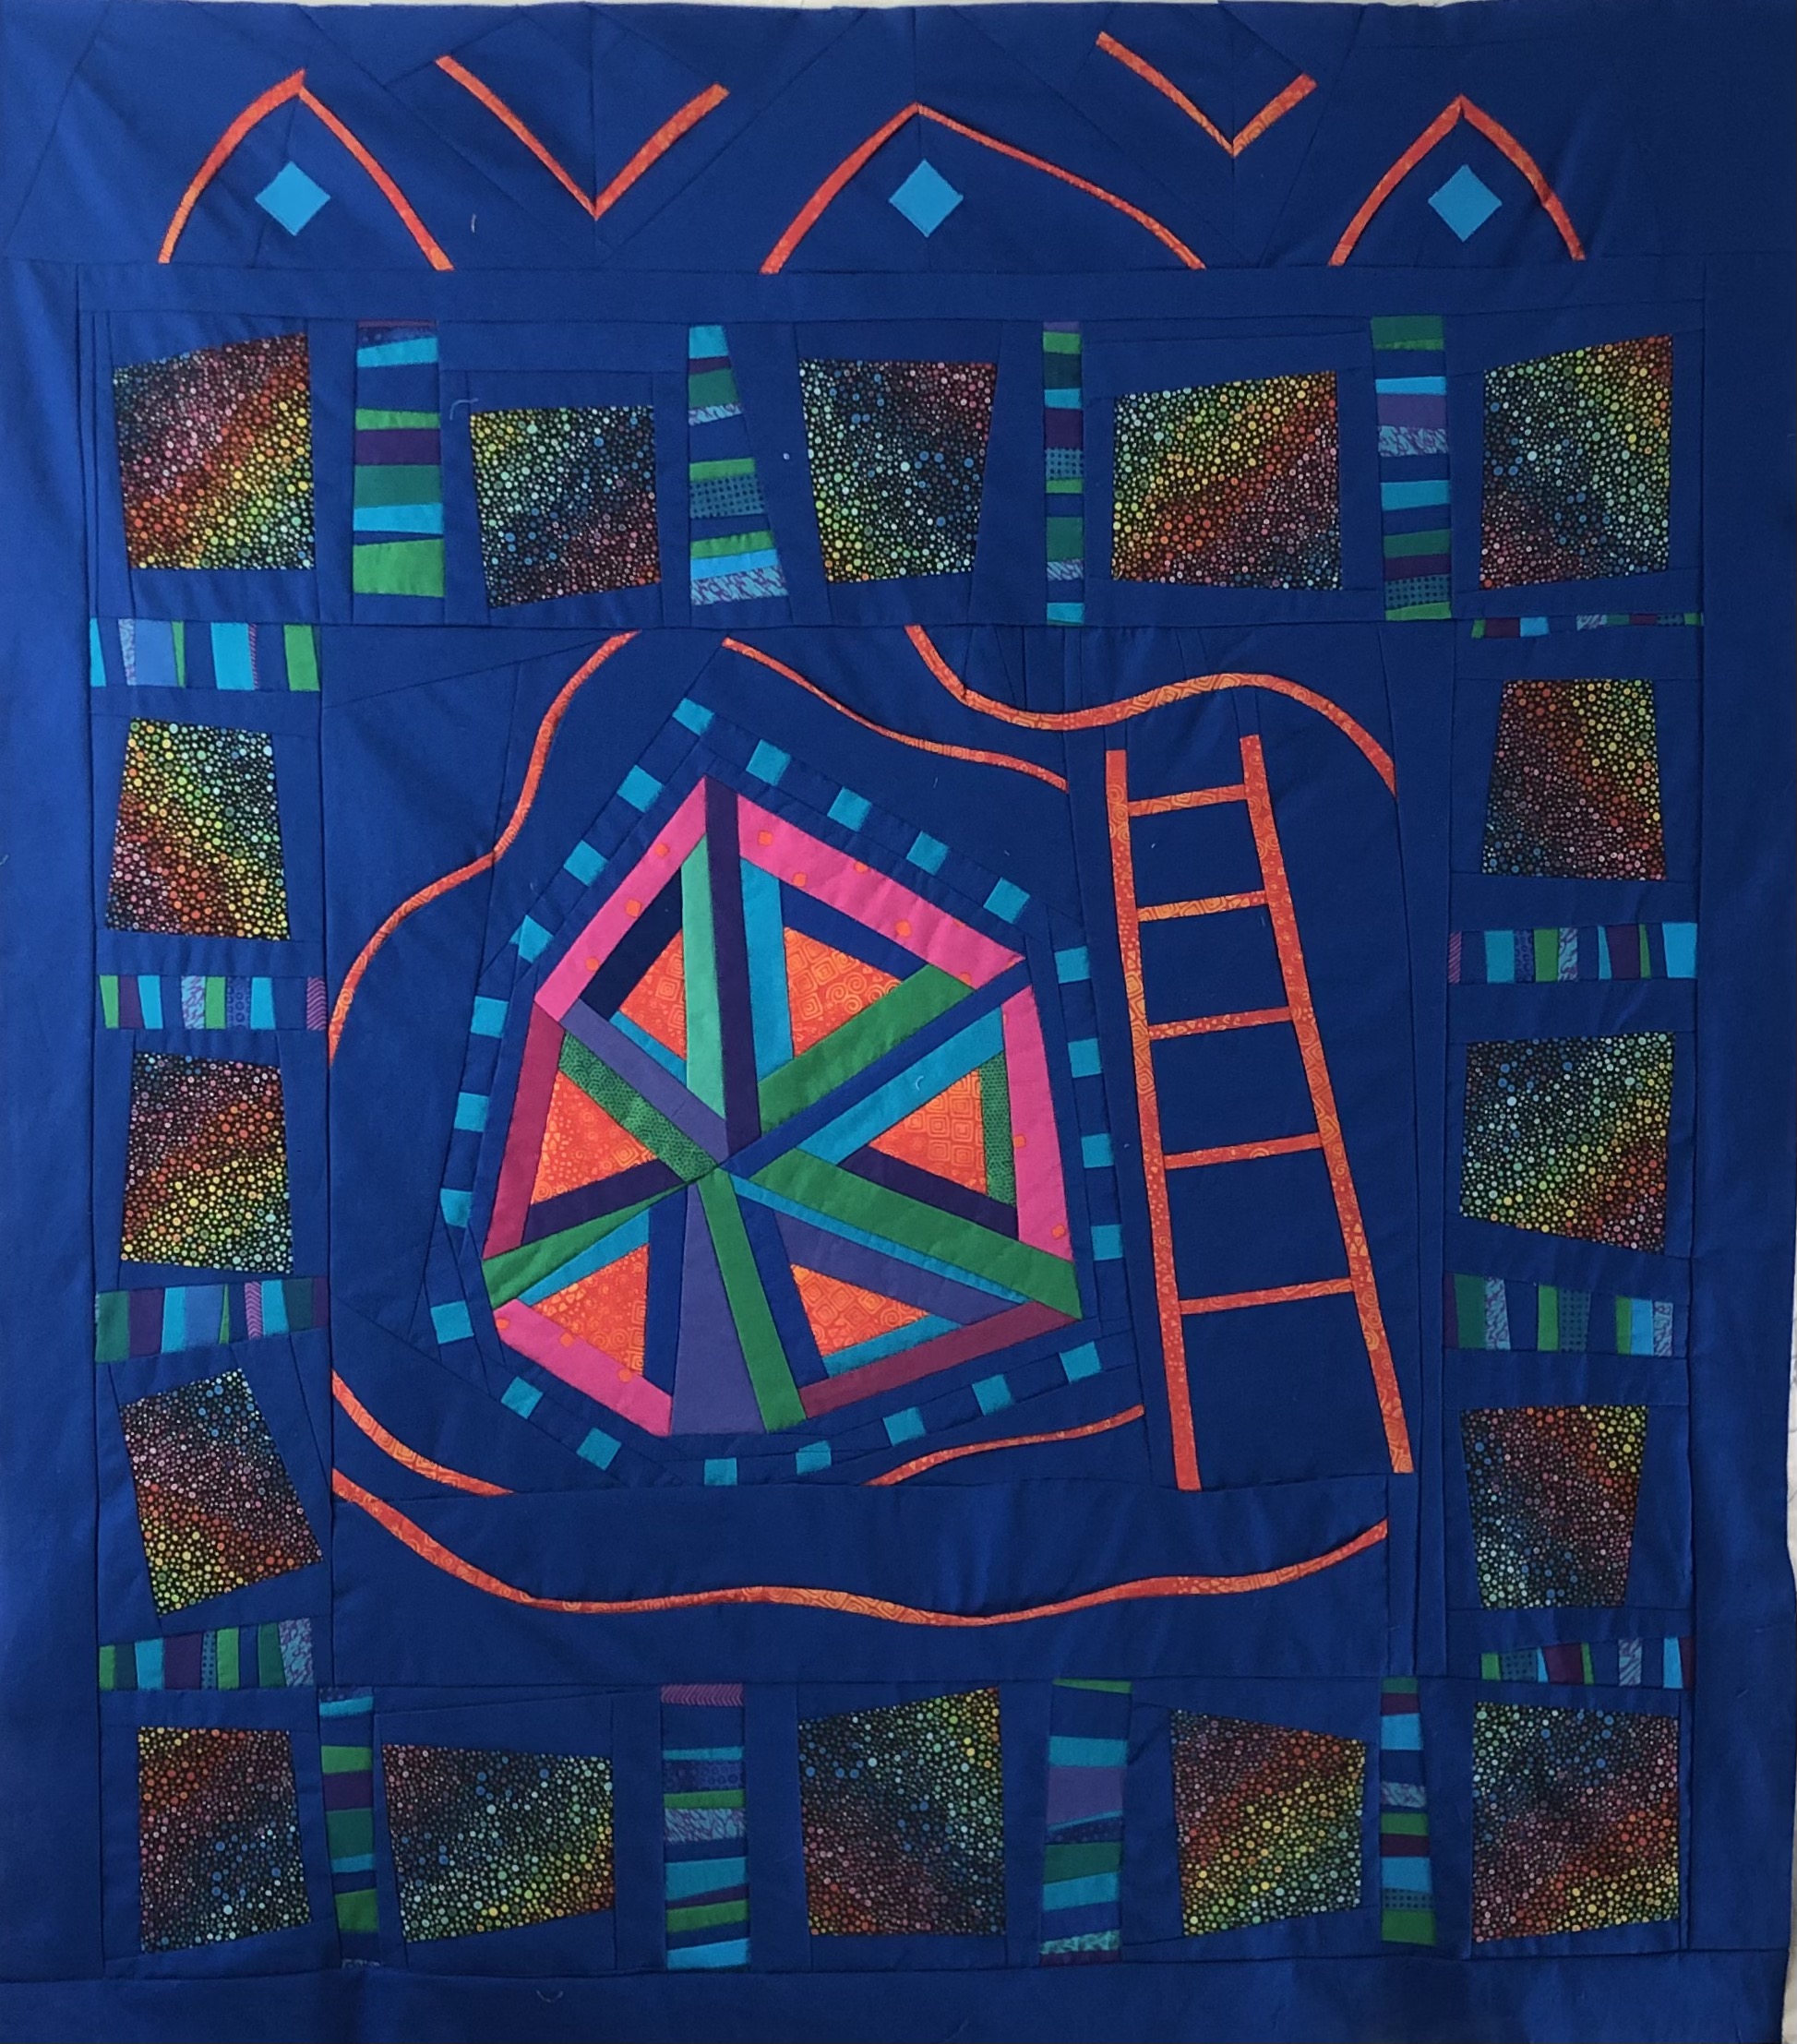
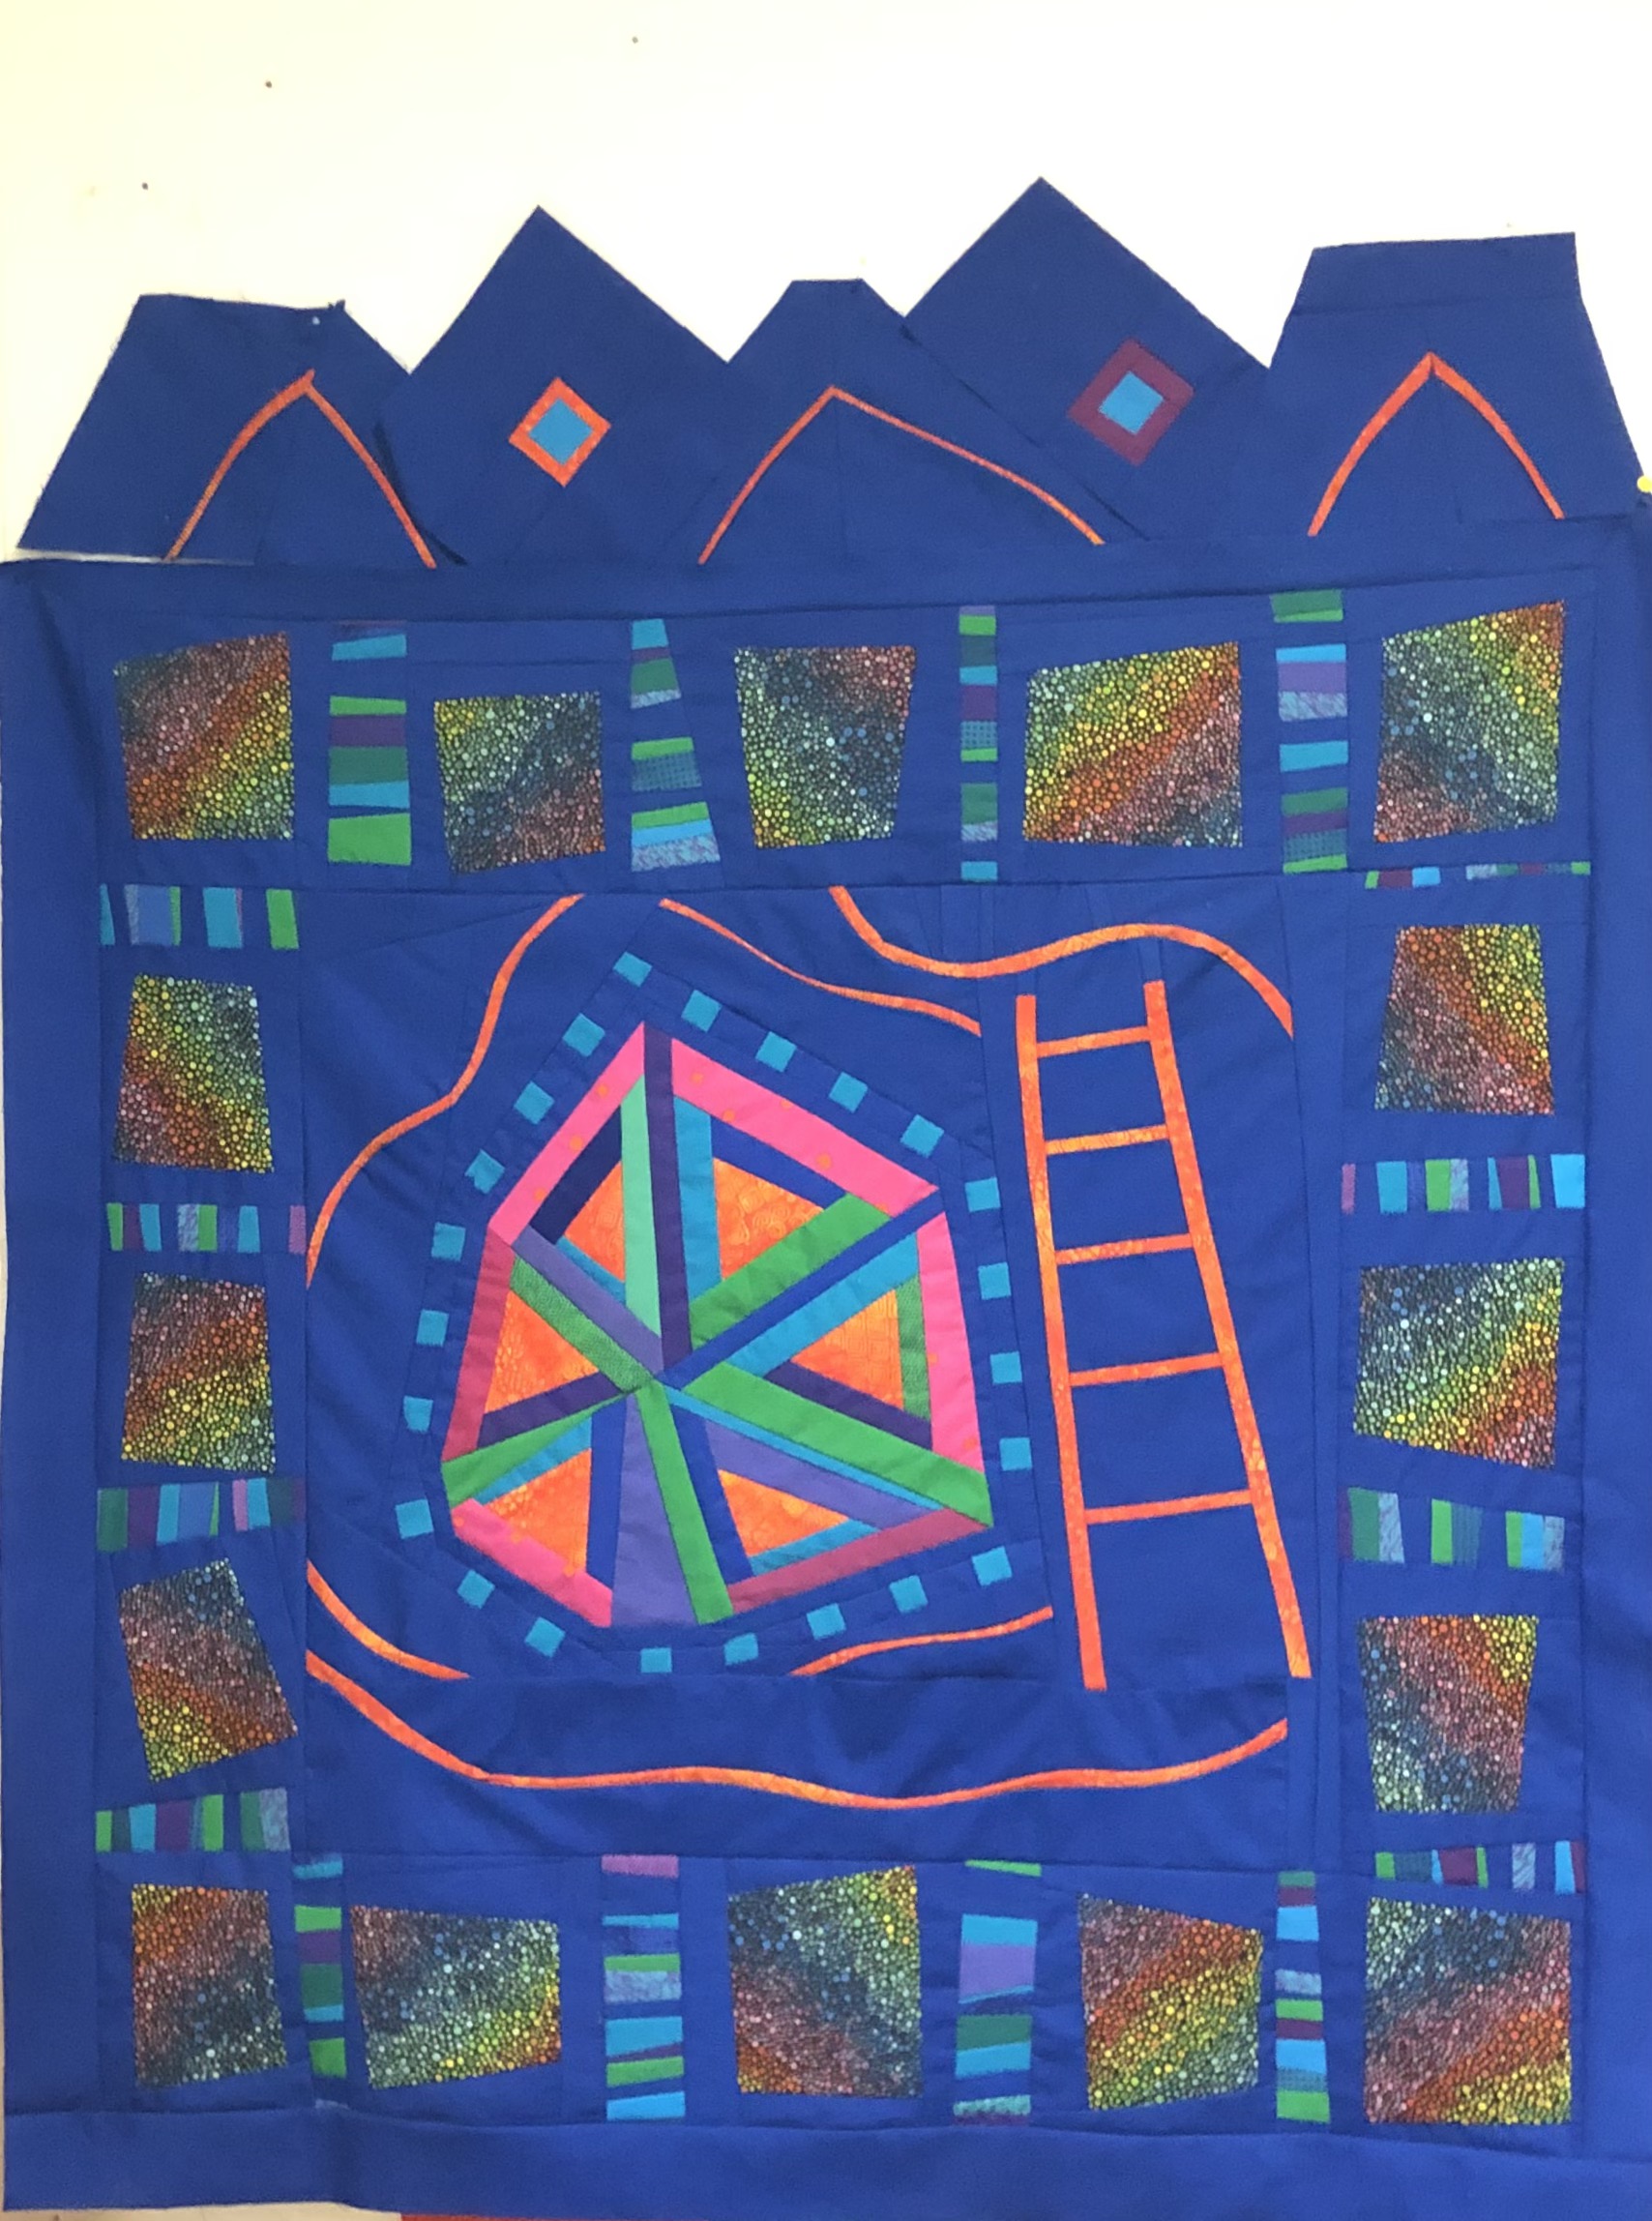


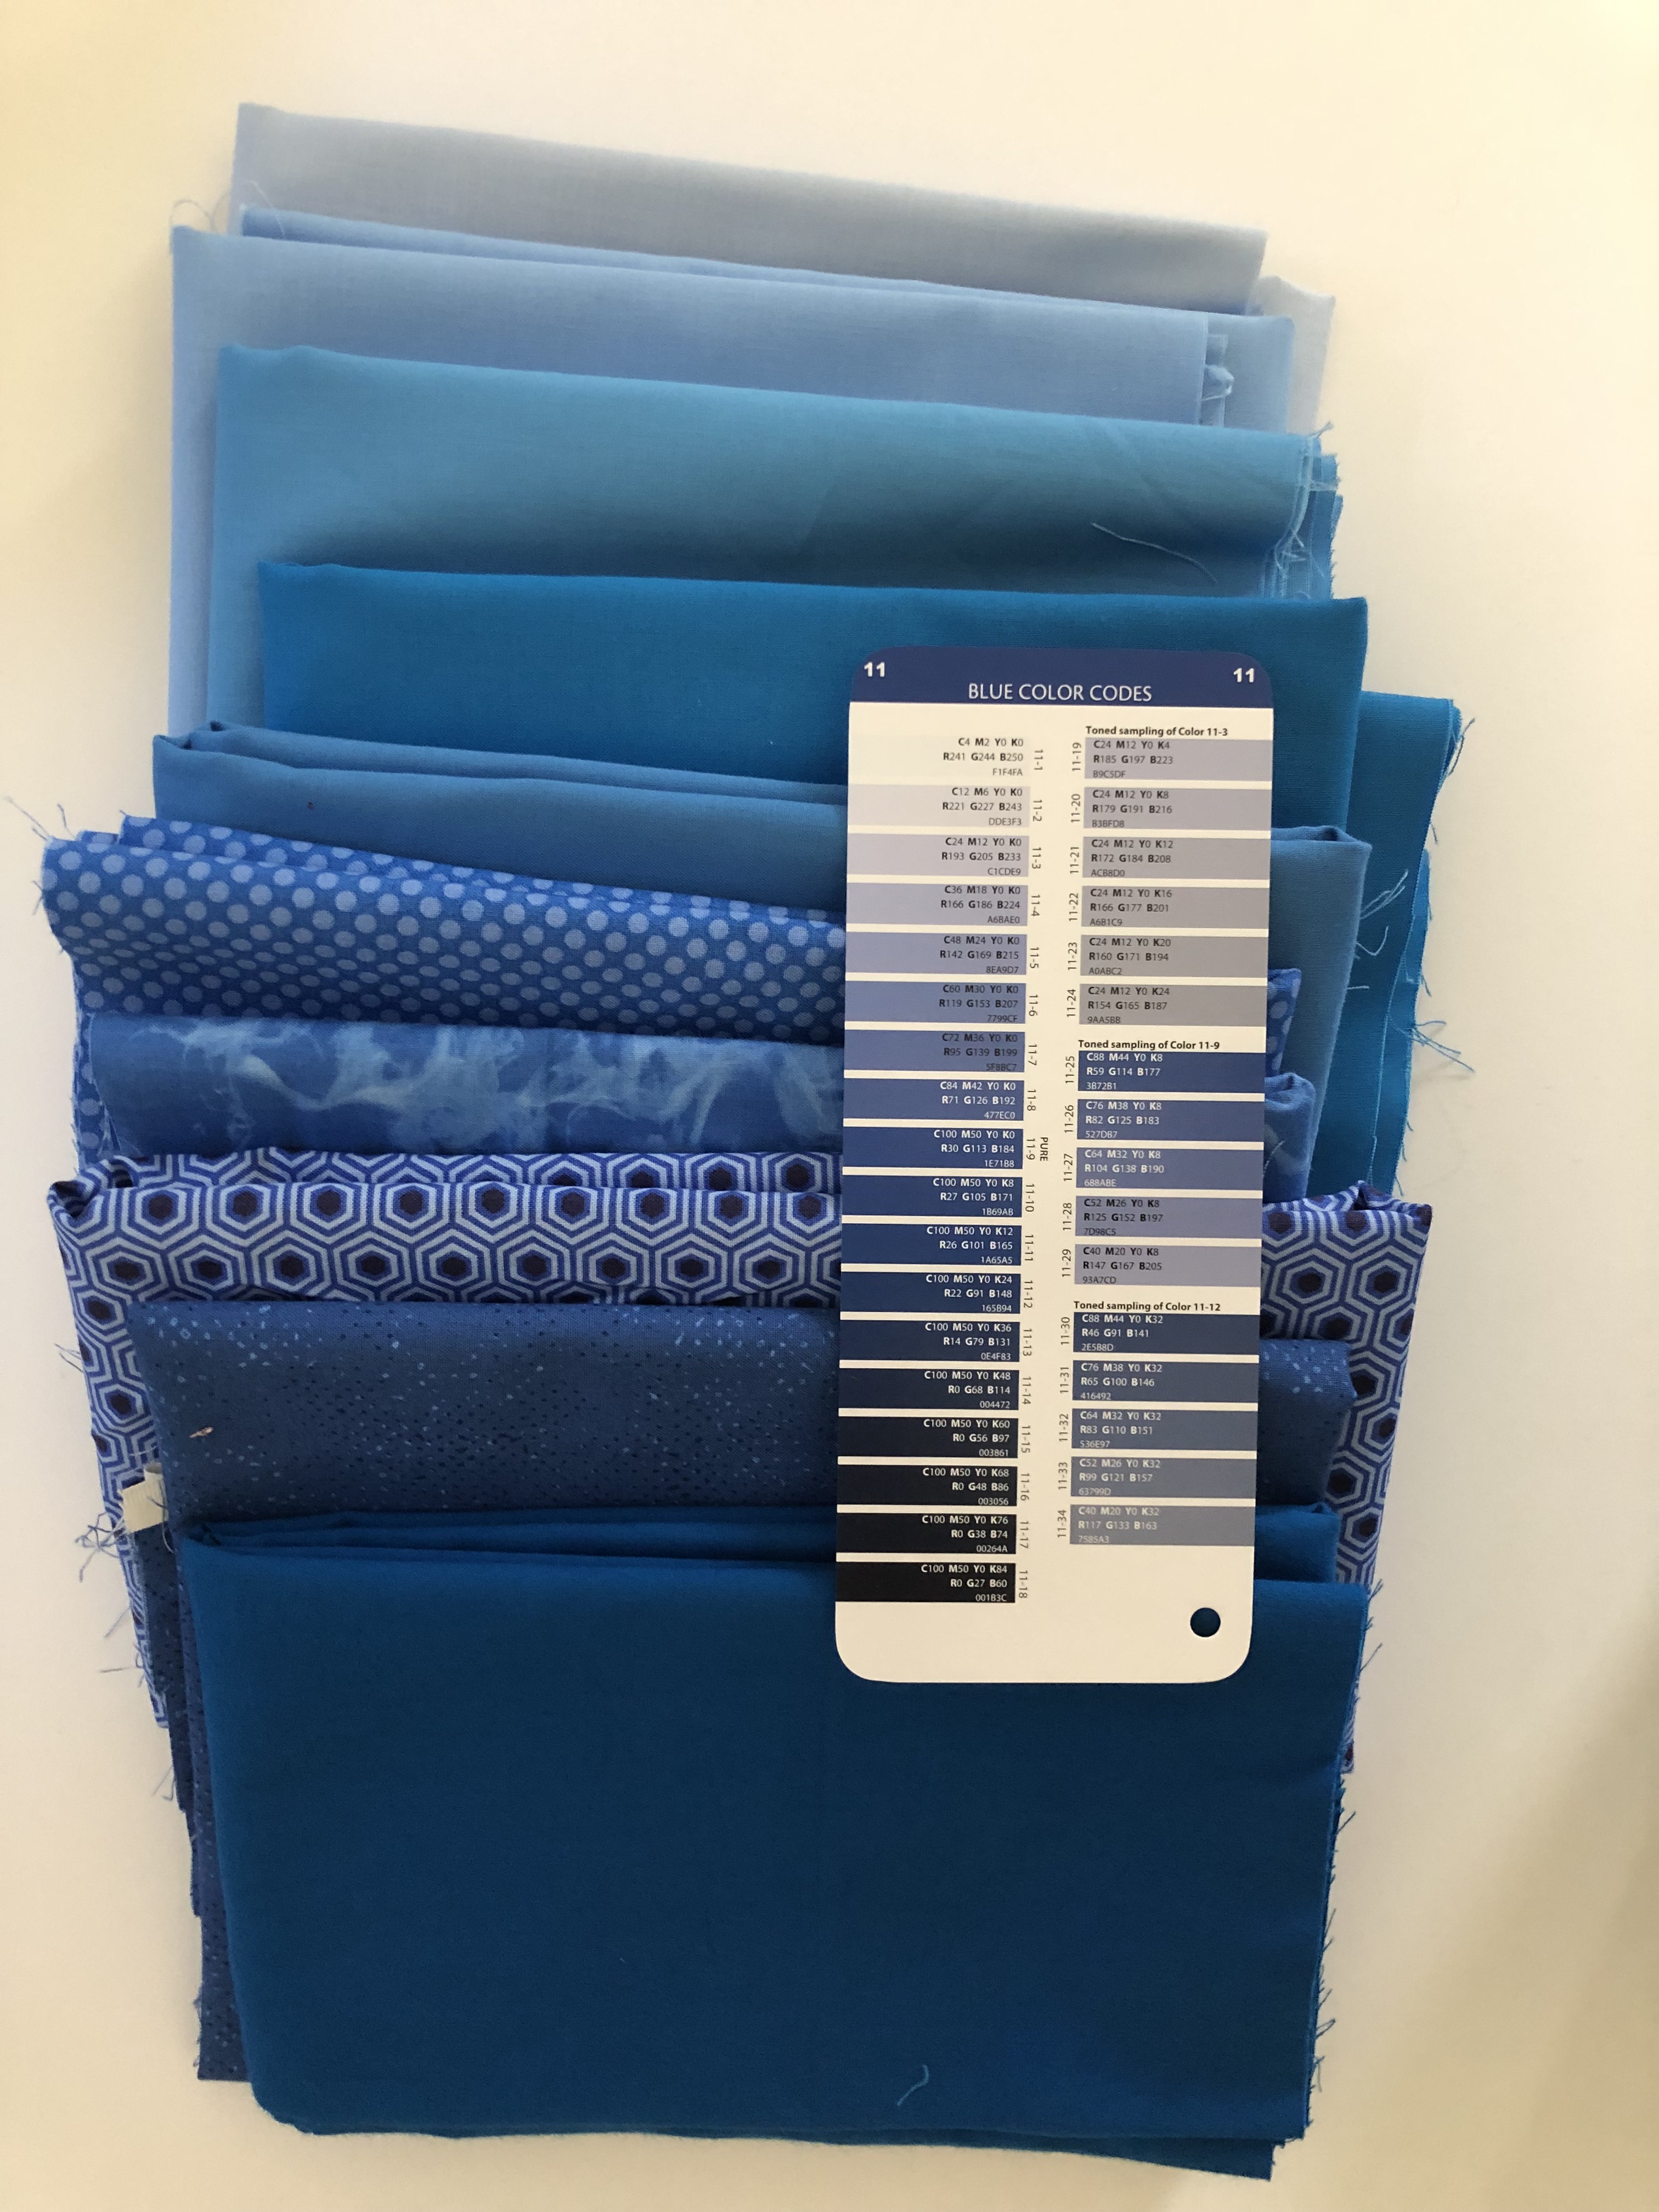
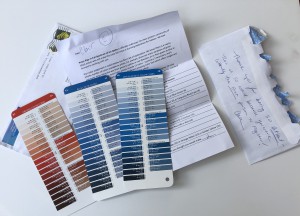 SAQA (Studio Art Quilt Associates) will have a juried show called Prism Play. I signed up to make 2 quilts, one in blue and one in orange. Each quilt will be one color, and 45″ long by 15″ wide. I have to thank